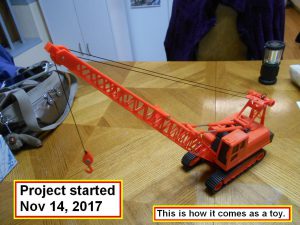
Here is another “toy to model” conversion. How about TTM? Cool – new acronym!!!!
Anyway – needing to satisfy my Tonka Toy craving from an earlier childhood of NEVER having my own vehicles- I’m now on a kick to right that wrong….LOL!
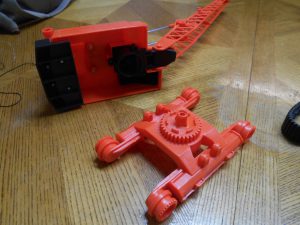
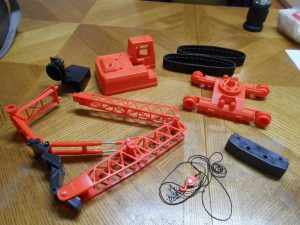
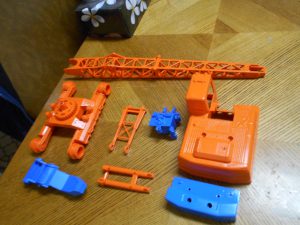
I have several toy construction vehicles yet in my inventory to build- but this is the next one in line. I can’t recall where online I ordered it from- but was around $10.00. The fun-and dangerous thing is taking it apart to start from ground zero. Dangerous?—would you like me to include the number of cuts just taking it apart. I notify the Red Cross when I am doing these projects……just in case.
Also – remember the ‘Art of the Illusion” in model making. There will always be a lot there in your mind about the model subject that I never even included. .
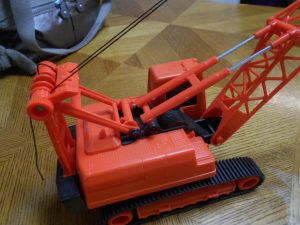
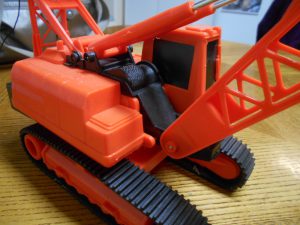
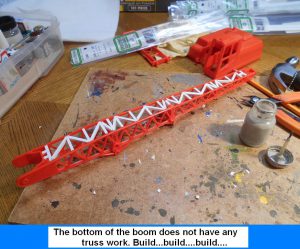
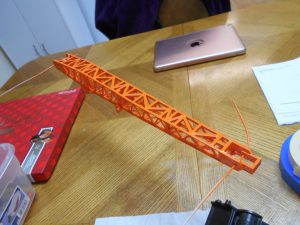
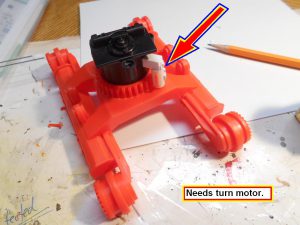
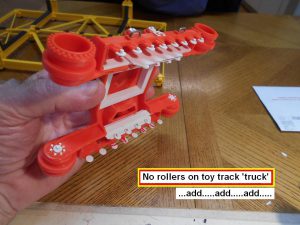
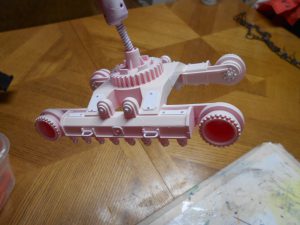
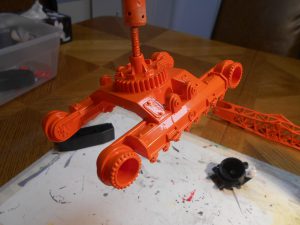
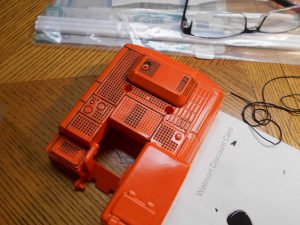
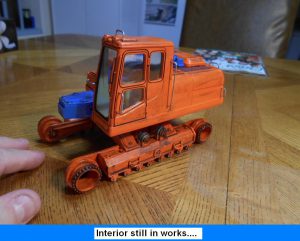
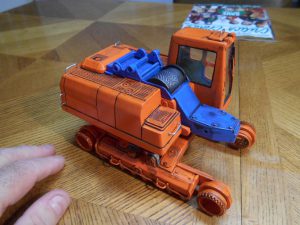
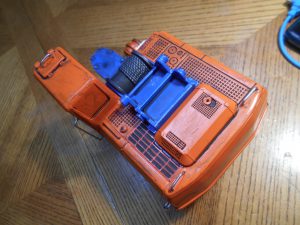
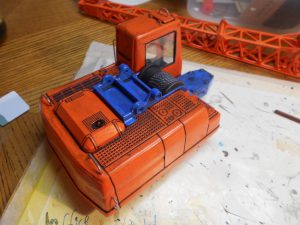
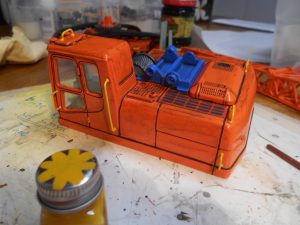
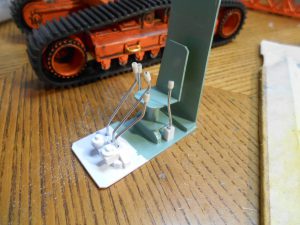
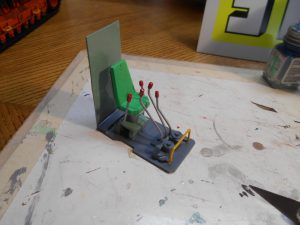
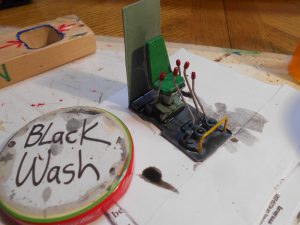
Anyway – I will let the pictures speak for themselves (mostly). The steps are about the same for each of the TTM projects I do.
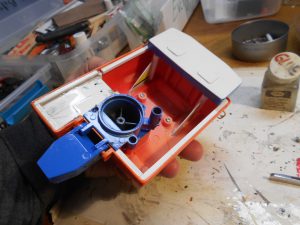
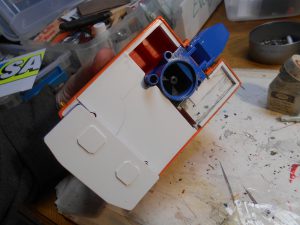
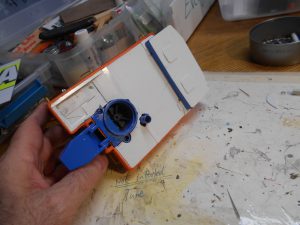
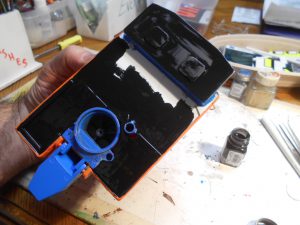
- Take them apart.
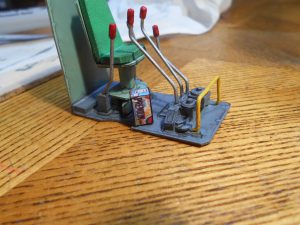
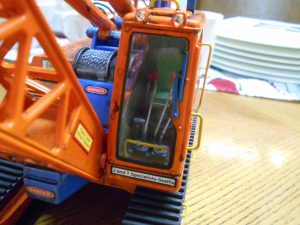
- Add plastic details if needed. Upscale / downscale as required. Most of this is as simple as making the right sized seats / controls / steering wheels.
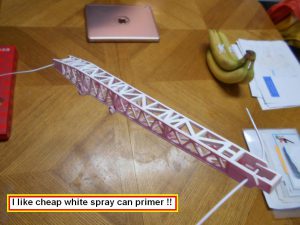
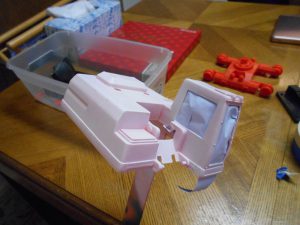
- Prime (I typically use cheap white spray can primer)
- Paint (typically spray cans- many have great fine mist nozzles these days)
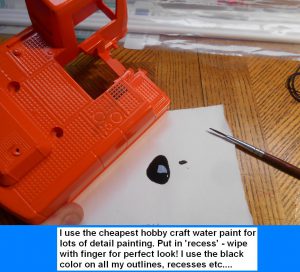
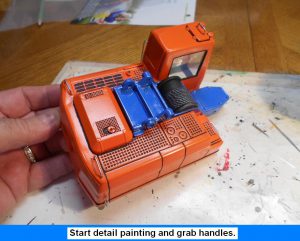
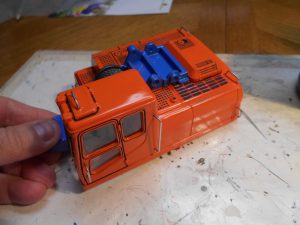
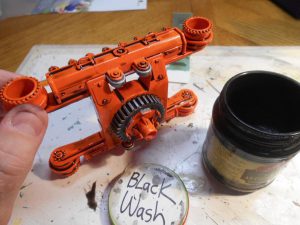
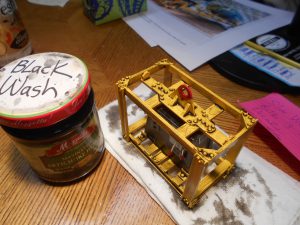
- Do detail painting (filling in black for grills etc…)
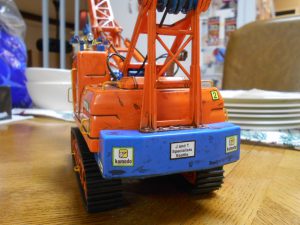
- Make decals and apply
- Weather as needed or wanted.
- Sit back and enjoy and share.
Enjoy!! John D,
Click on the pics to make them larger if you like.
To be continued…..
For those who think I am smart- fooled you.
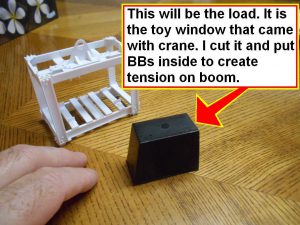
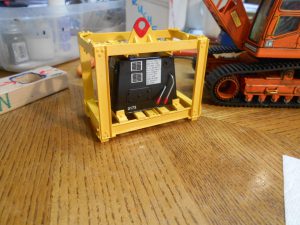
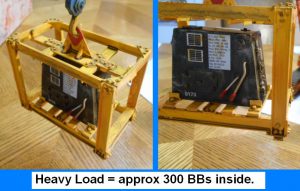
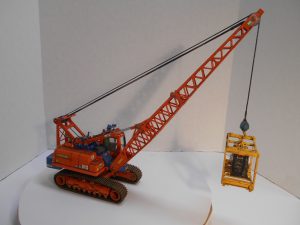
Trying to complete the crane for this week’s model meeting (Dec 9th) –I am very close. to keep the boom lines tight and the hook, I wanted tension. So I am making a little ‘weighted’ load for the hook.
I used about 300 BB’s buried inside the load. Cool. Actually- the load is the remains of the toy black plastic window that was part of the crane. Kind of rectangular.
Anyway – after using a whole thingy of super-glue to keep the BB’s in place, I gave it the engineering test.
Ka-Boom (sorry to use crane talk on you). The crane fell right over on its boom. No problem Batman. I turned the crane over – drilled some holes in the ‘weight’ on back and filled them with BB’s. And white Elmer’s glue to keep BB’s in place. I could not use superglue at this point or the cabin windows would be permanently fogged over on the inside. Let that dry overnight upside down.
Sunday morning- re-did the crane / balance test. WT??#!…..still wants to tip over – not as much though. The boom in front of course adds a lot to the mass at the center of gravity.
Okay- time for more BB’s. since the weight in back was full – drilled holes close to the back under the body.
Fill fill fill….glue glue glue ……probably added another 1000.
I did add sheet plastic under the body since it did not come with any on the toy. However – it was not air tight. I mean – who is going to look under it?….you????-that figurers…LOL!
I left that upside down about 10 minutes. I then turned it over to sit on its tracks. Ate some diner and then when I looked again – white glue was coming out of every little microscopic crack I did not fill. I will spare you the nightmare of the glue EVERYWHERE. Table, tracks, gears, wheels…..get the picture?
Let’s just say – about an hour later I was still saying ‘DISNEY’!!!! (instead of cussing- I use other expensive words). Just me.
Between the hair dryer on the nuclear hot setting and wiping away excess- I finally stopped the bleeding of the white blood.
Of course- I’ll update BLOG this week with pics.
See- my model adventure just keep continuing……fooled you though….you though all my projects never have any issues….LOL!!!!!
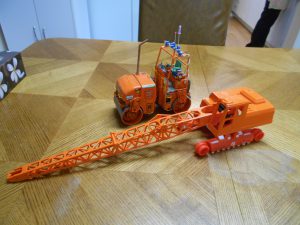
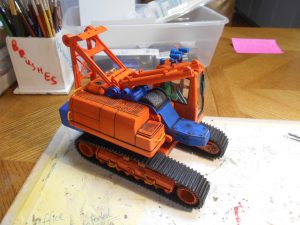
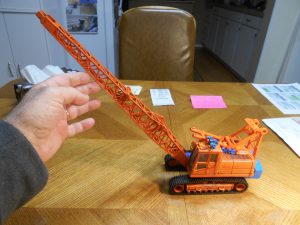
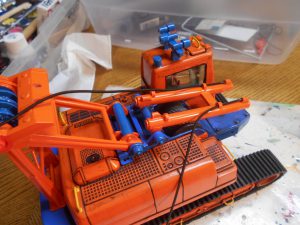
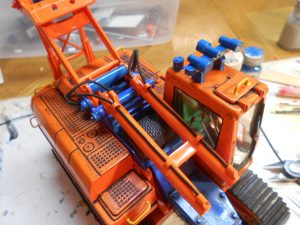
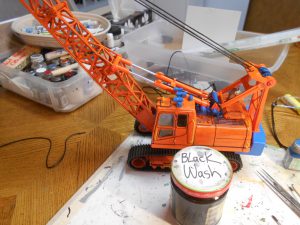
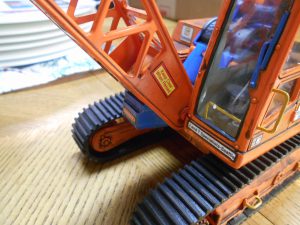
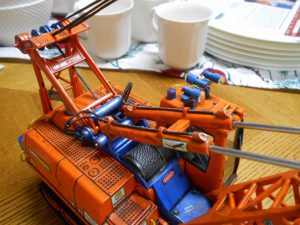
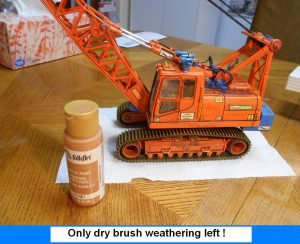
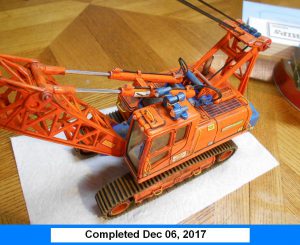
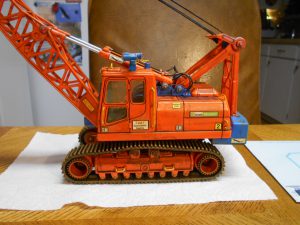
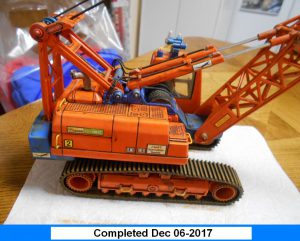
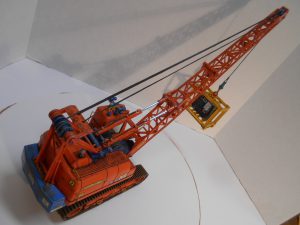
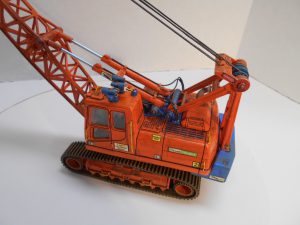
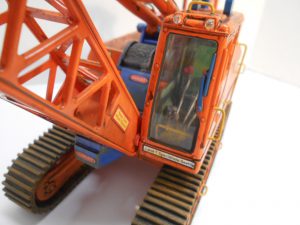
Finally- here are pictures and a very short movie made by the Ultra Cheap Production Studios that show the progress through to completion:
Crane Movie: 1 min 48 sec

John, another great super detailed unit. These re-builds are truly interesting to watch, some
nice creative ideas that come out if the process.