0-05-2015 (Project Start)
Click on each picture for a full sized version!
Continuous Updates in this post below by date
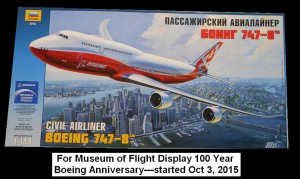
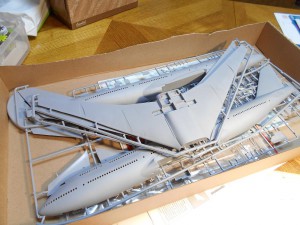
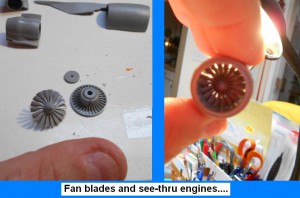
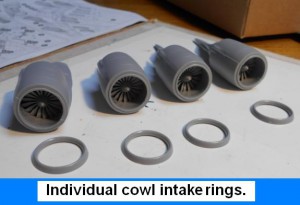
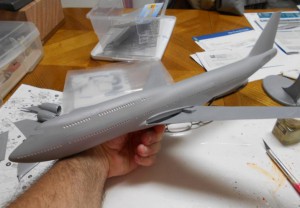
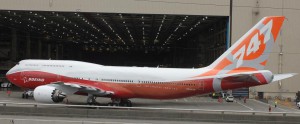
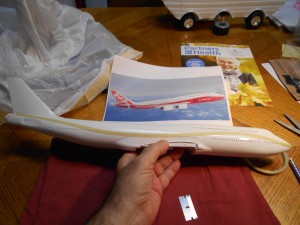
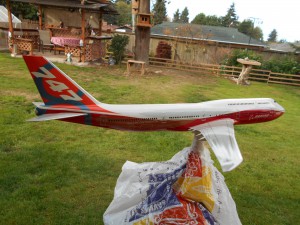
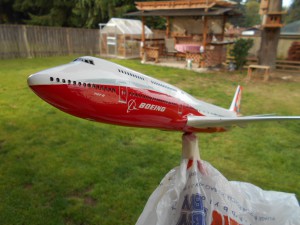
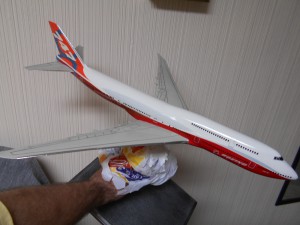
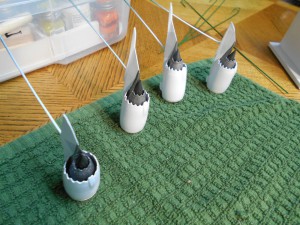
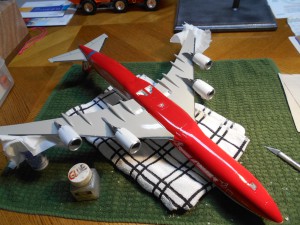
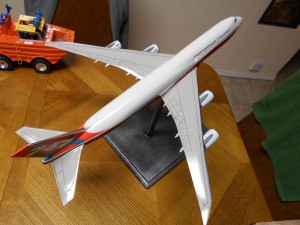
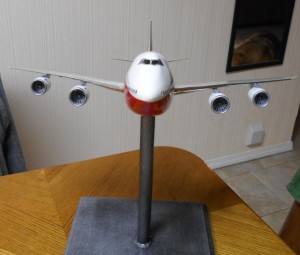
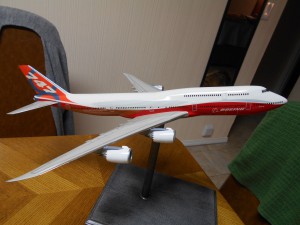
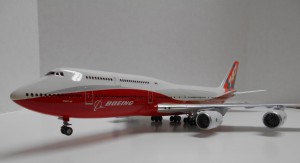
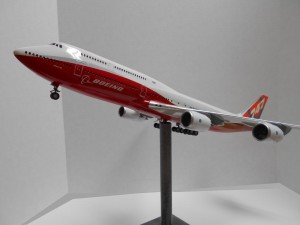
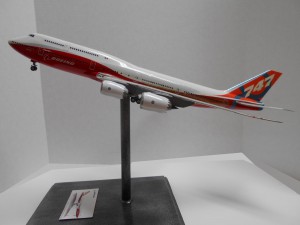
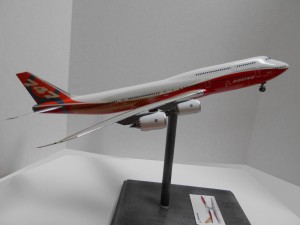
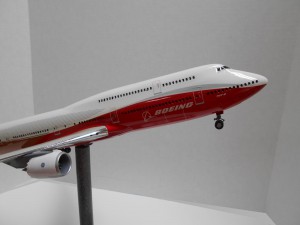
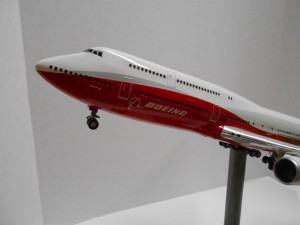
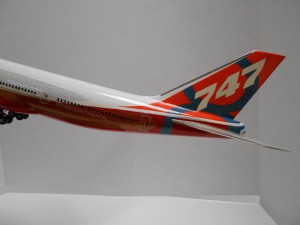
I am currently working on the 1 / 144th scale kit of the 747-8 in the red/orange color scheme. I am using the Zvesda kit. What a beautiful kit. The plastic is very delicate though. Sort of like the softer styrene the old AirFix kits have in them. The engines are a masterpiece. You can see through the engines through the fan blades. Will post updates as the project progresses. Enjoy!
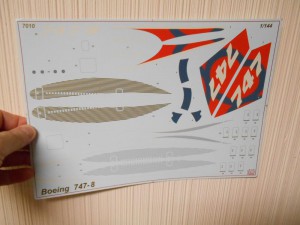
10-08-2015 Updates on the decals:
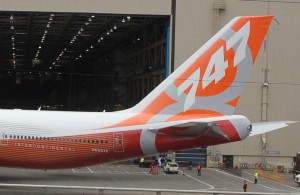
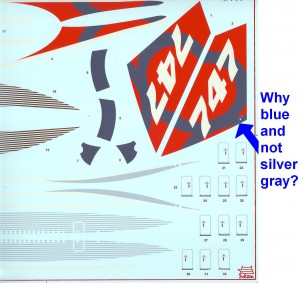
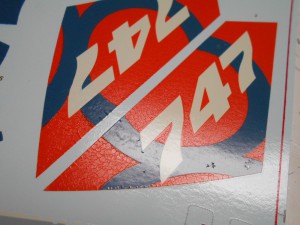
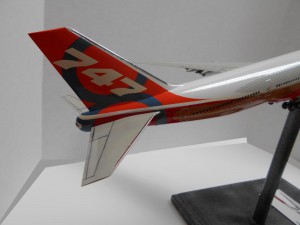
The tail decals should be more orange. Also the number “8” on the decals for the tail is blue – not silver / gray like the real airplane. Why??? – I don’t know the details. There are no aftermarket correct decals that I have found so I will have to use these. The main ‘redish’ area on the fuselage has to be painted.
Some more progress for you starting Oct 14,2015.
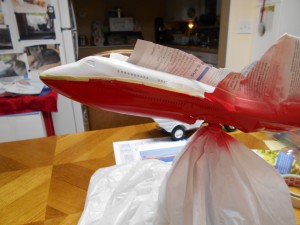
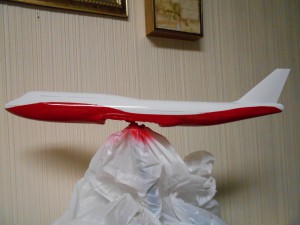
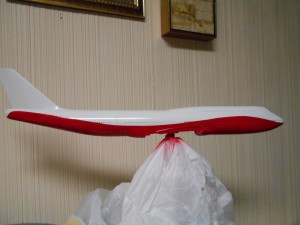
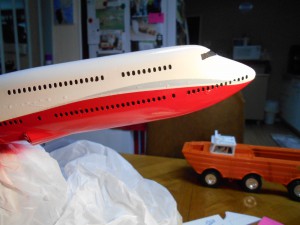
Painted the fuselage white and then red. I used appliance white and mixed my own red with some black in it to get close to the ‘house’ colors.
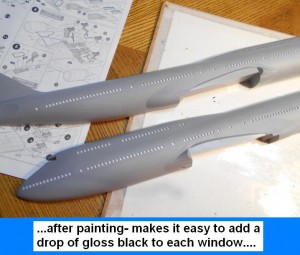
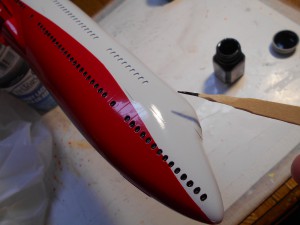
Now- if you are going to do the 747-8 in the Boeing ”house” colors- you need to make sure the black is in the windows first. This is due to the decals and the way they are printed. Waiting until after the decals will make for so much work.
I used a sharpened Popsicle stick and flat black, not gloss like I had planned. No big deal either way.
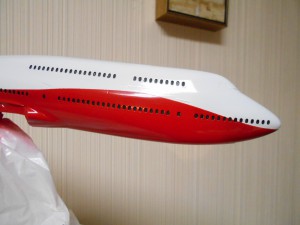
When completed – just a little clean up around maybe a dozen windows:
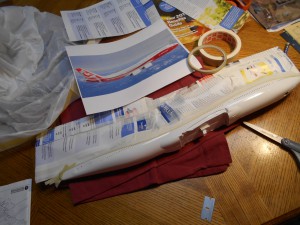
Oct 18th, 2015 and now for the decals. Due to pics/graphics of several variations of “Boeing house colors” I am going to leave the “8” on the tail as is. Having never used Zvesda decals- they didn’t look ”too good”. I thought to make sure they do not come apart- I sprayed them with decal fixative first and let them dry.
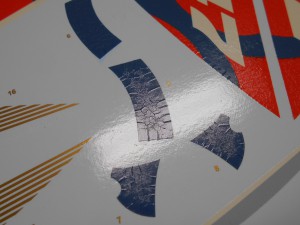
Tilt Tilt Tilt Tilt!!!!!!! Wrinkles already!!!!!!! AAAaaahhhhhhhhhhaaaaaaaahhhhhhhh…there – I feel better- well- maybe not……what to kick first????….only kidding…..or….
Well- what to do???? Nothing- move forward they told the lead ant…..okay here goes…at this point I have nothing to loose……nothing…cry cry cry ….all that hard work and…….
Hey- first decal went on okay…..
At this point I have about 6-7 decals on each side. I’m using Solvaset (my favorite still after 30 some years)….Holy Decals Batman!!!!!!!! For some reason- a lot (not all) of the wrinkles seemed to smooth out. Well- better to let these dry before the next few go on…..
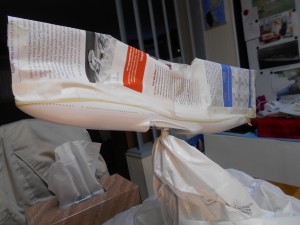
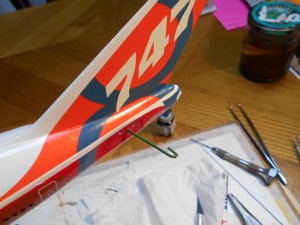
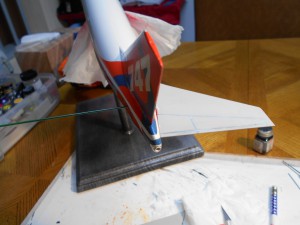
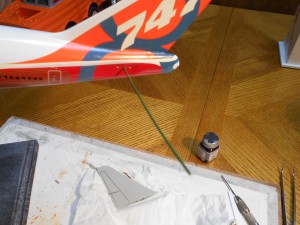
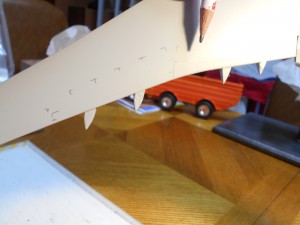
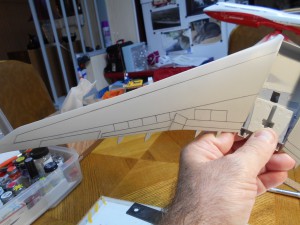
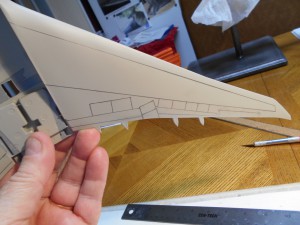
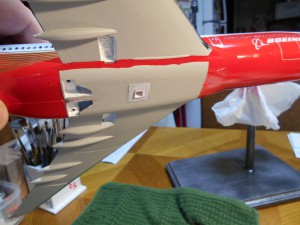
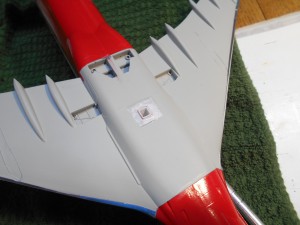
The tail. Thank you Brandon for the suggestion of just using a #2 lead pencil for the outline of then movable wing parts. Zvesda only has 2 small pins that align and add strength to the horizontal tail in the rear. Since I did not glue this to the body ahead of time, all I had for strength was the super glue and the two pins. Not a good joint. So i drilled a hole between the two pin holes and ran a wire through the fuselage. I curled the end and glued one side in place. Then – cut the other side wire and curdled it. I used super glue and it seems a reasonable joint.-See pics below.
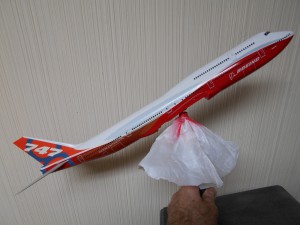
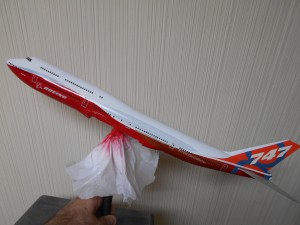
Decals are now done. Wow- what a slow slow process with these super duper thin decals. A few doubled over on me and it took time to flatten them out. Talk about delicate. There are still places they are wrinkled- so now have to find the right gloss so they will not look like out-door carpeting on the fuselage……
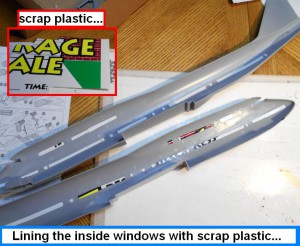
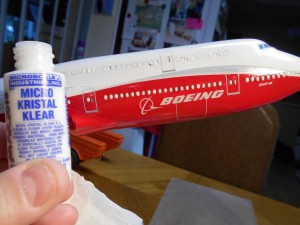
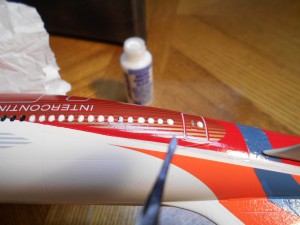
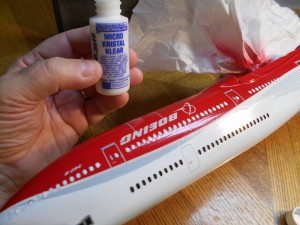
Windows. Real simple the way I do it. I now add some black paint to the front of each window on the strips I glued on the inside (see way above). When the paint is dry- I add Krystal Klear to even the windows with the fuselage.
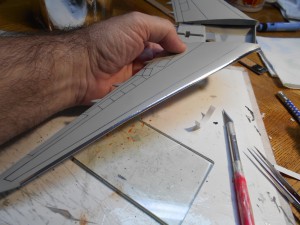
Since there was hardly any recess/ panel lines on the wings…what to do?? I thought this would be a big undertaking. However- club member Brandon suggested to just use a #2 pencil. Wow- what a huge savings. Both wings done in about 15 minutes.
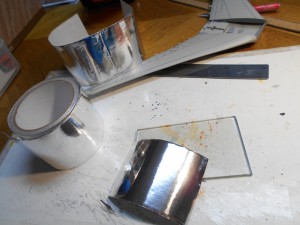
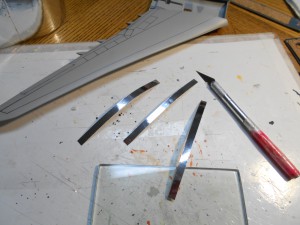
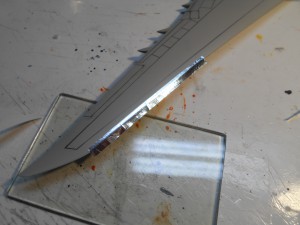
For each leading edge- I used plumbers ‘pre- stick’ duct foil. Worked okay for me and took no time.
I now glued the main wings to the body…
Everything is now ready for clear coat.
Club member Mark saved my bacon suggesting to use the spray Polyurethane from Minwax. And it even did away with some more decal wrinkles (see story way above). And oh what a shine!!!
Oct 27, 2015:
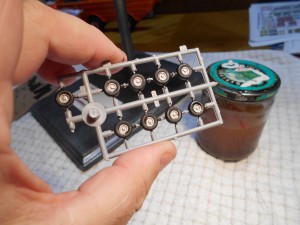
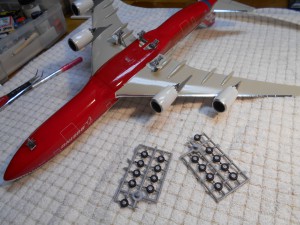
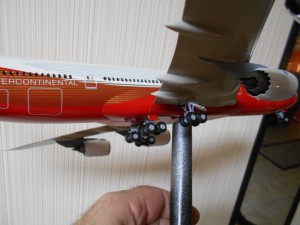
Finally- got those 4 thingies on the wings….only landing gear to go…..
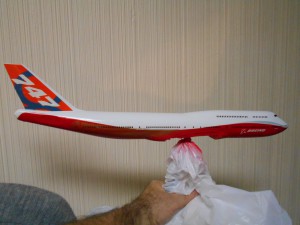
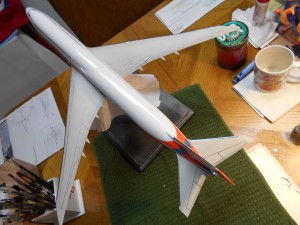
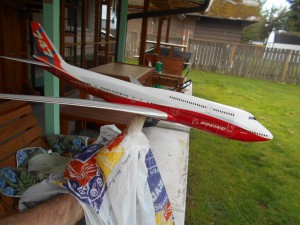
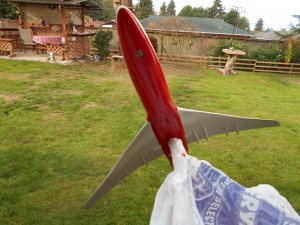
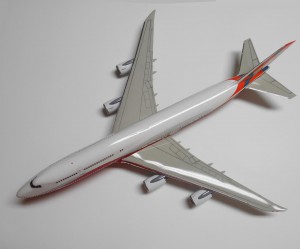
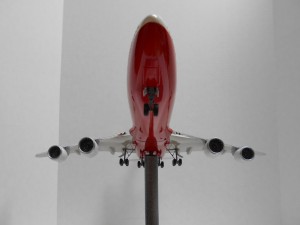
Model is all completed now – ready for the MoF display!!
And finally the custom box to carry it to the museum….
Here is a short 1 minute send off video….


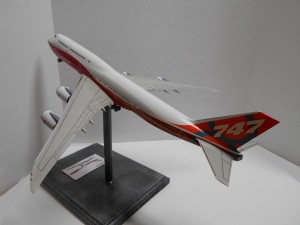
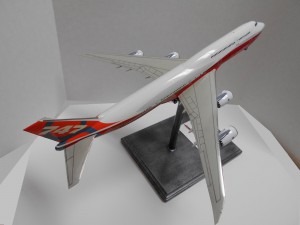
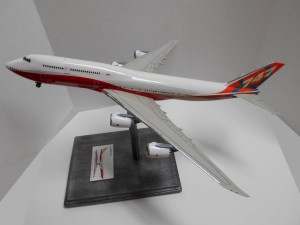
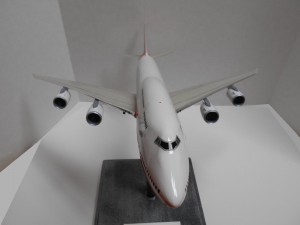
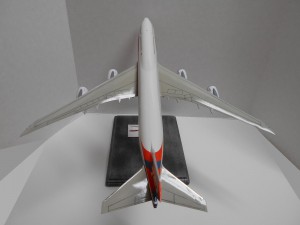
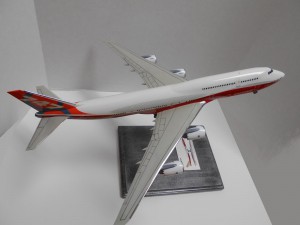
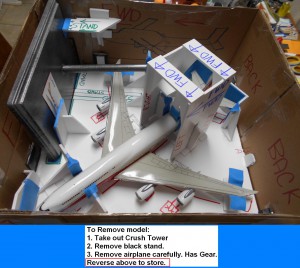
That is looking good, John!
Another master piece in the making by John. Cannot wait to see how this build progresses.
This is looking great! Even at 1/144 scale, it is a huge model!
The color came out looking fantastic……………..Decals really make this an outstanding build – Seems that you are going to make the deadline by a large margin…………..Now that is why you are a master at your craft my friend…………….And the prize goes to ……………….Annie our ever vigilant quality inspector.
Wow, perfect 747, worthy of the name “Queen of the Sky” Looks just as wonderful as the real ship!!
”For each leading edge- I used plumbers ‘pre- stick’ duct foil. Worked okay for me and took no time.”
Now that was a great tip ! Really will have quite a few applications where this could be used.
John I am quite impressed with the ”re scribbling” of the wings etc – came out very nice [loads of patience my friend.] and the Krystal Klear is another modeller’s life saver.
Now to see where this will be displayed in the custom cabinet.
I am sure you are happy to have been chosen to have done yours in such a great color scheme – Looks stunning `!
John another Modelling milestone has been reached – Cannot wait to see the 747-400 Grace the Wall of the Museum of Flight.