Kit-Re-Issued by Monogram Models – built by Seattle IPMS member John DeRosia
You may click on the pictures at any time for a larger size on your screen.
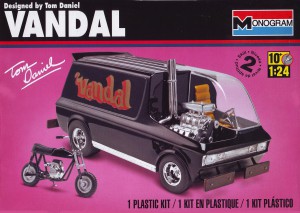
Okay- its been out a while, but I finally caved in and got one. I mean –what a cool look. It follows in the footsteps of Tom Daniels legacy of creating ‘out-of- the- box-thinking’ cool looking machines.
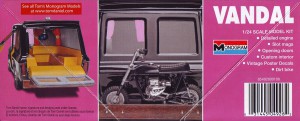
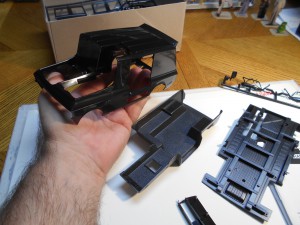
I would venture to guess the kit is right out of the same molds of 20++ years ago. But that’s okay. It makes it cheaper (the kit was only about $25.00 a few weeks ago)….and for some of the parts if you wanted to enhance and add more detail – you can easily do this. The kit comes with the ‘van’ of course and a small mini-bike.
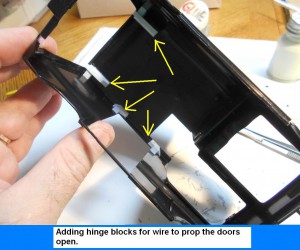
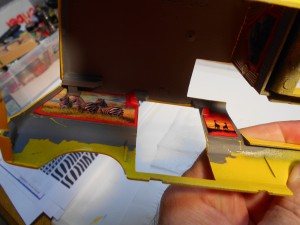
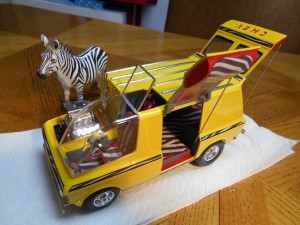
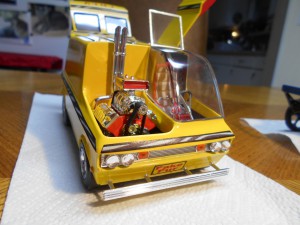
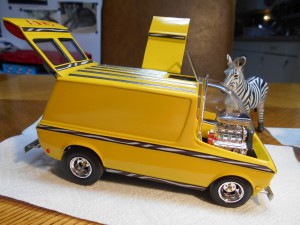
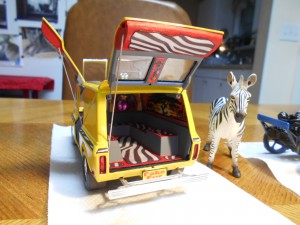
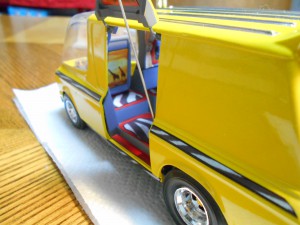
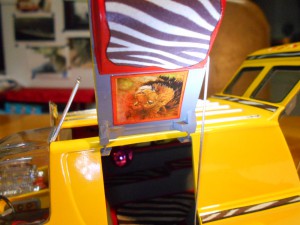
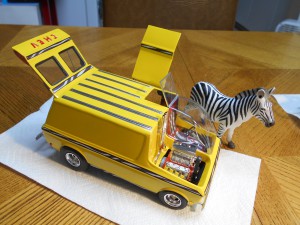
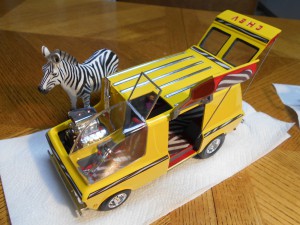
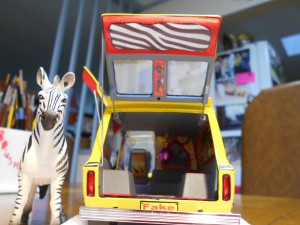
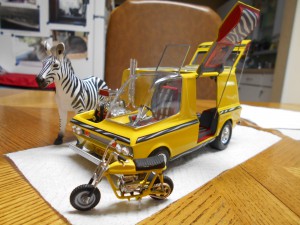
The build is pretty much straight forward. However- I wanted to do my ‘70’s thing’ and did not build the van black as Tom Daniels had designed it. Very very few non-black Vandals were found on the internet. His back door folded down, and the side door did not fold up very far. So I made simple changes that allowed the back door to hinge up, and the side door to match the large up-swing.
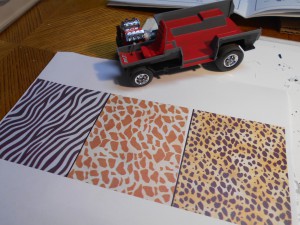
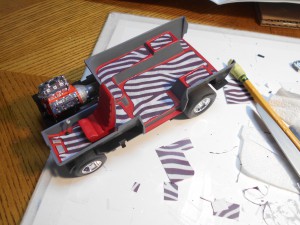
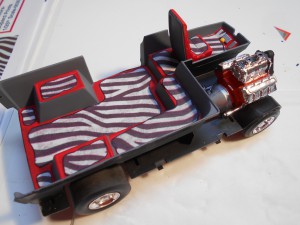
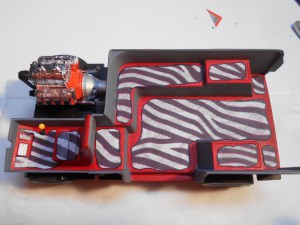
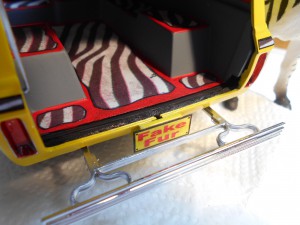
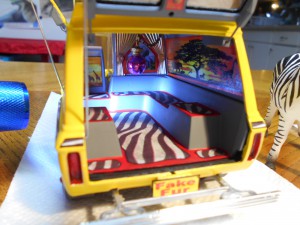
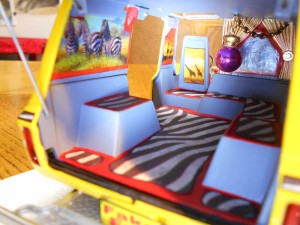
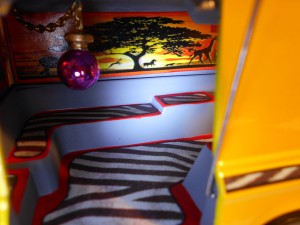
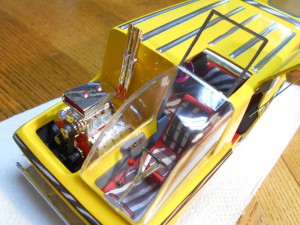
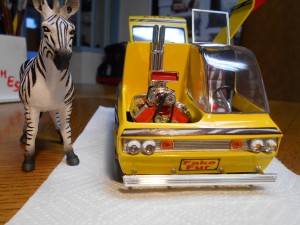
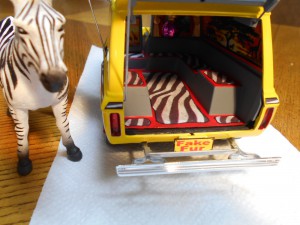
Also- his design had wooden bumpers. As I’m thinking through this – I wanted chrome for the bumpers. I can’t tell you the how and why I decided on bright yellow- but that was it. I thought it would look cool in a bright color. And then because the interior has a ‘huge cavern’ to fill visually- I opted for an African theme. That idea came from having extra bond copy zebra skins I used on my 1/24th Fred Flintstone mobile a month ago.
I did glue on the front pan and the back license plate pan. I wanted the yellow to look smooth and I knew it would be extra hard to have that smooth look if I waited to the end like the instructions suggest. The interior/frame did fit into the body at the end- a little tight – but it went in.
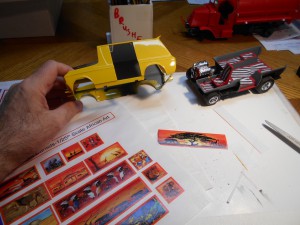
I made my own bond copy decals with the African themed art, and the side stripes also. When I use bond copy ‘decals’ – I always spray the front and back of the 81/2 x 11 with clear gloss. This is so the superglue that holds them on after cutting them out does not seep into the bond copy and give it a soaked look.
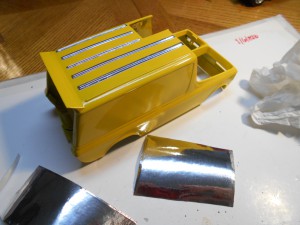
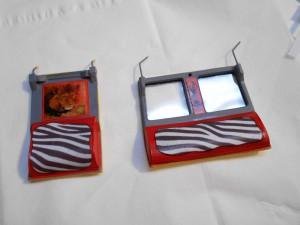
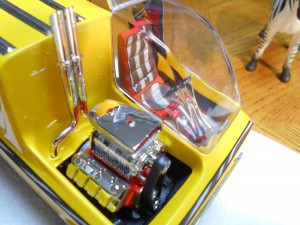
By luck, the kit provided chrome side splash panels ended up for the bumpers. I used extra zebra stripes for their replacement. Didn’t come out to bad.
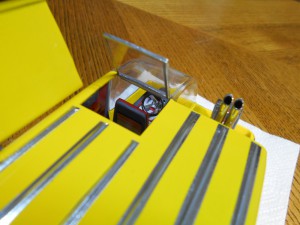
I used cheap rub on foil for the roof rack rails, and redid the front headlights with my clear hobby gem stones.
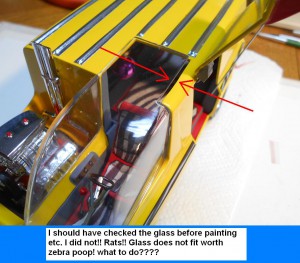
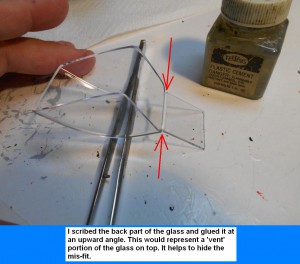
The very very very last thing I did was place the driver’s glass on the body. Wrong. I never checked it prior to that. It did not fit, was warped and it had a very complex shape. What to do? I settled on cutting the aft portion off and gluing it in at an angle to look like a vent. This made the major glass portion fit better on the body. I used a few sparing drops of super glue to secure it in place. Luckily- it did not vent the white fumes onto the glass.
The very last step was for me to brush clear (water based) on all chrome-the engine, the bumpers, grill to really bring out the shine.
I call this van the ‘Fake Fur’ because if it had a real life counterpart- I want it known no real zebras would have been done away with the carpet a 70’s hippy van. Back then – I had a real van customized- and it too had lots of fake fur. Groovy!!
The mini-bike was straight forward and the color matches the van.
As always- I had a lot of fun, and I too definitely like ‘thinking-out-of-the-model-box’!! Enjoy.
Short video (1:07 minutes)

John, I can see you were a Custom Van owner by the cool Interior you did on this build. I know you are dreaming of owning another Custom Van again one day. I think you should build your ”DREAM VAN” as a cool kit . !