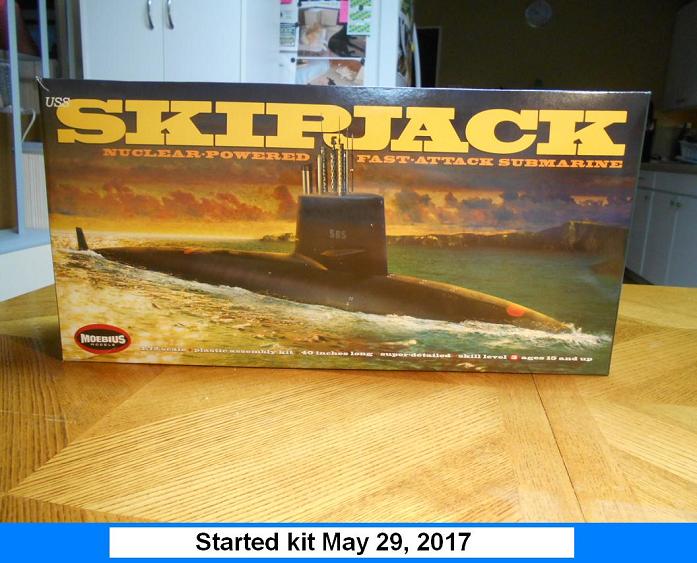
I bought the kit when they came out a few years ago and put it on the shelf- ‘I’ll build it someday”.
Without saying names (but printing is okay), two of our club members Brandon and Mark built subs and brought them to the meetings or sent photos of their sub projects. I just drool over their subs. Always the intrigue of under the sea and no matter how many books and movies on subs I have conquered- can never get enough.
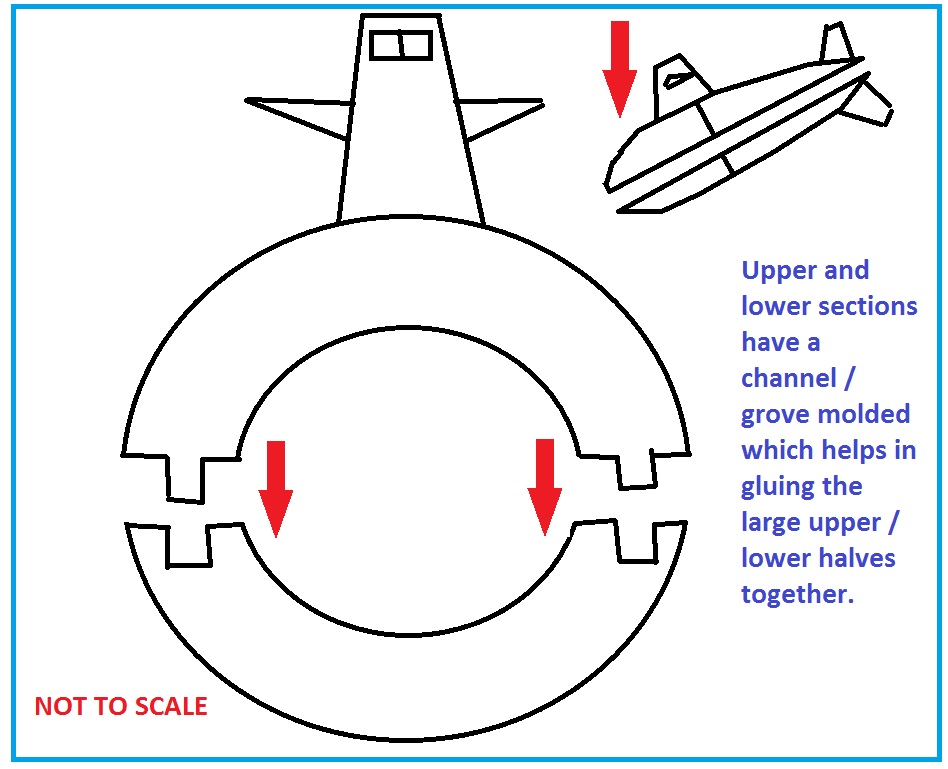
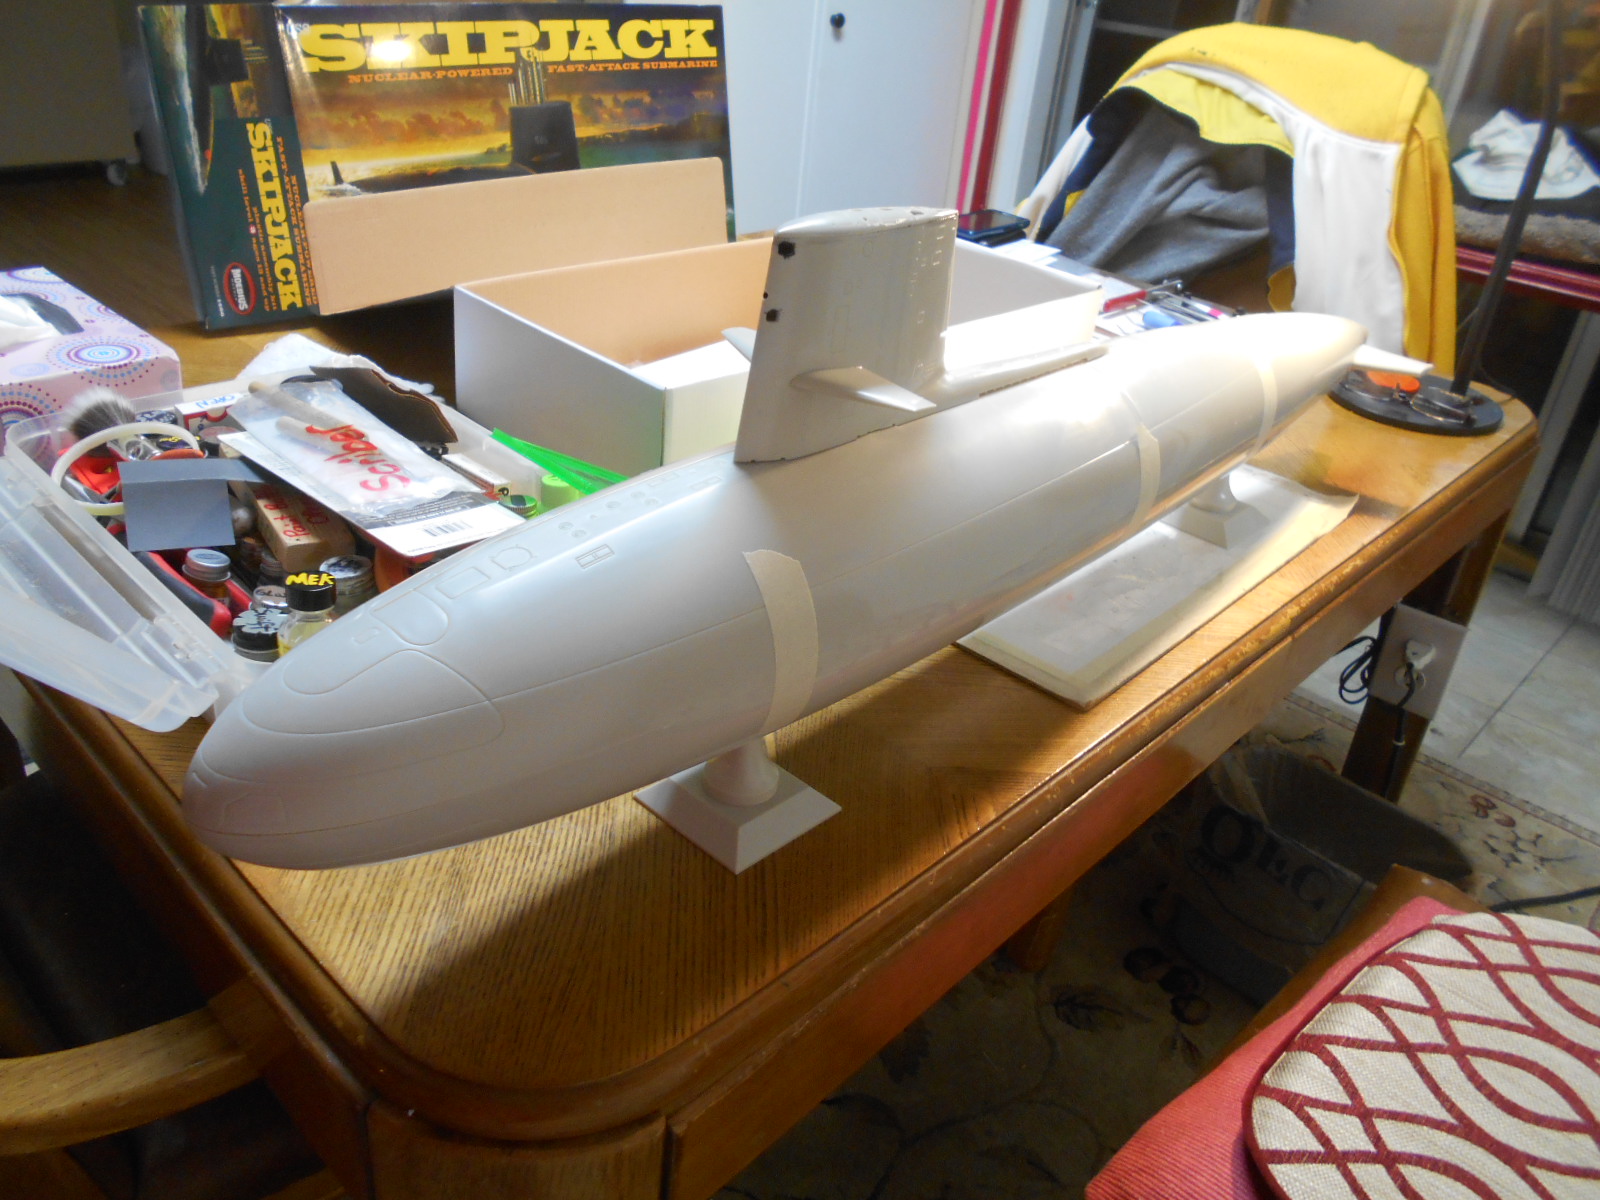
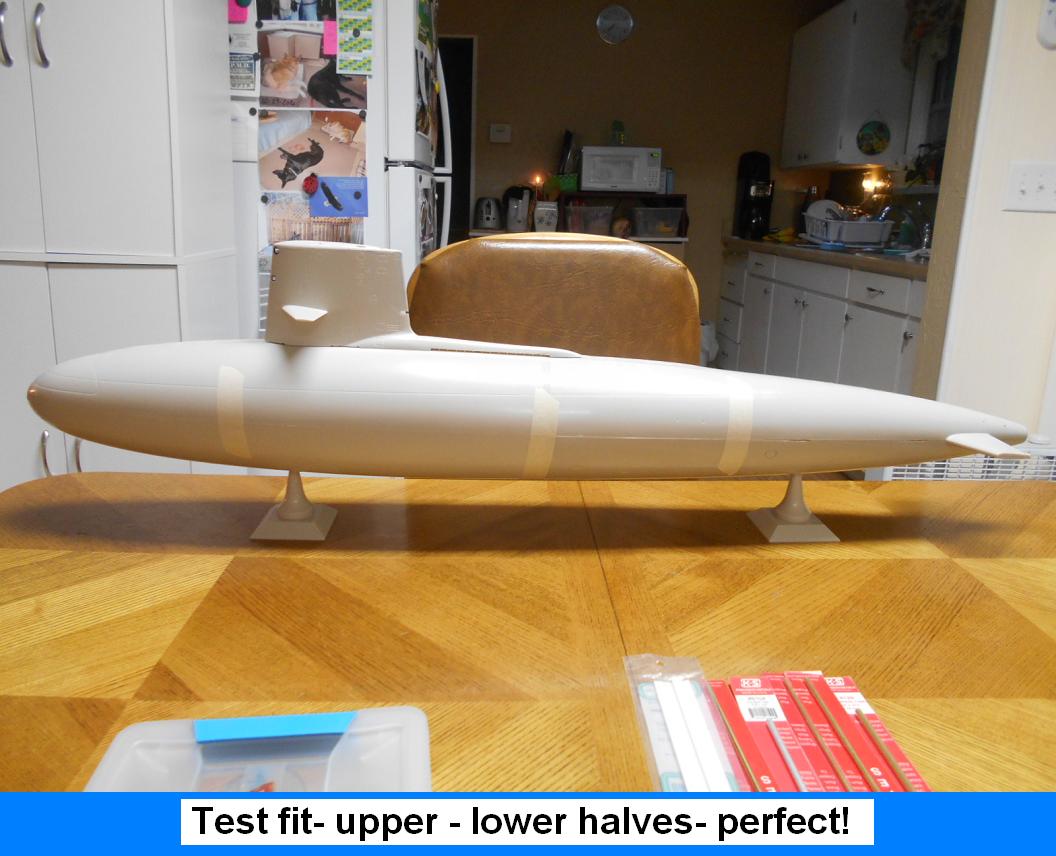
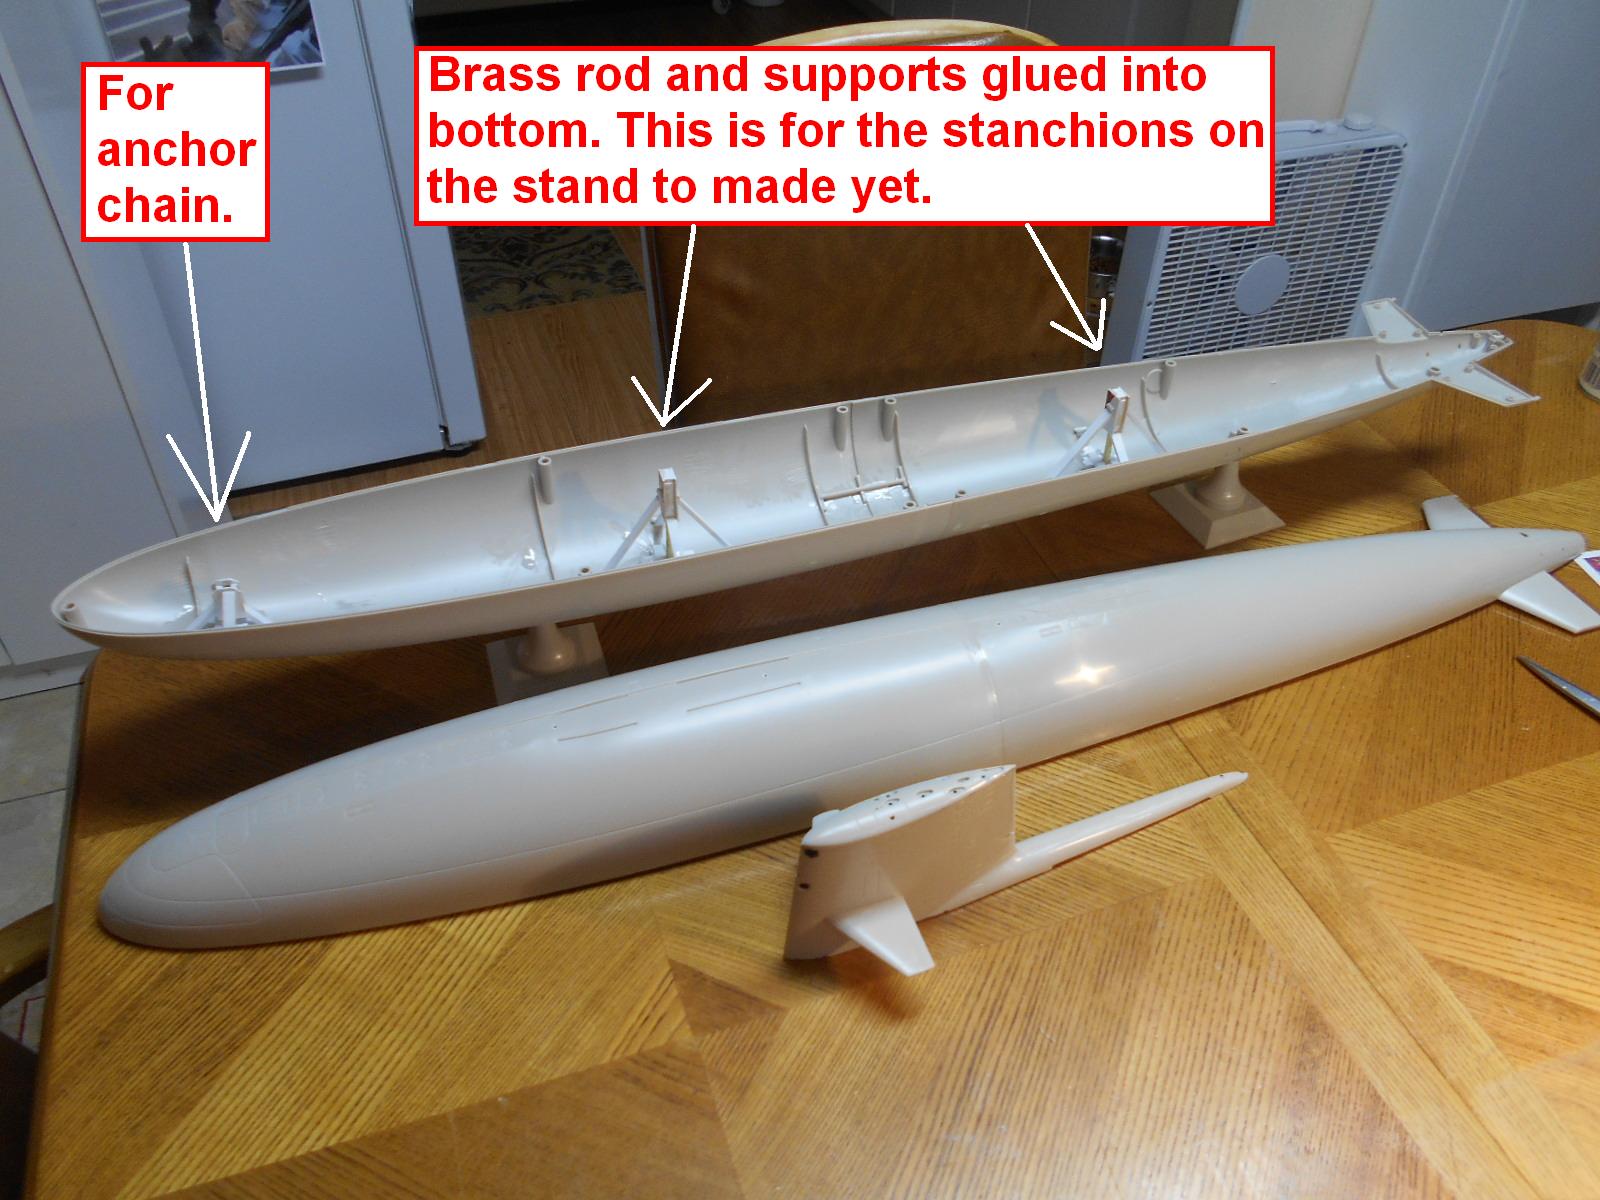
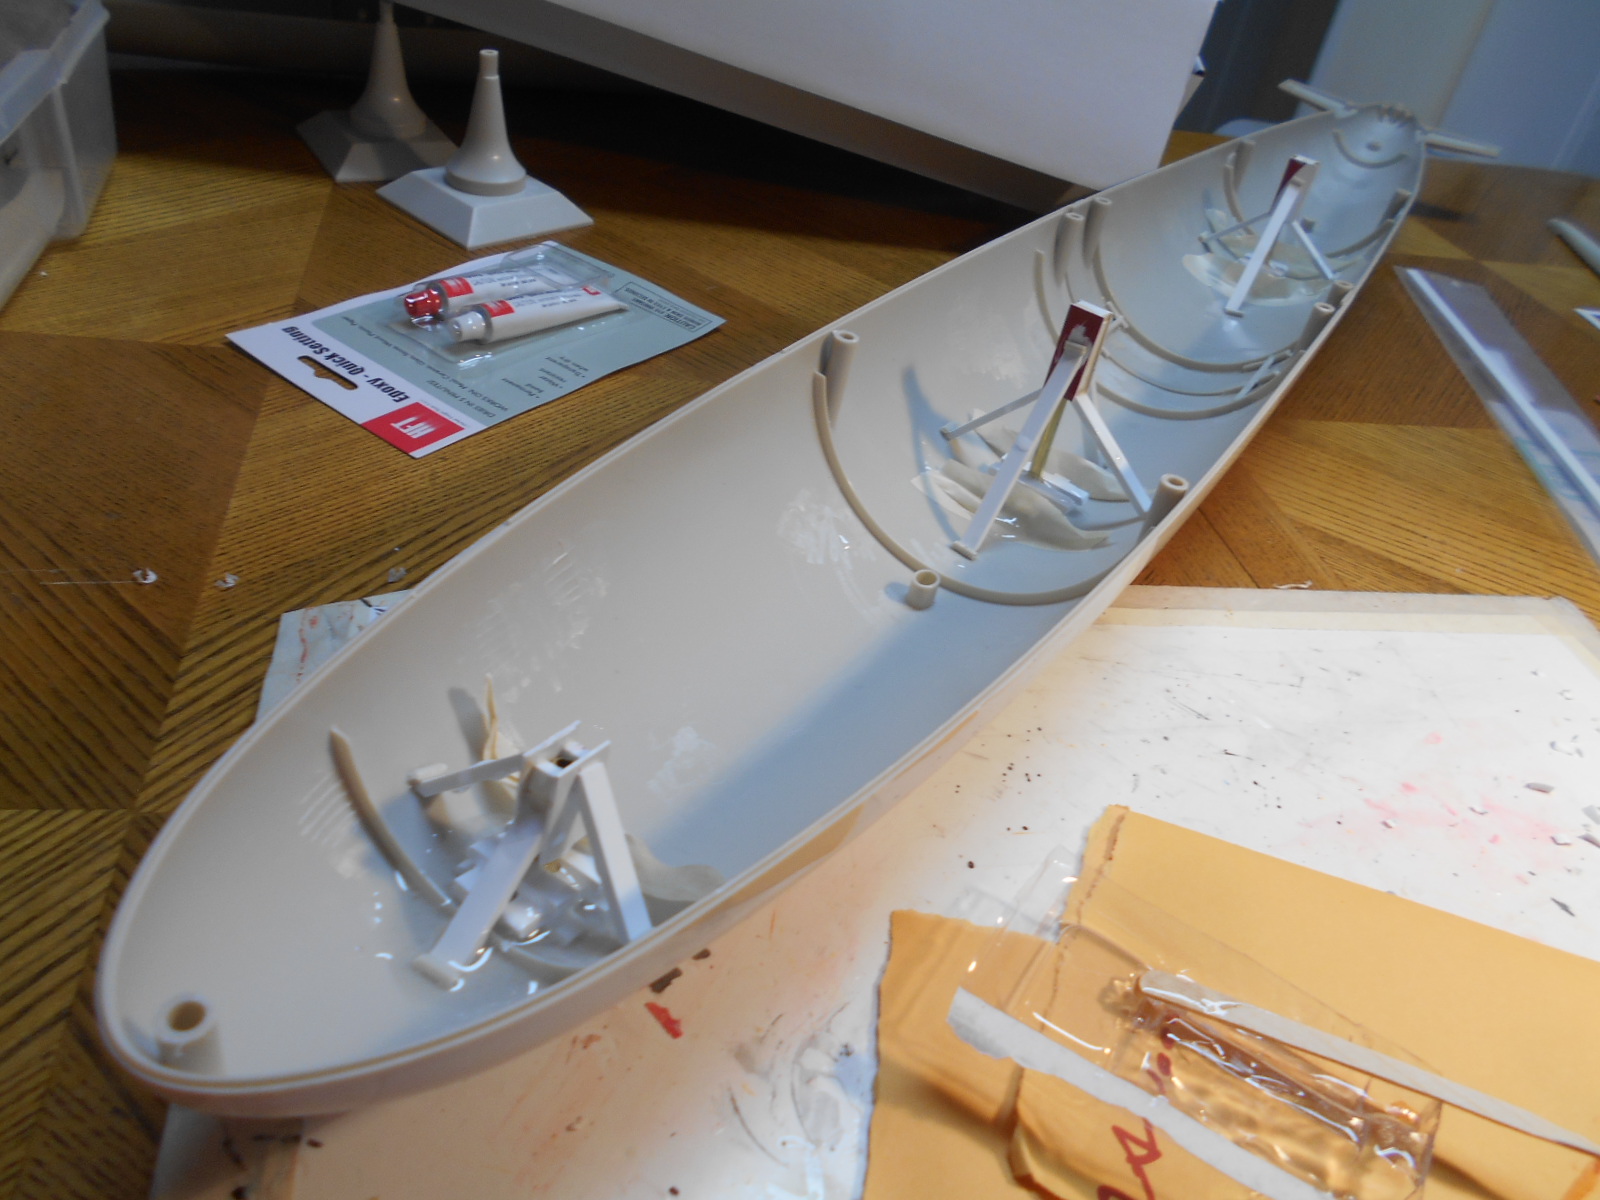
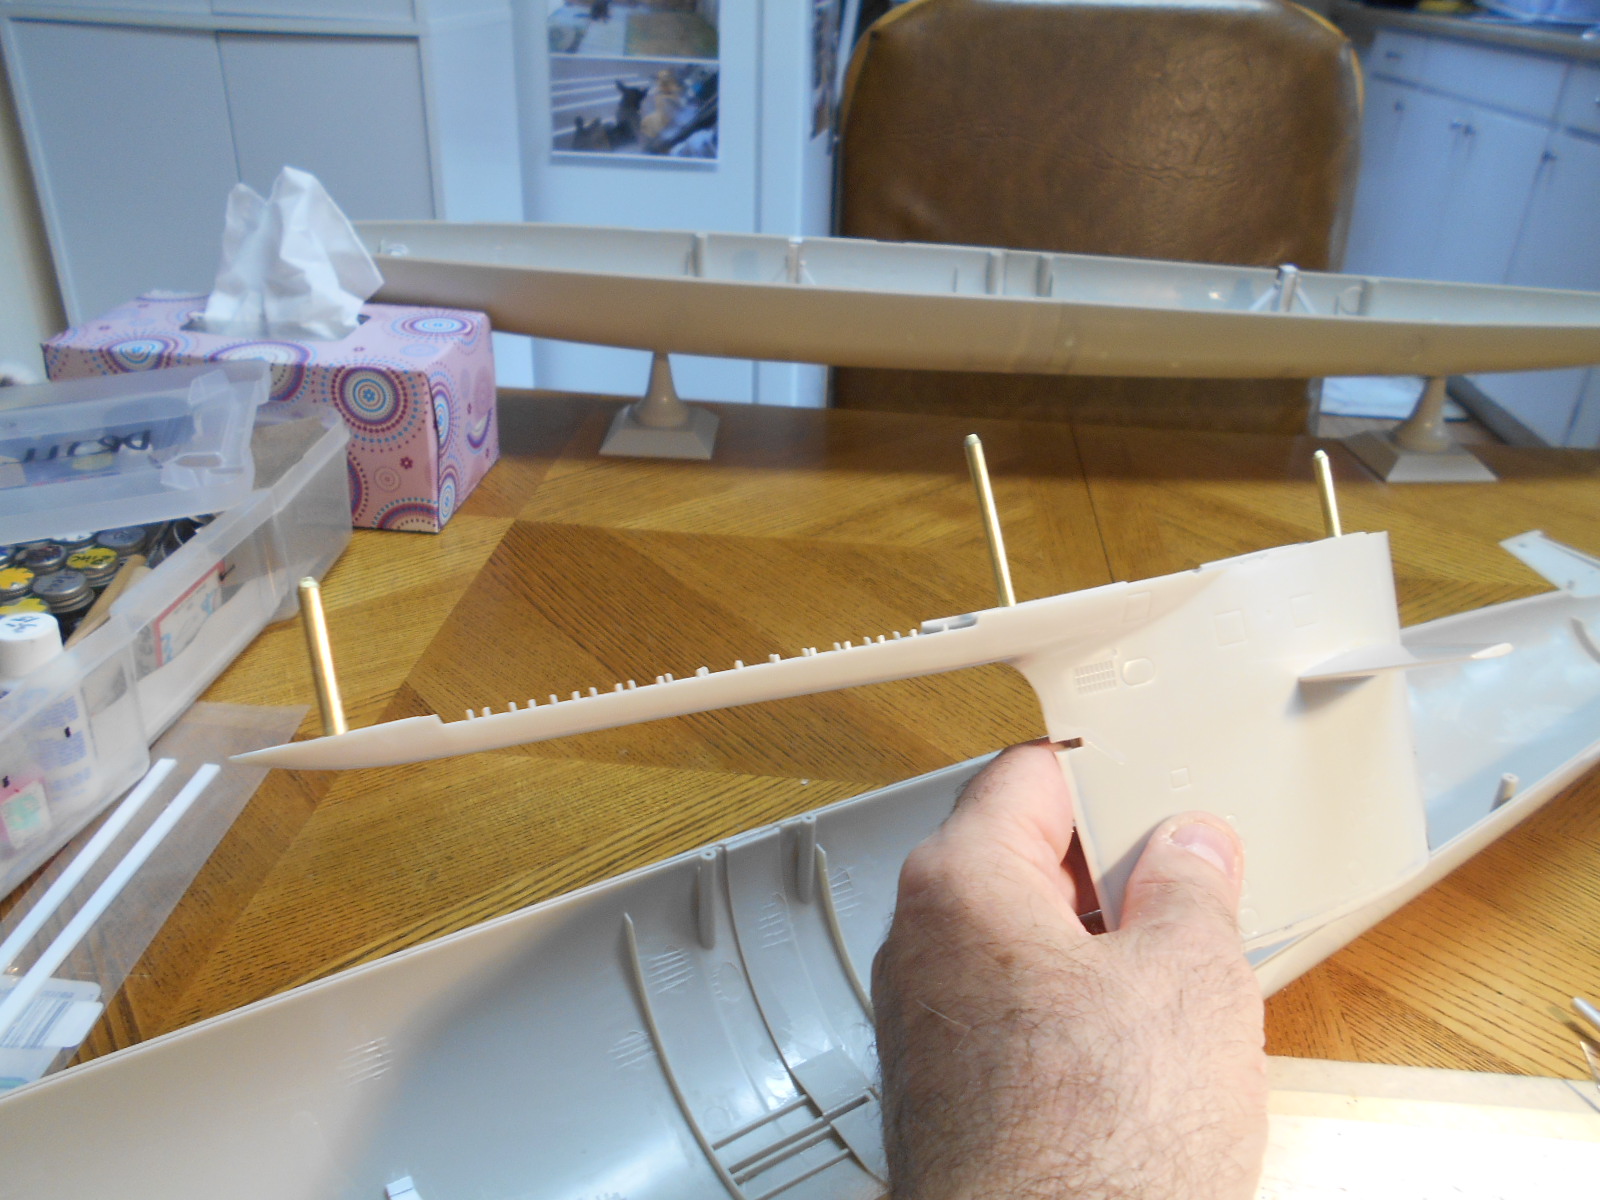
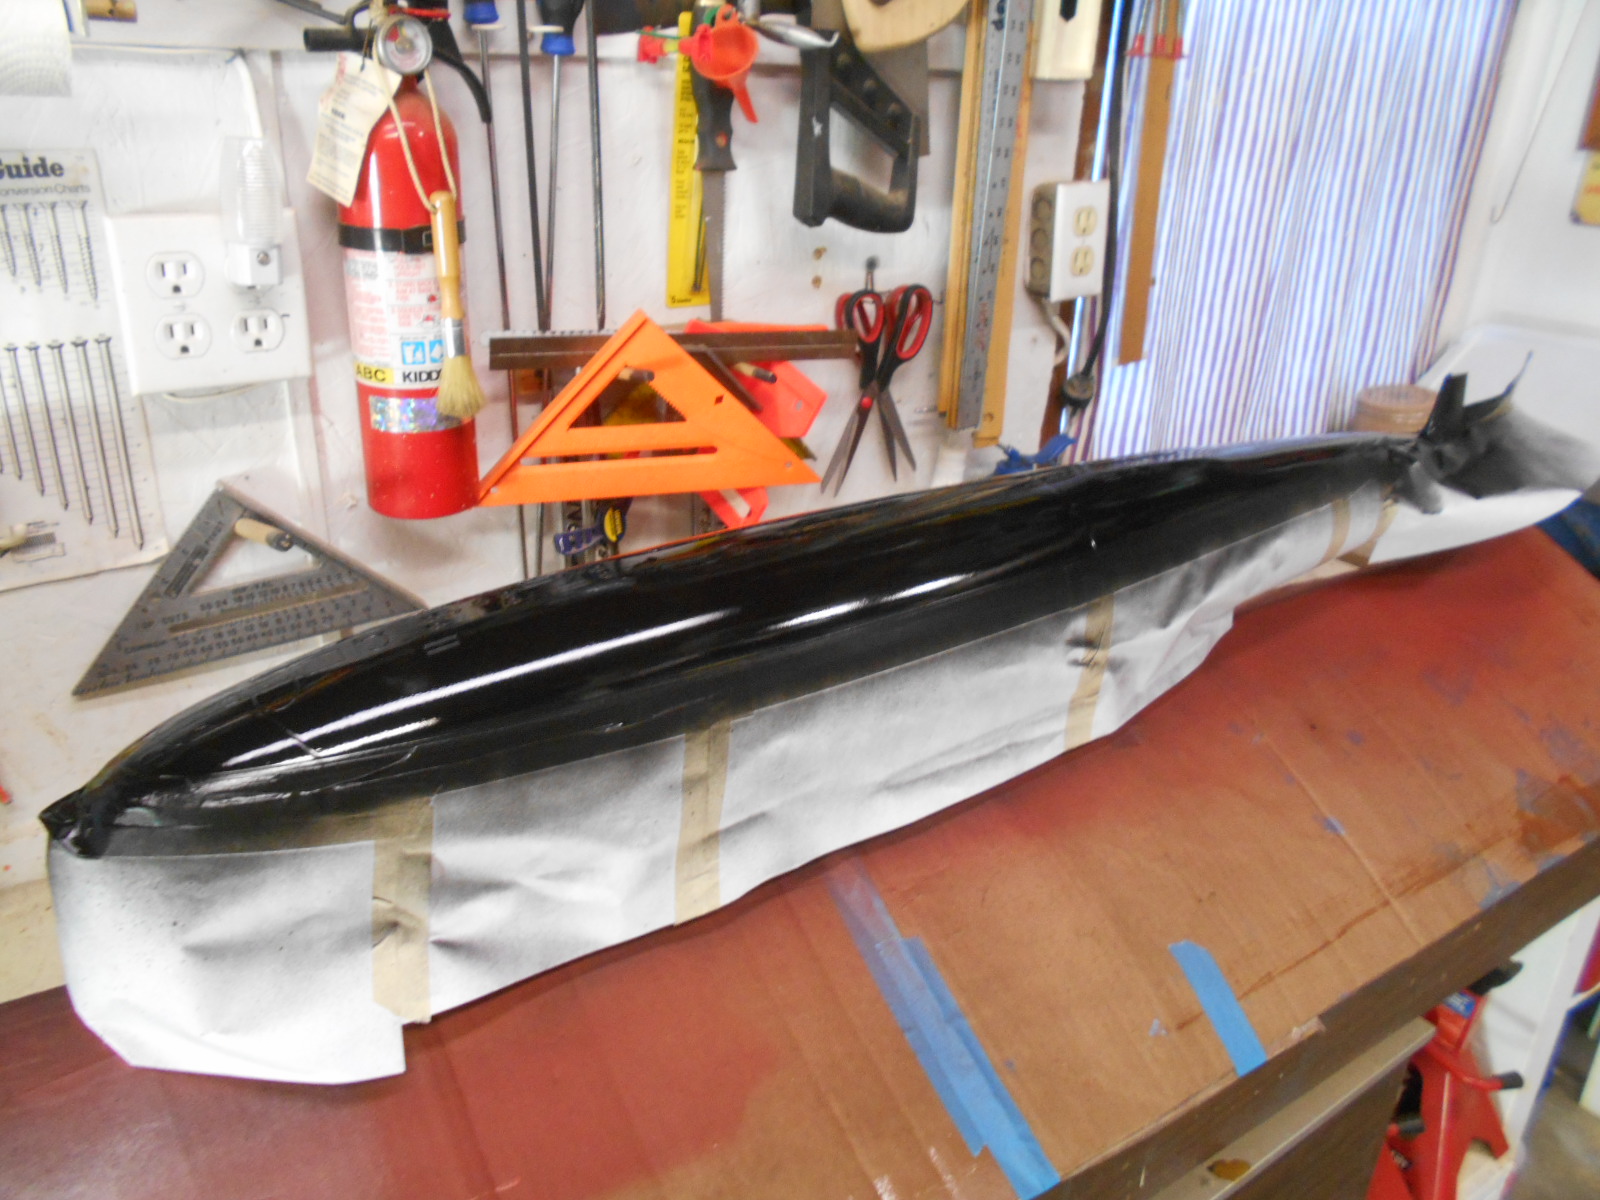
I had heard about major fit problems if you follow the directions and glue the upper / lower sections of the front first, then the upper/lower sections of the rear——and then join those two assemblies together. The diameters (from the molding process perhaps?) do not fit well at all.
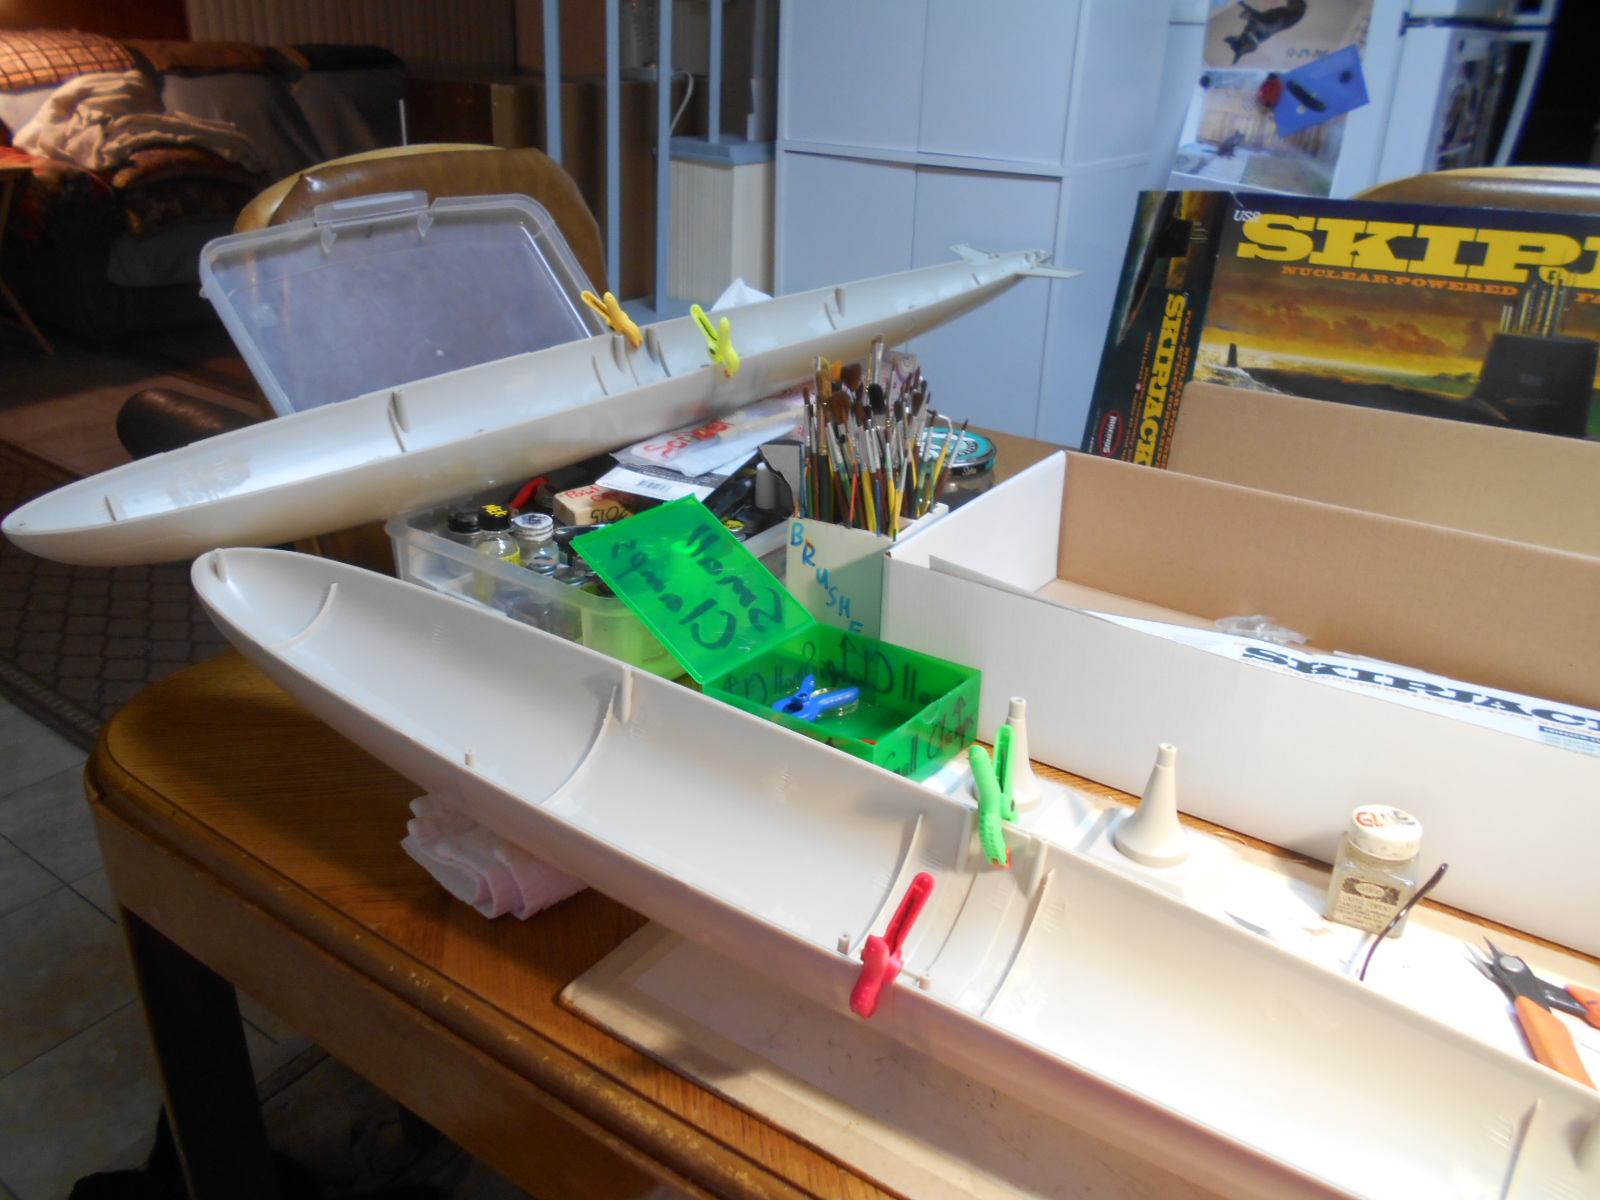
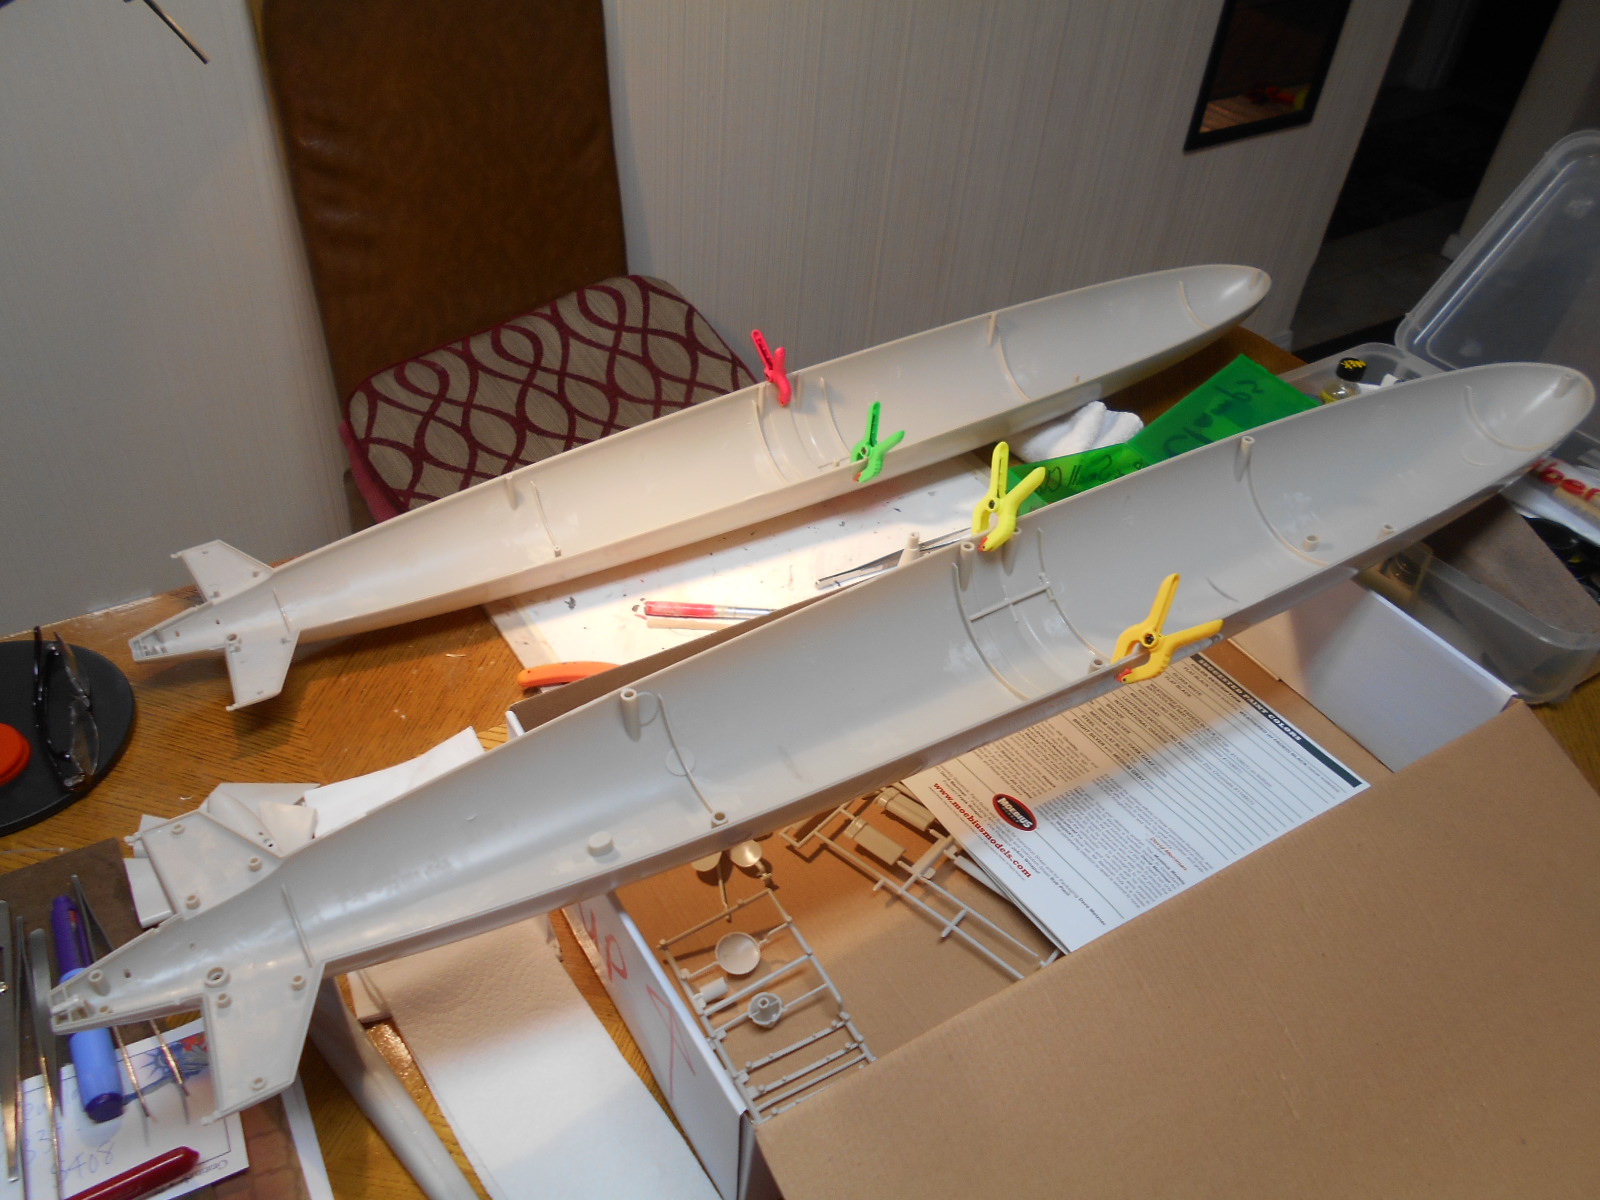
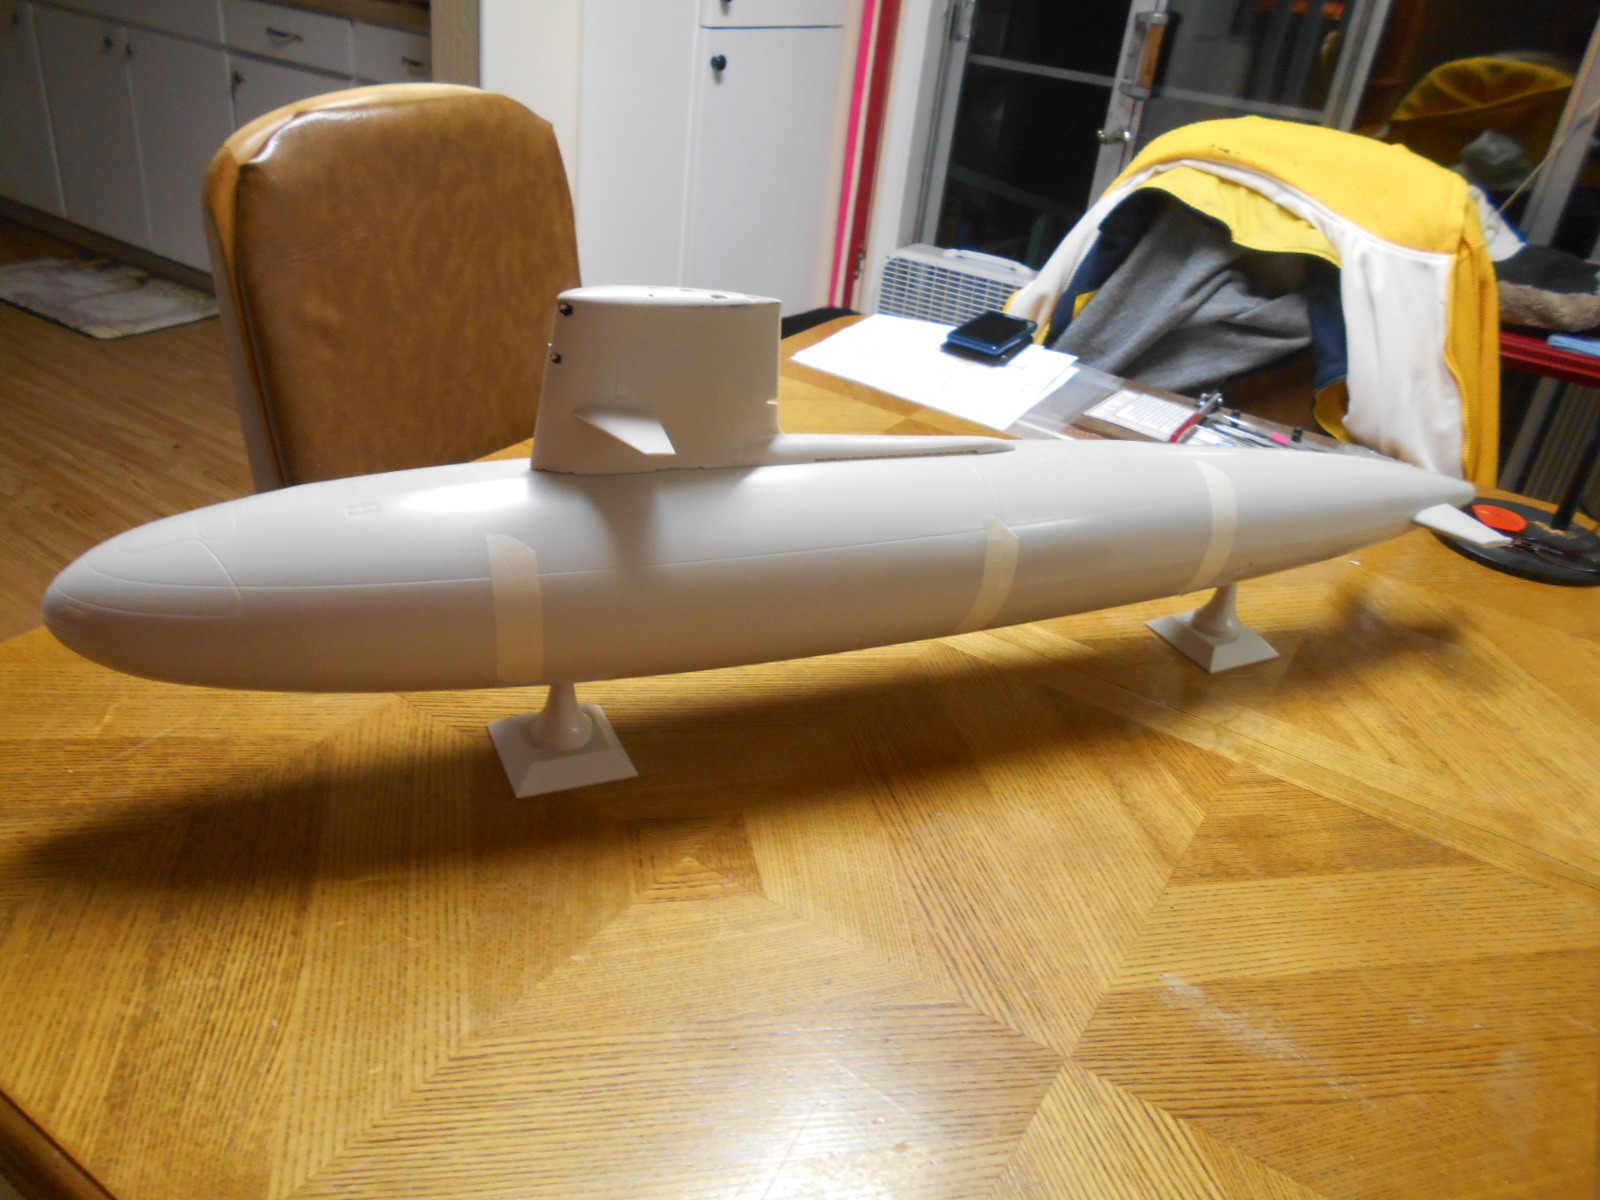
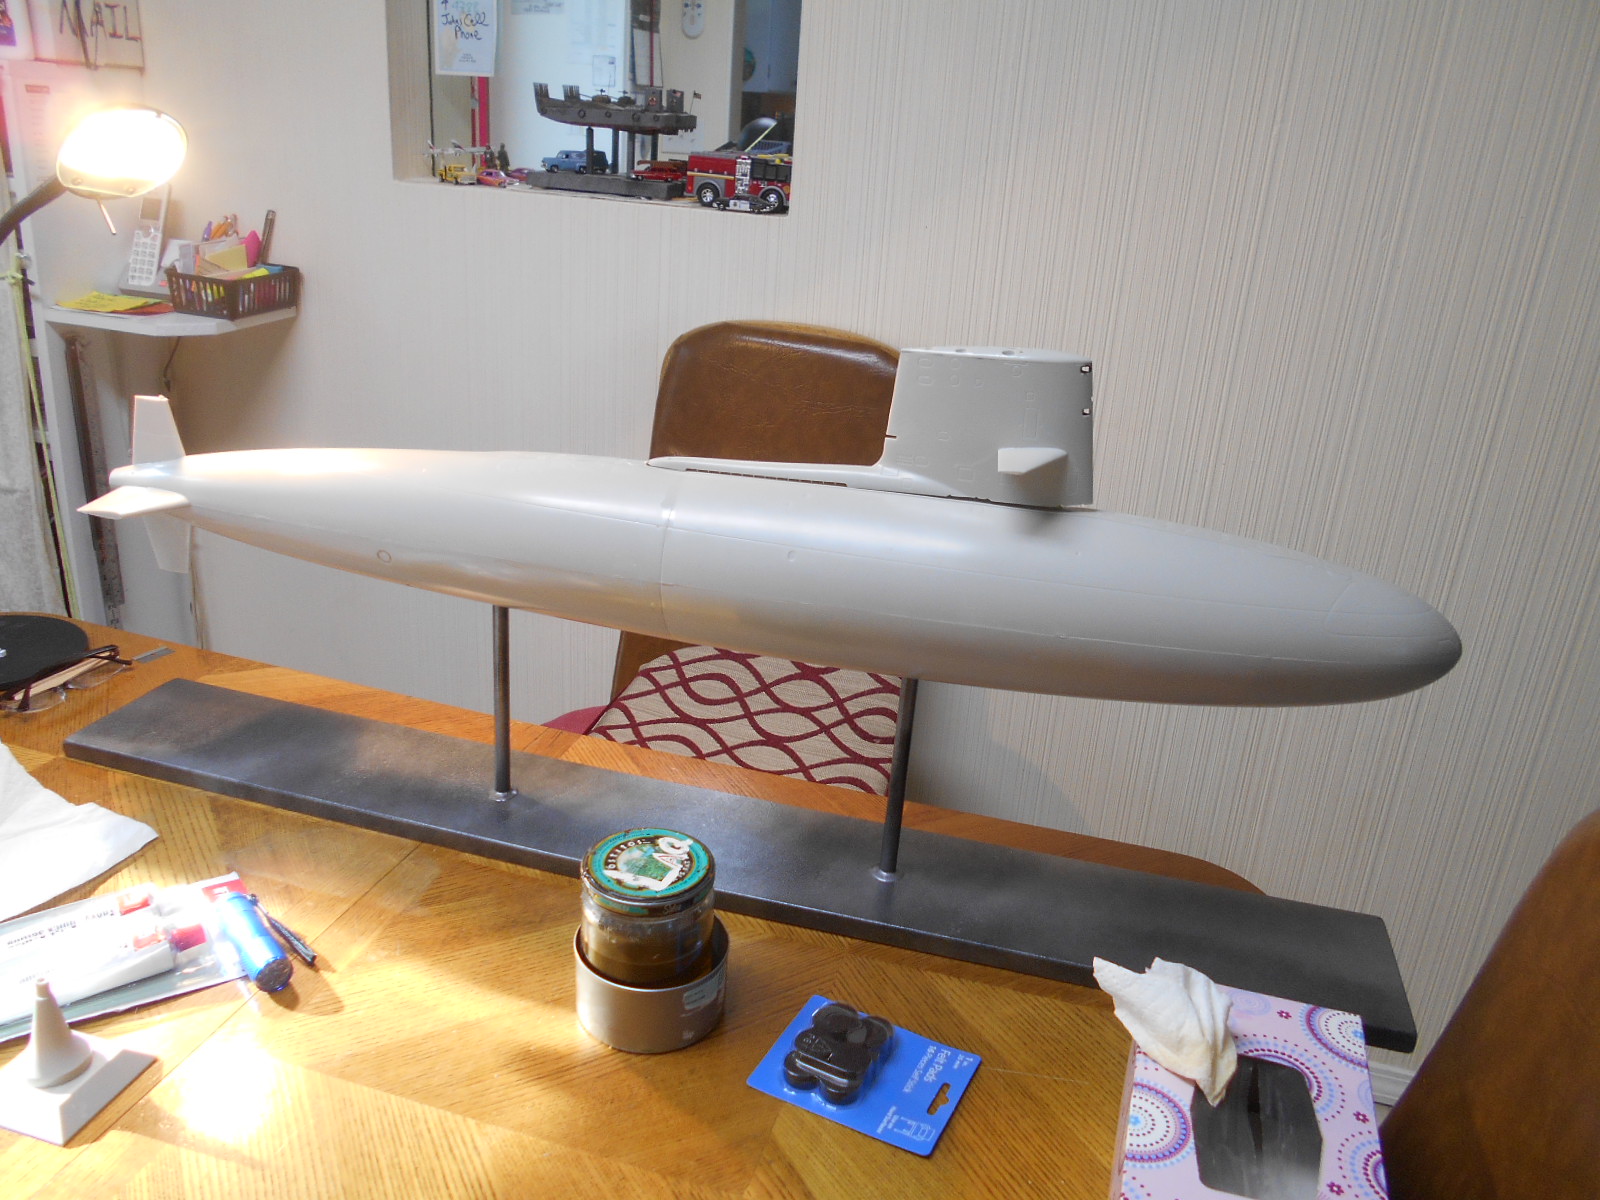
So- I decided to glue the lower front and back together, then glue the upper front and back together. Then I joined the halves along the horizontal seam. Holy wow Batman- they came right together. I had about zero fit issues and no filler was used. None. I could have filled one little seam in the vertical- but for me- the outcome of the sub was good enough for this century.
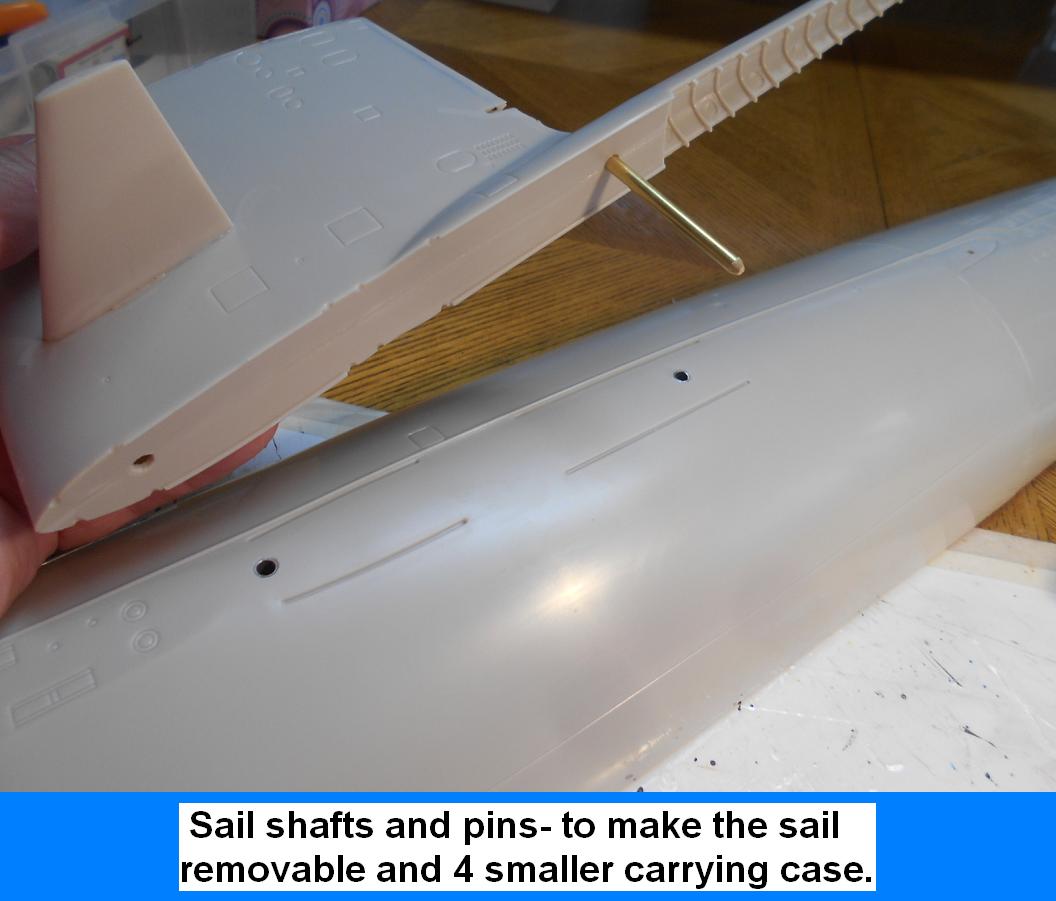
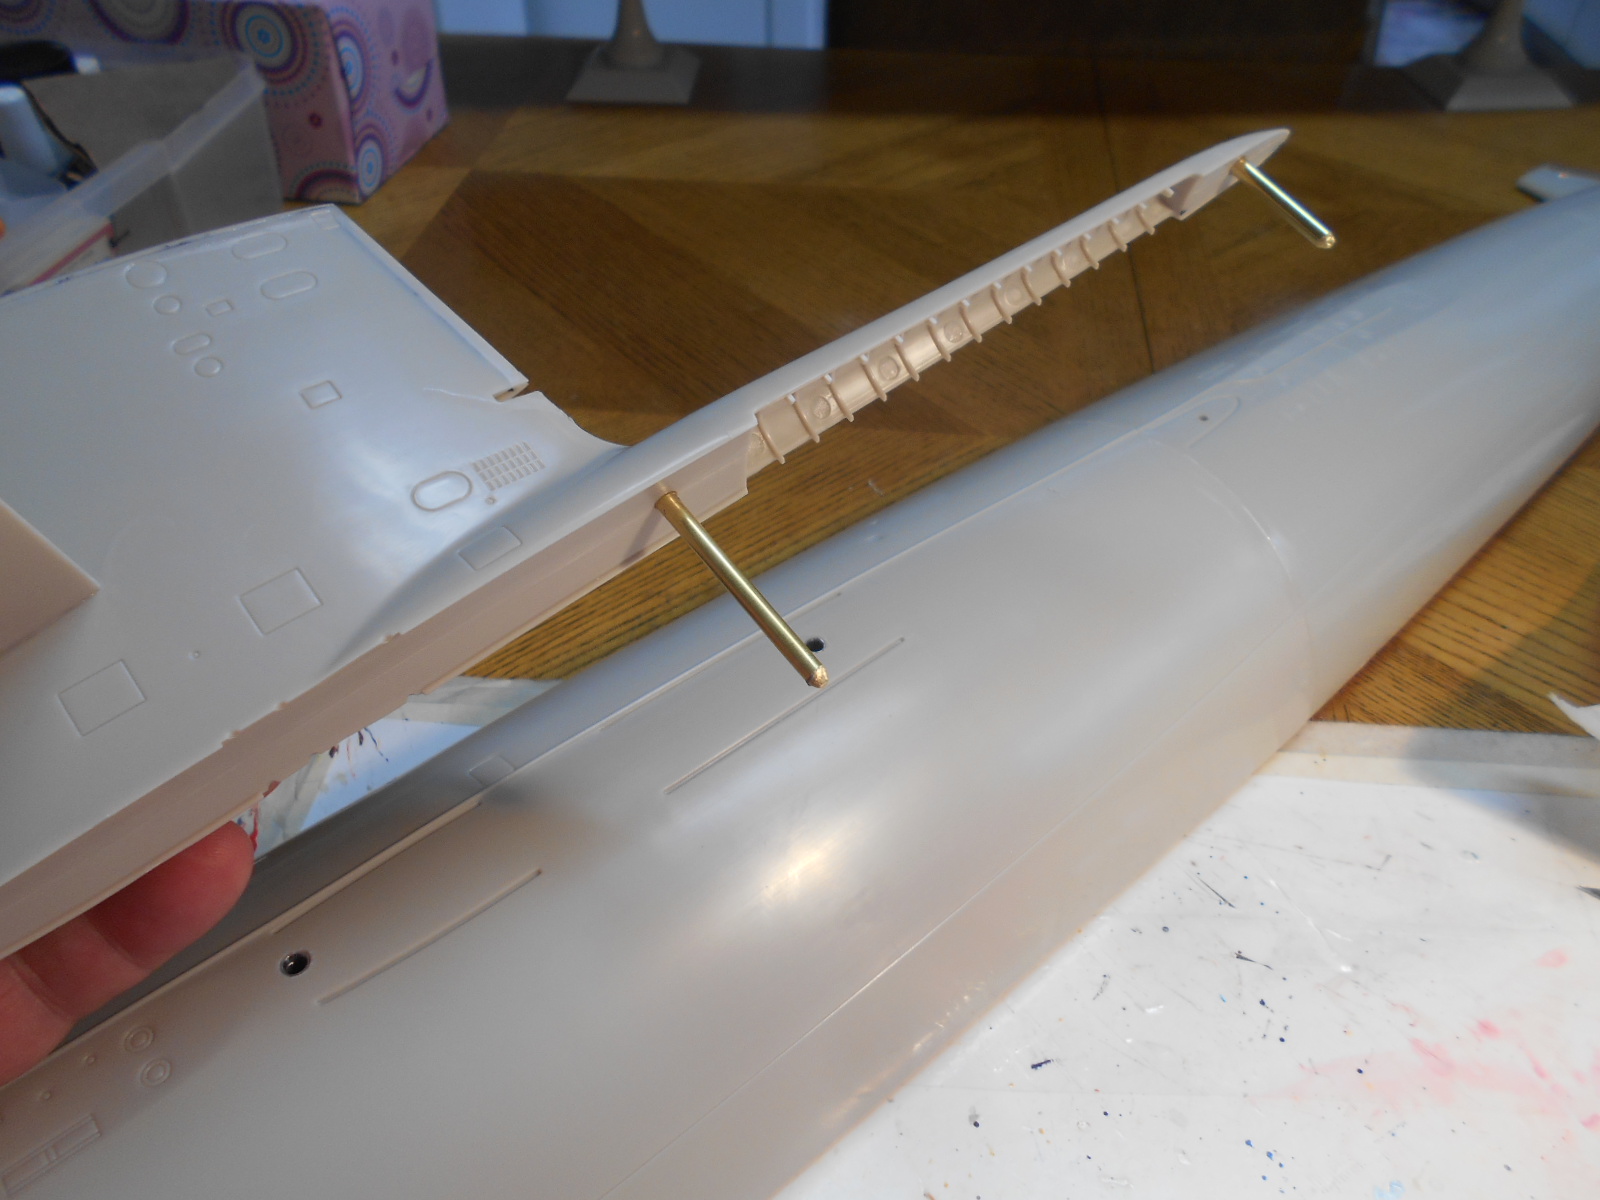
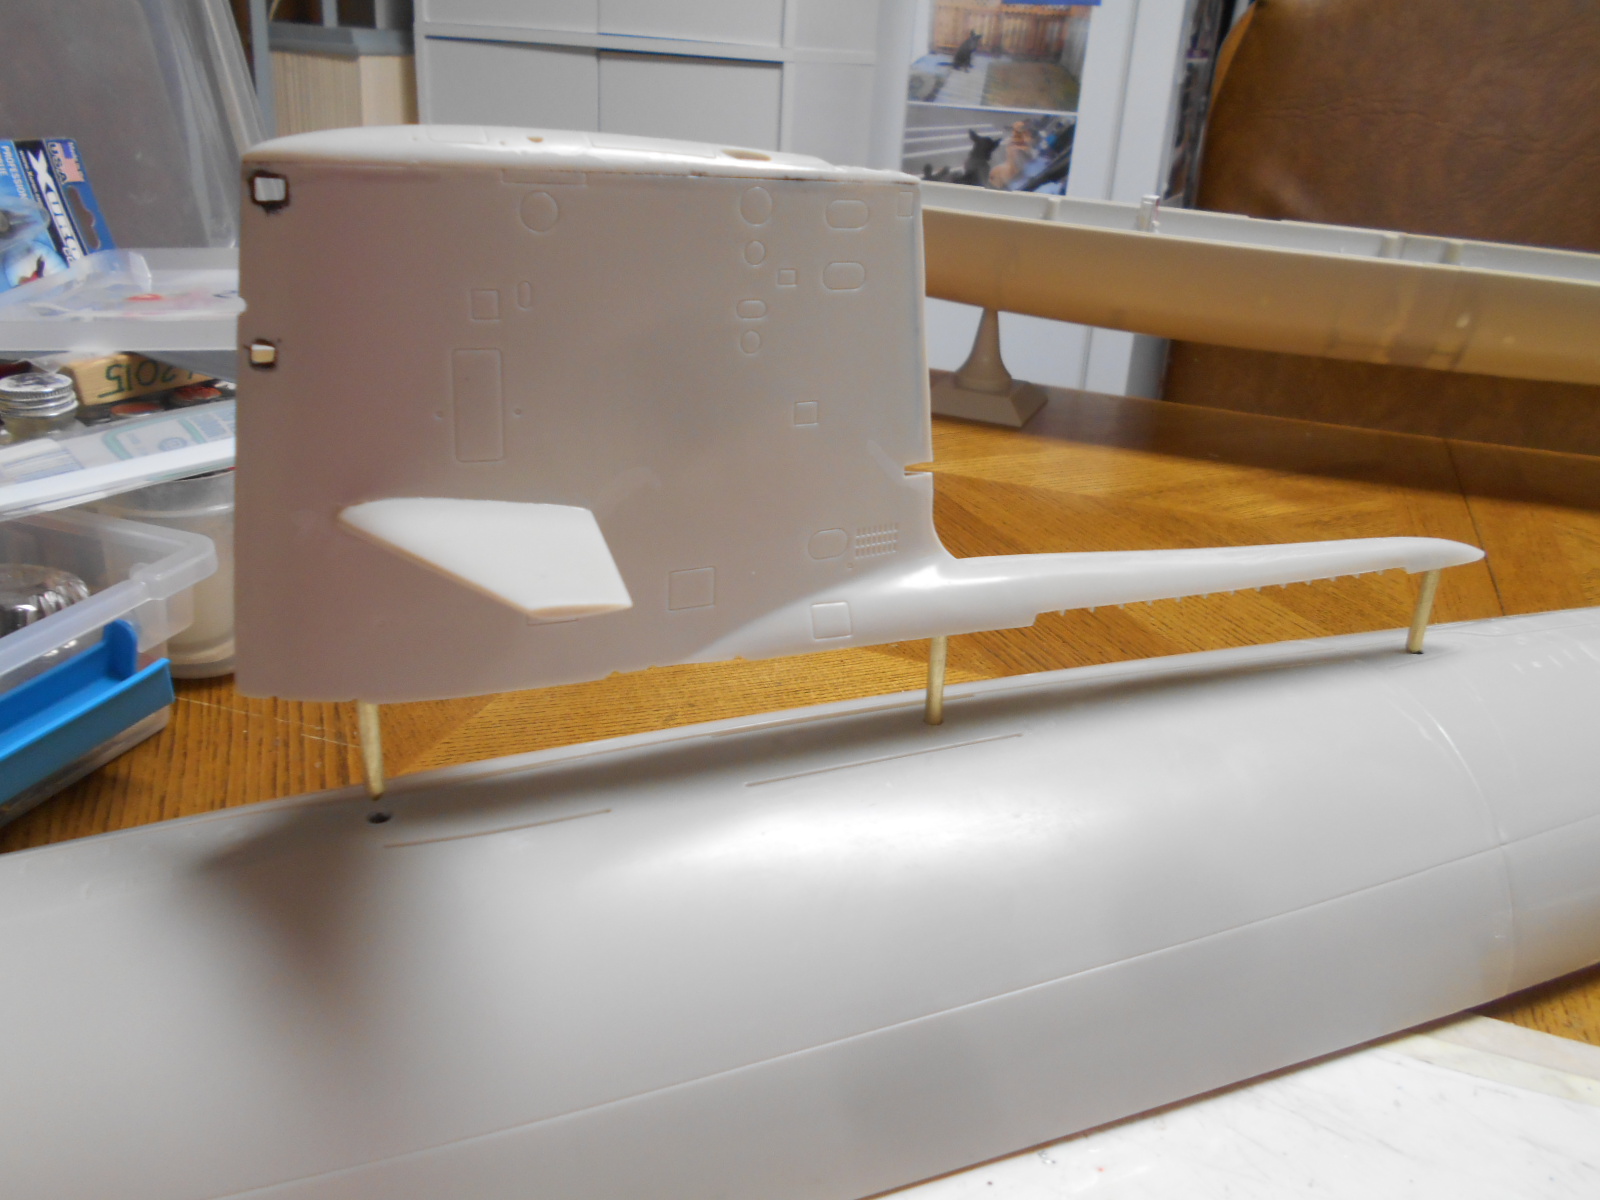
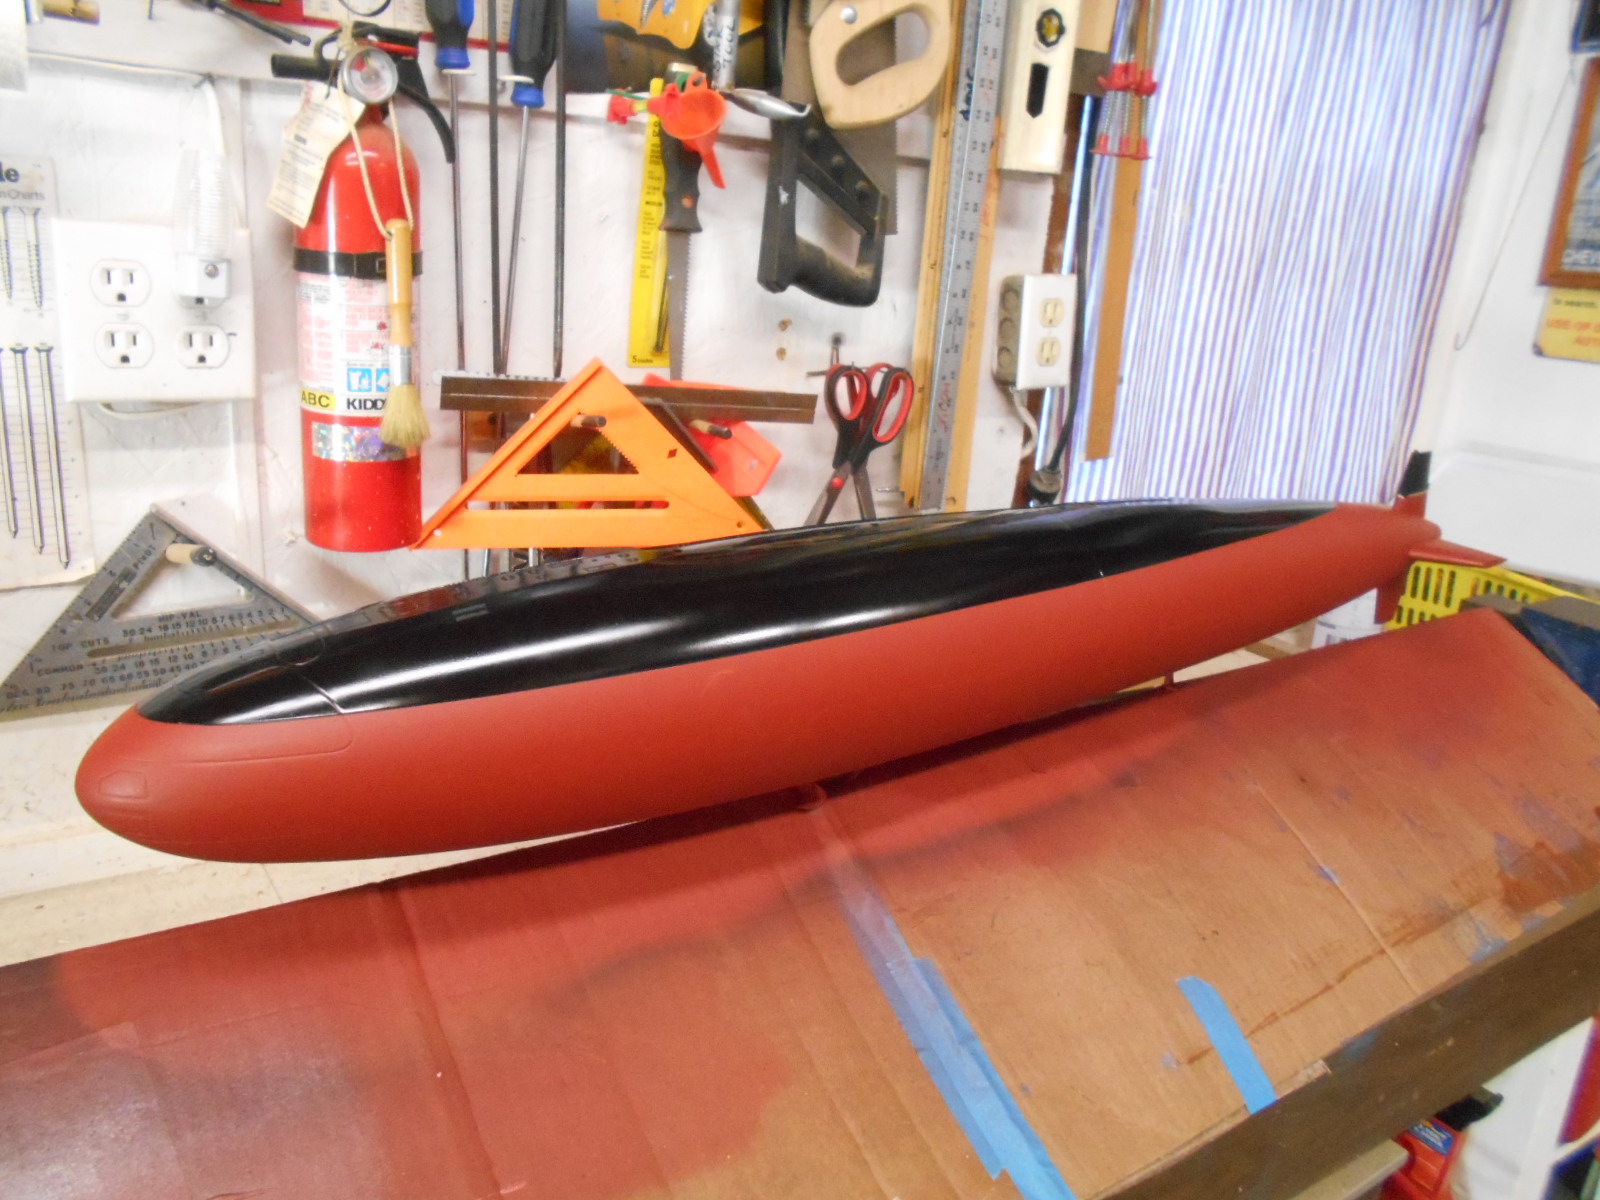
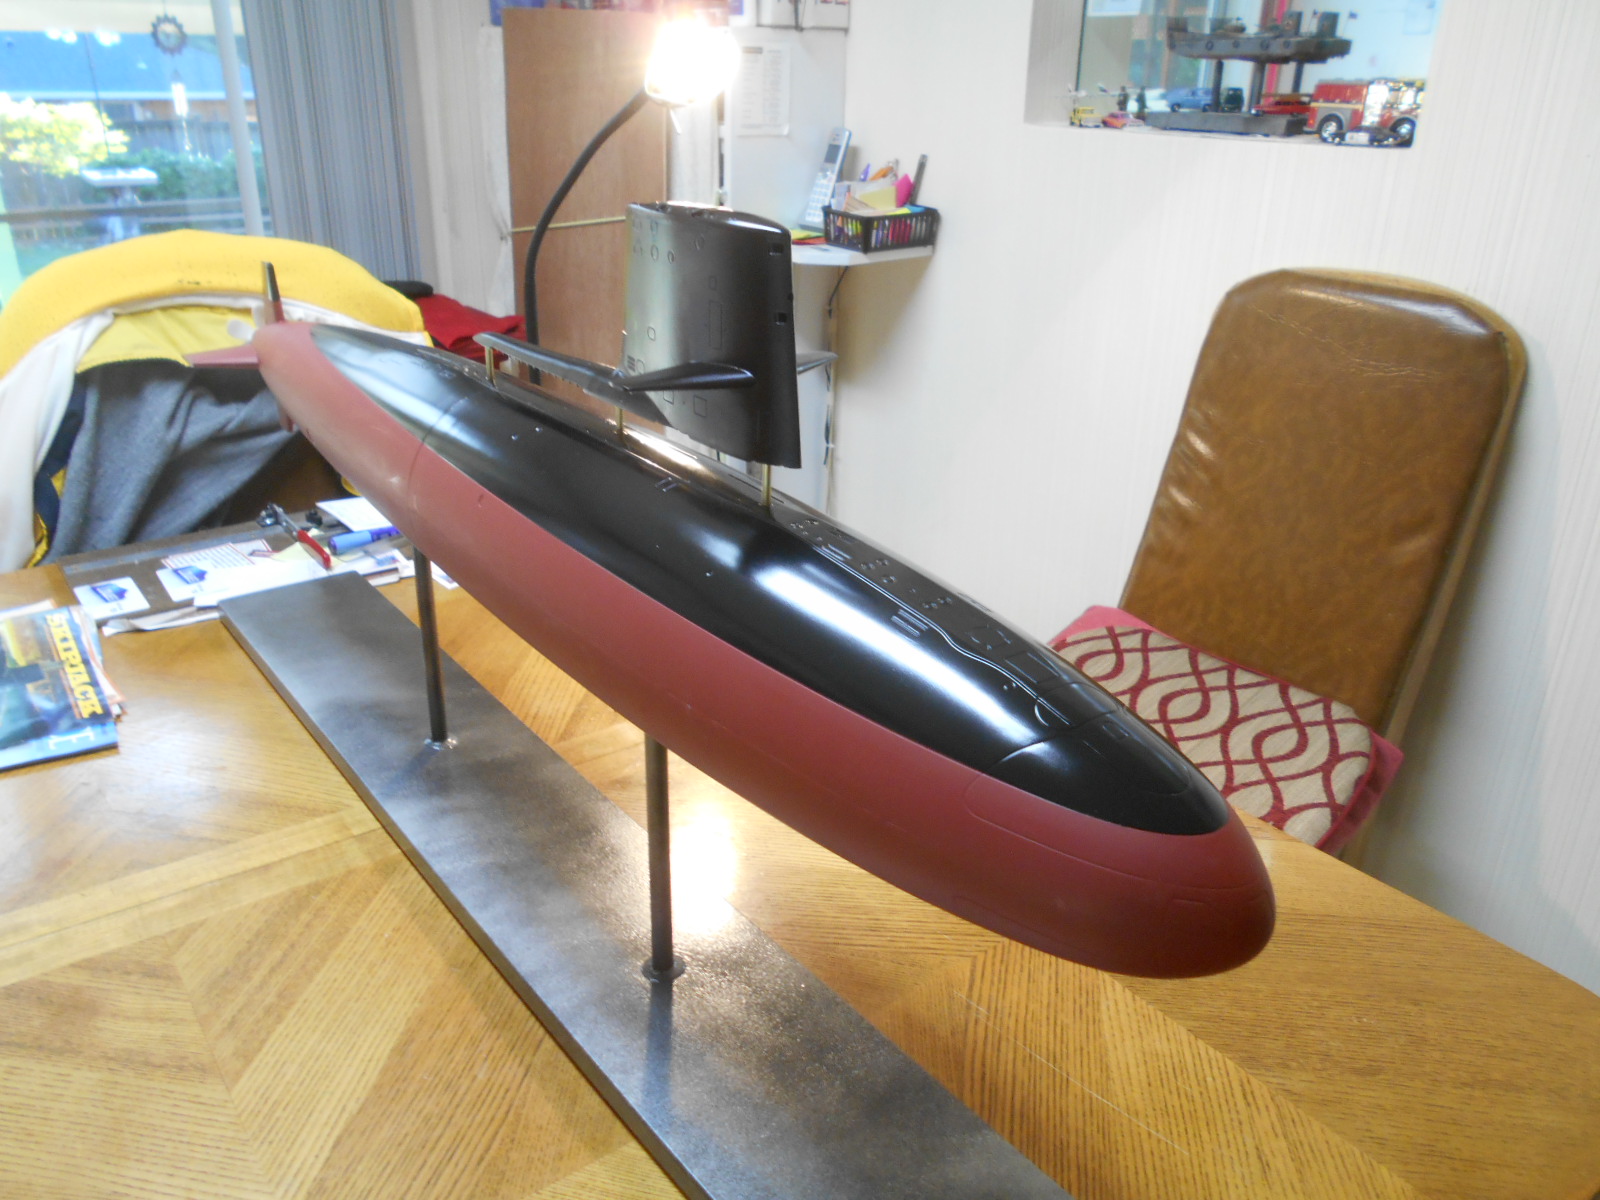
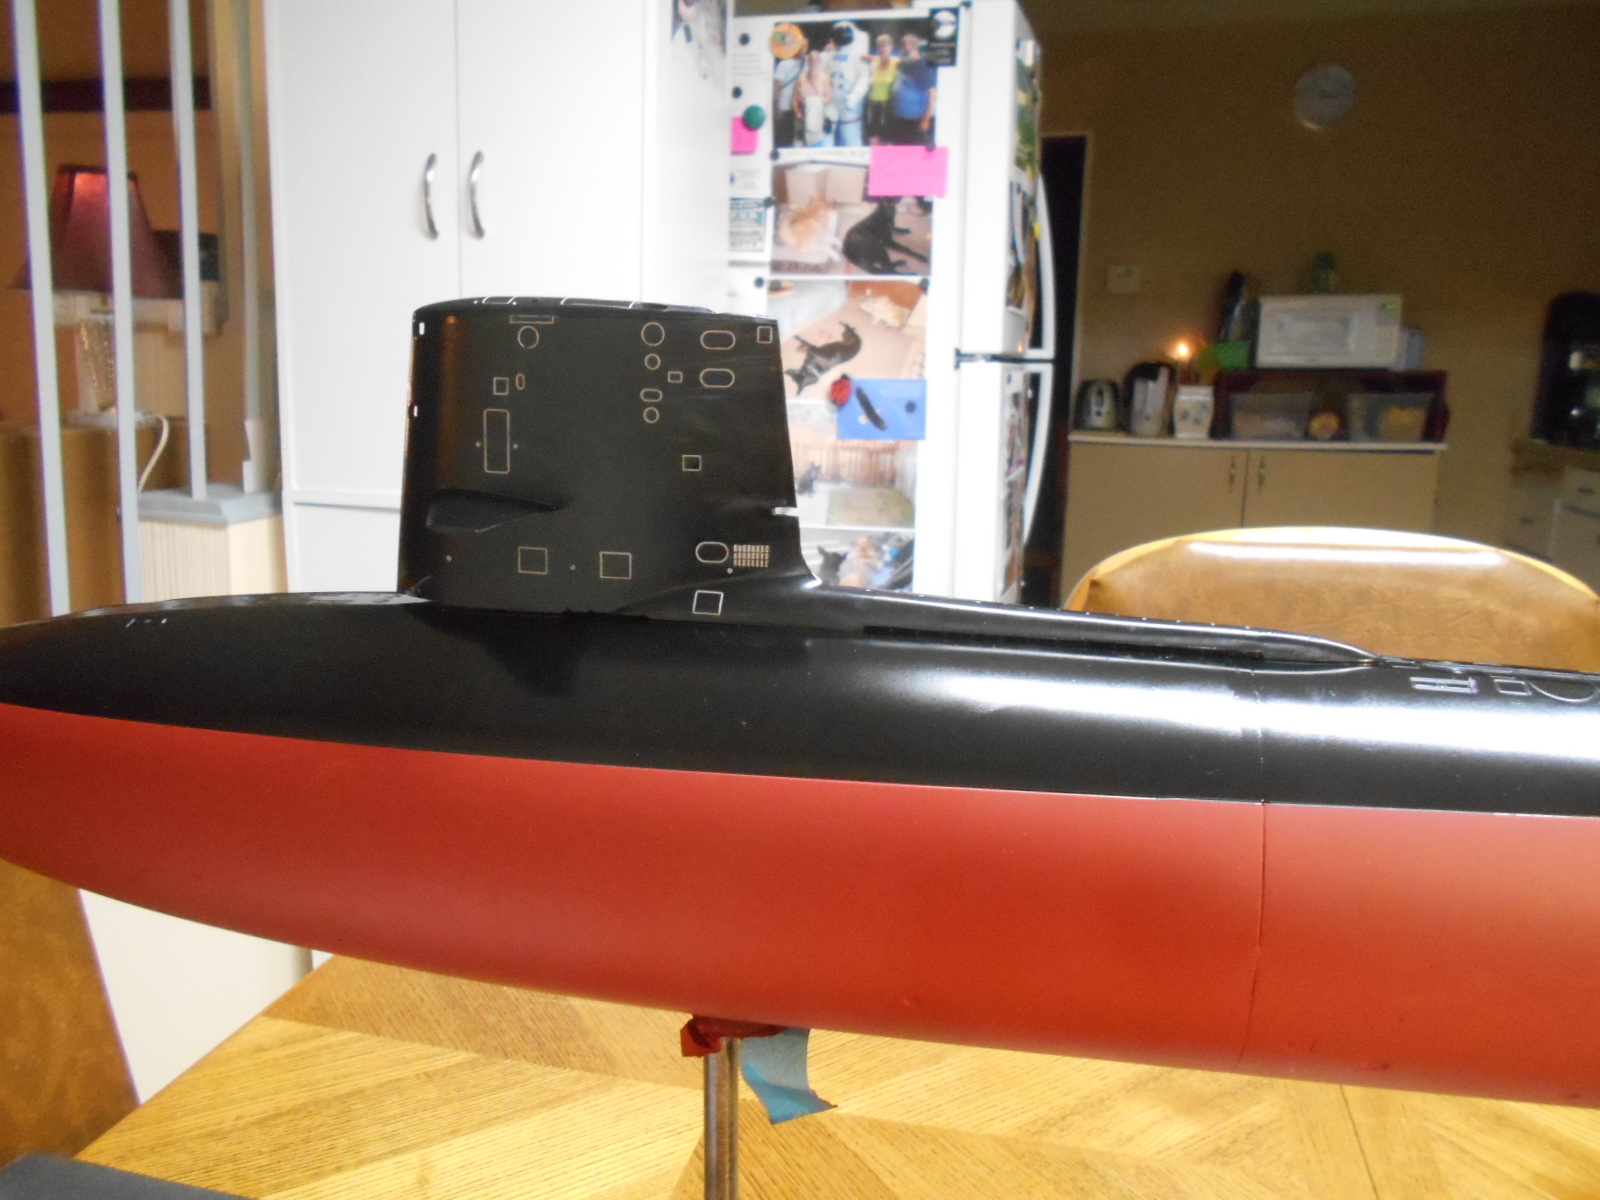
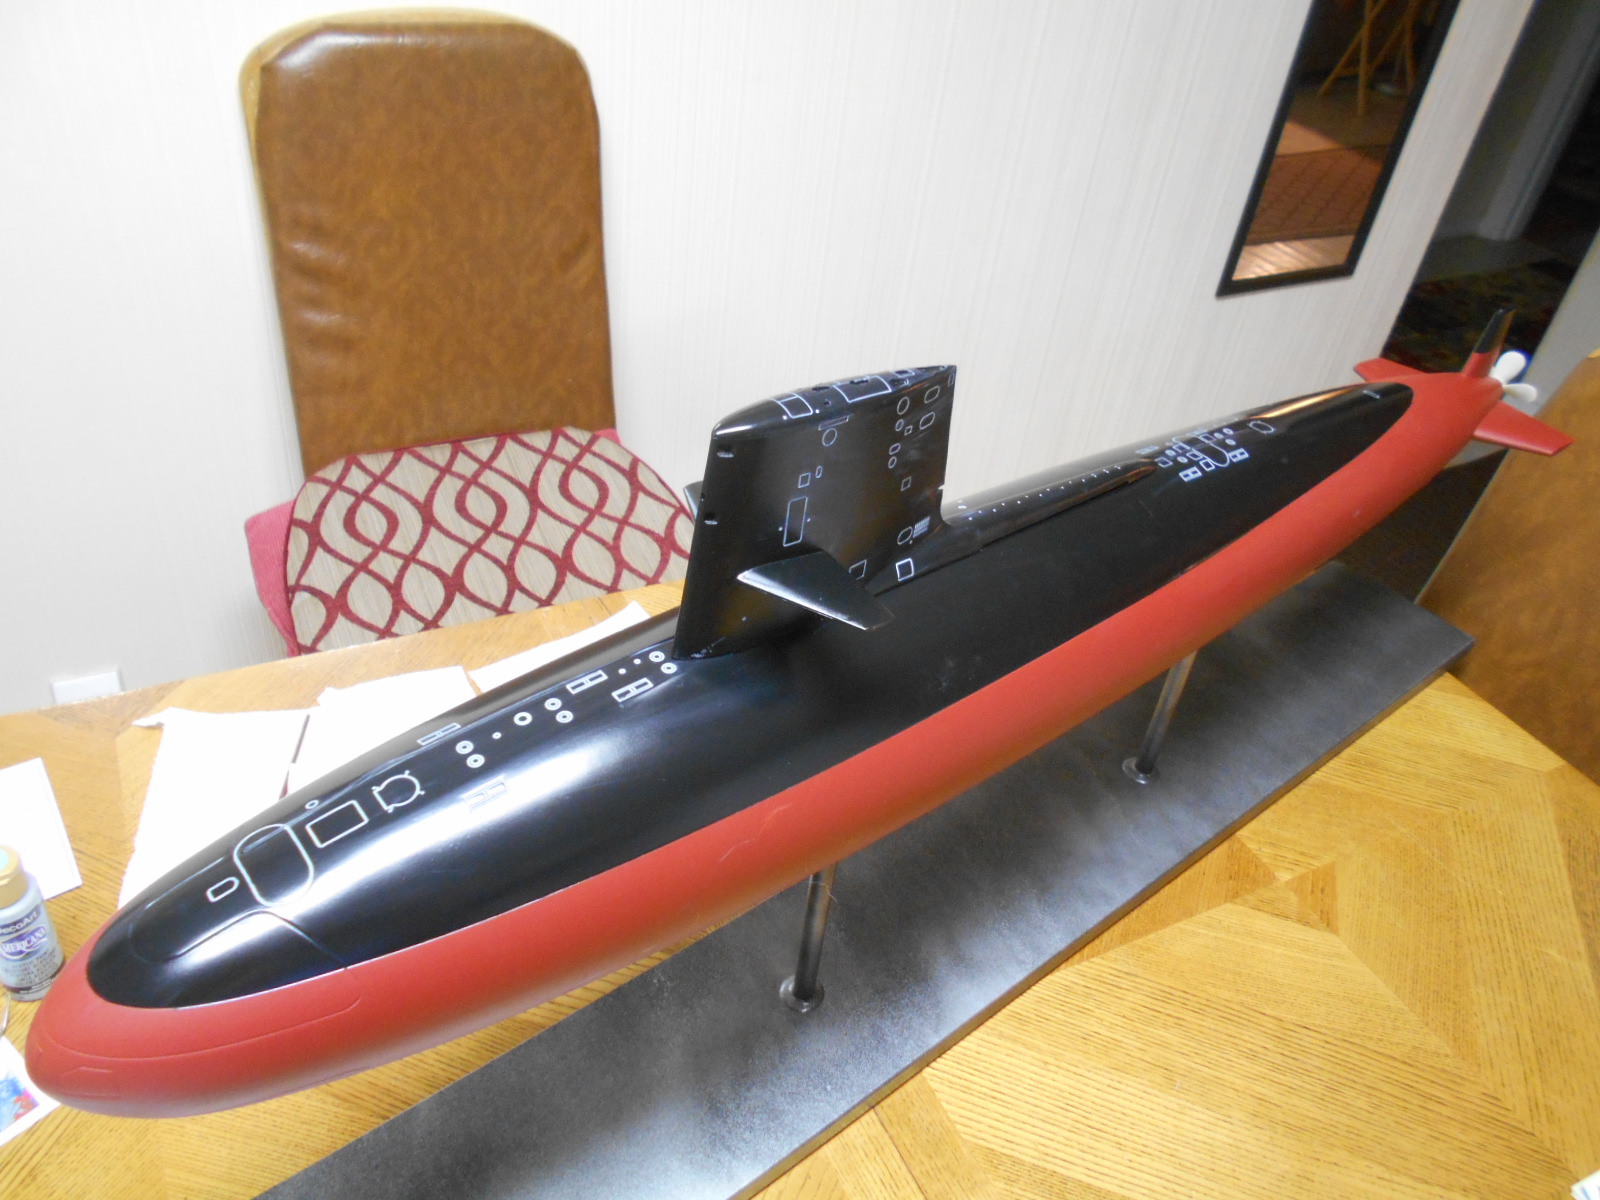
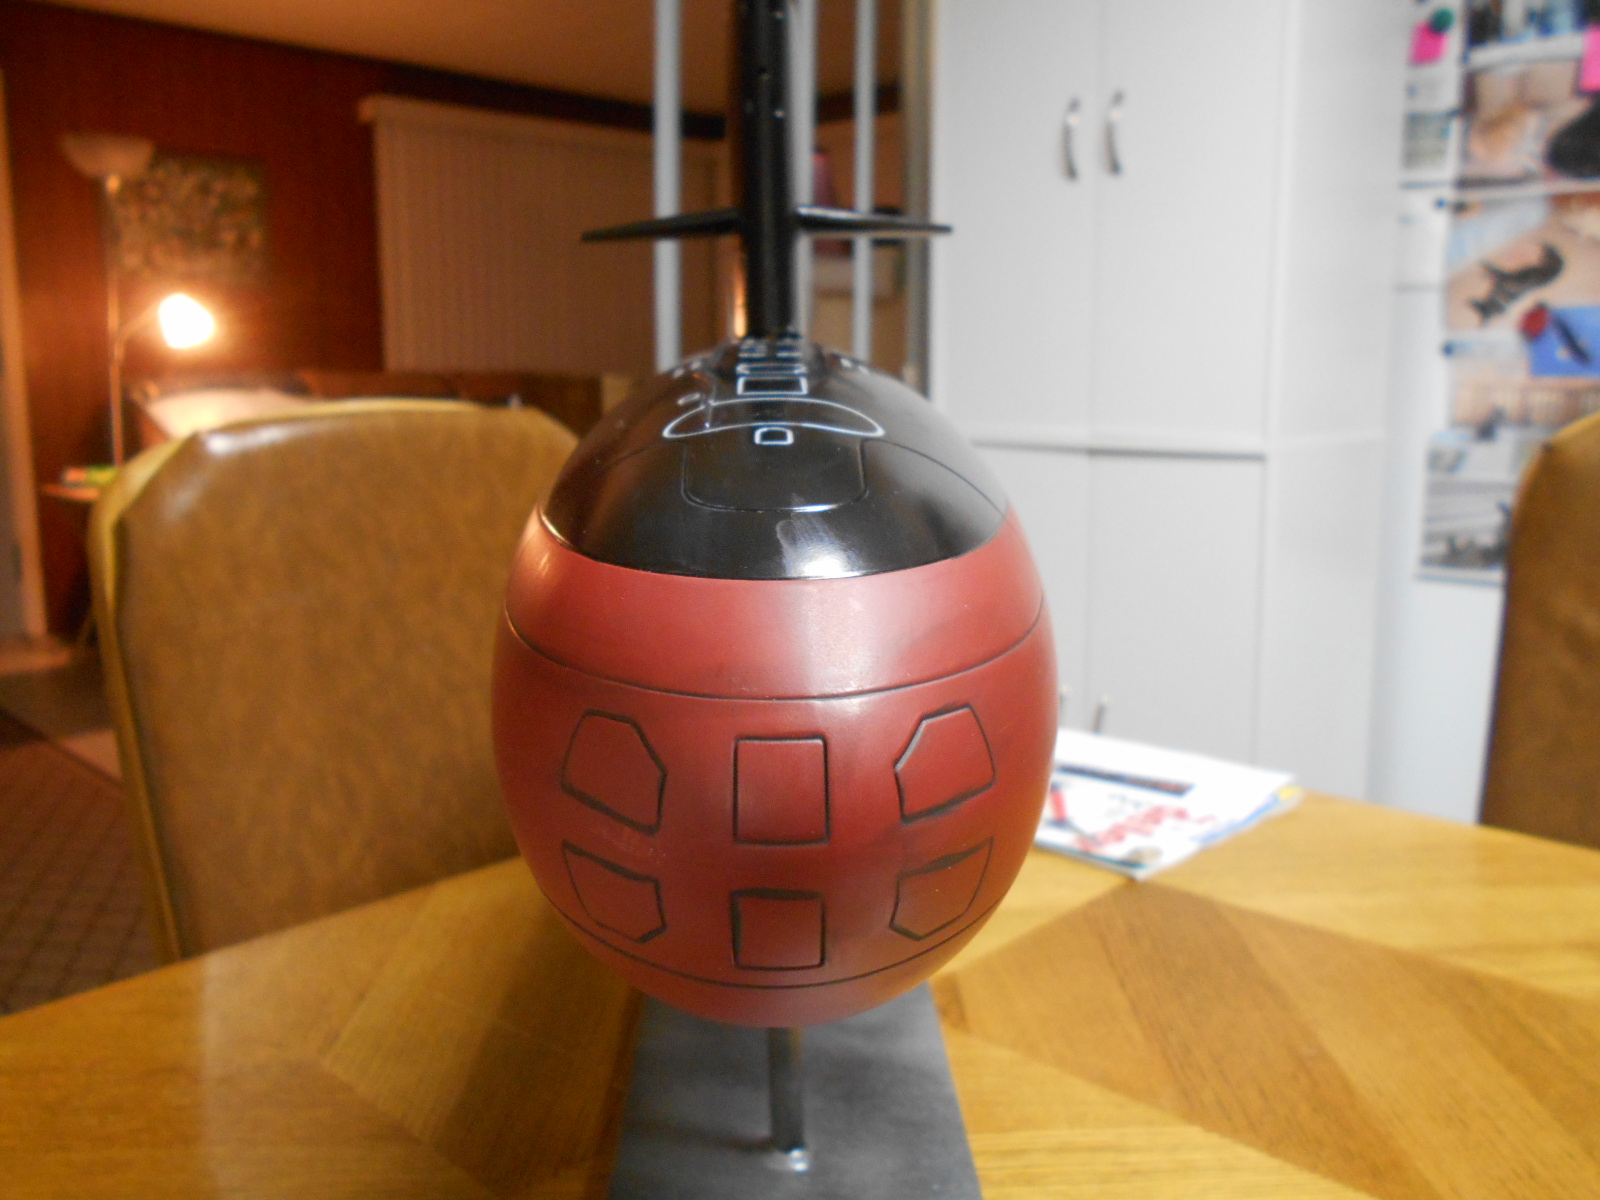
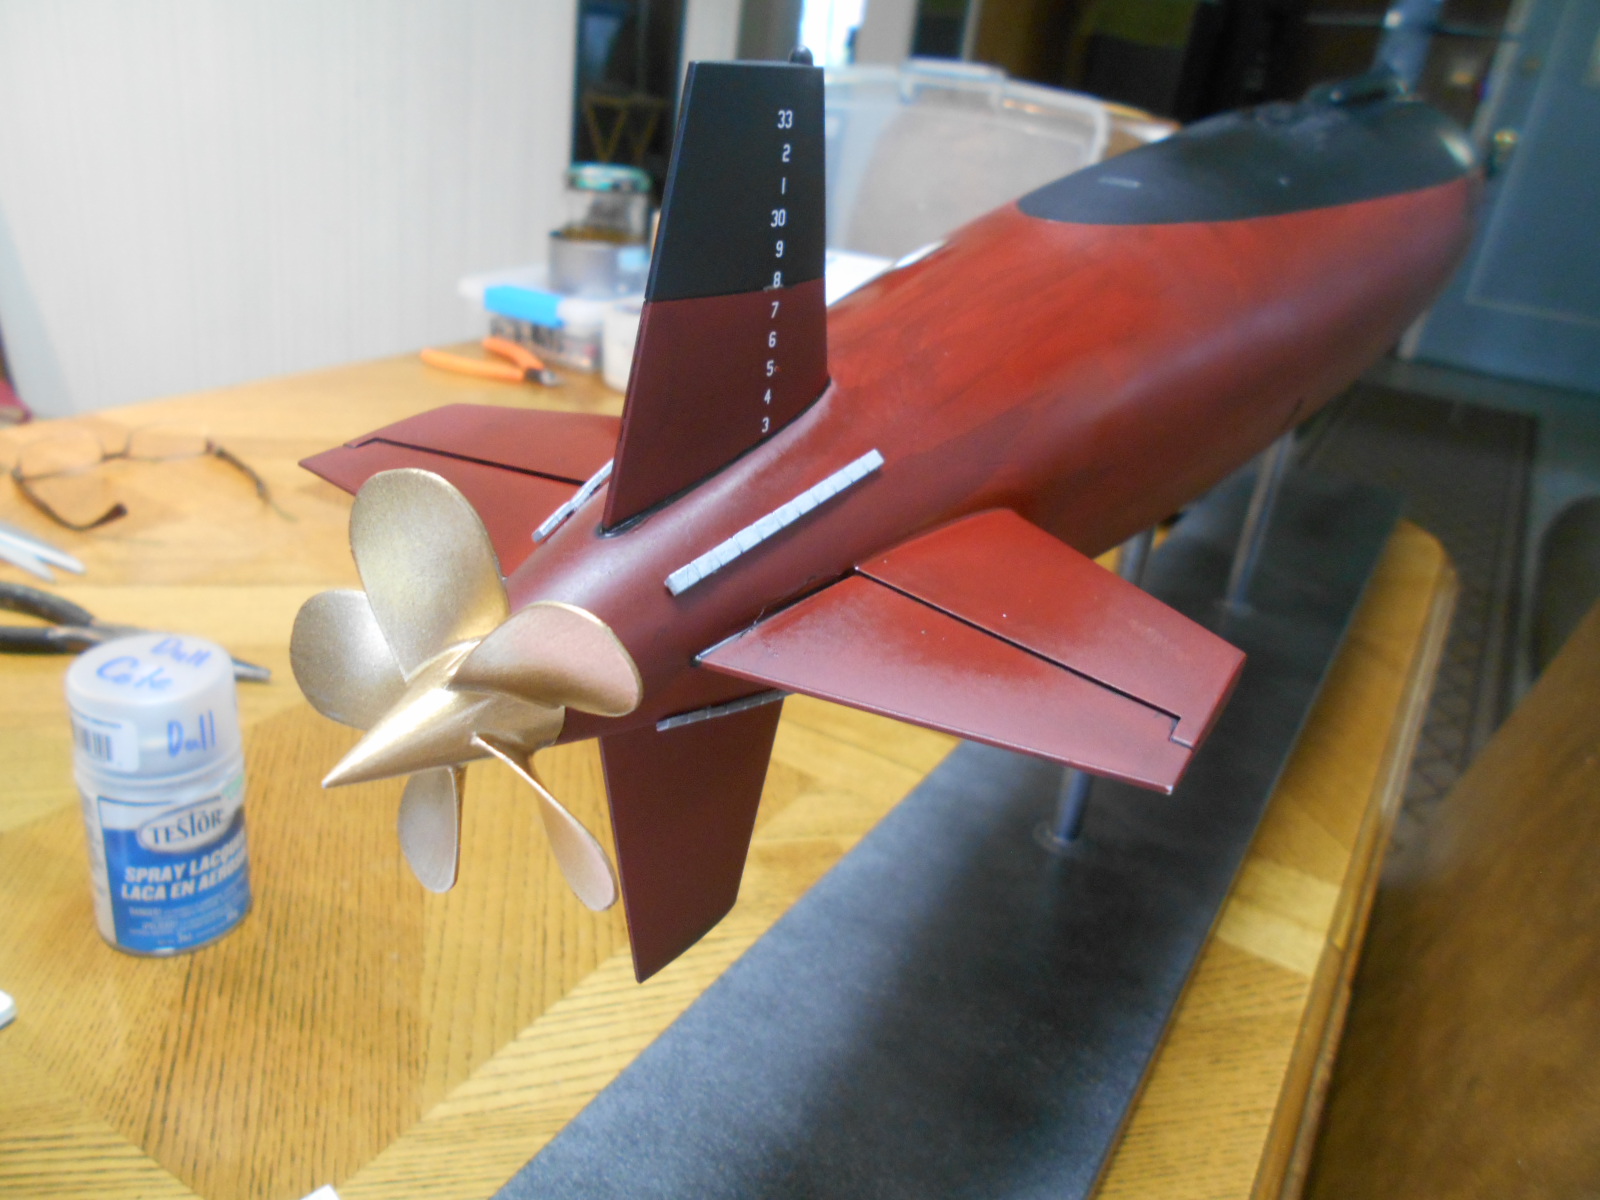
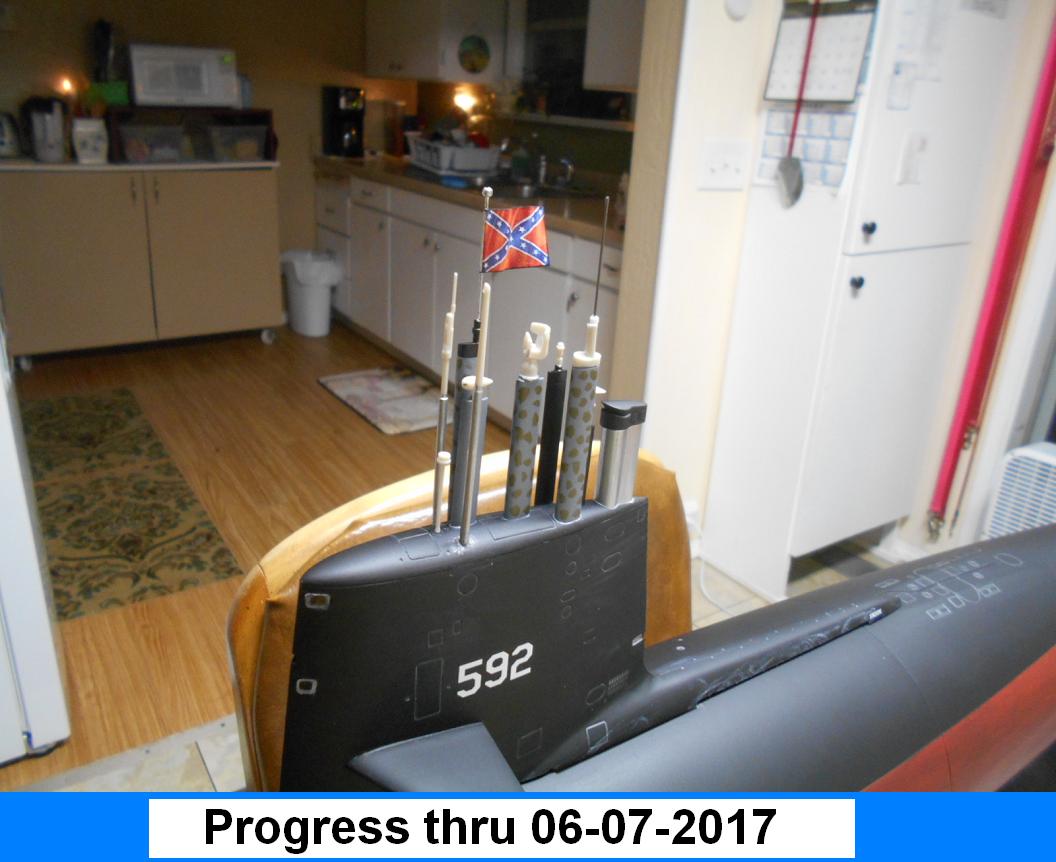
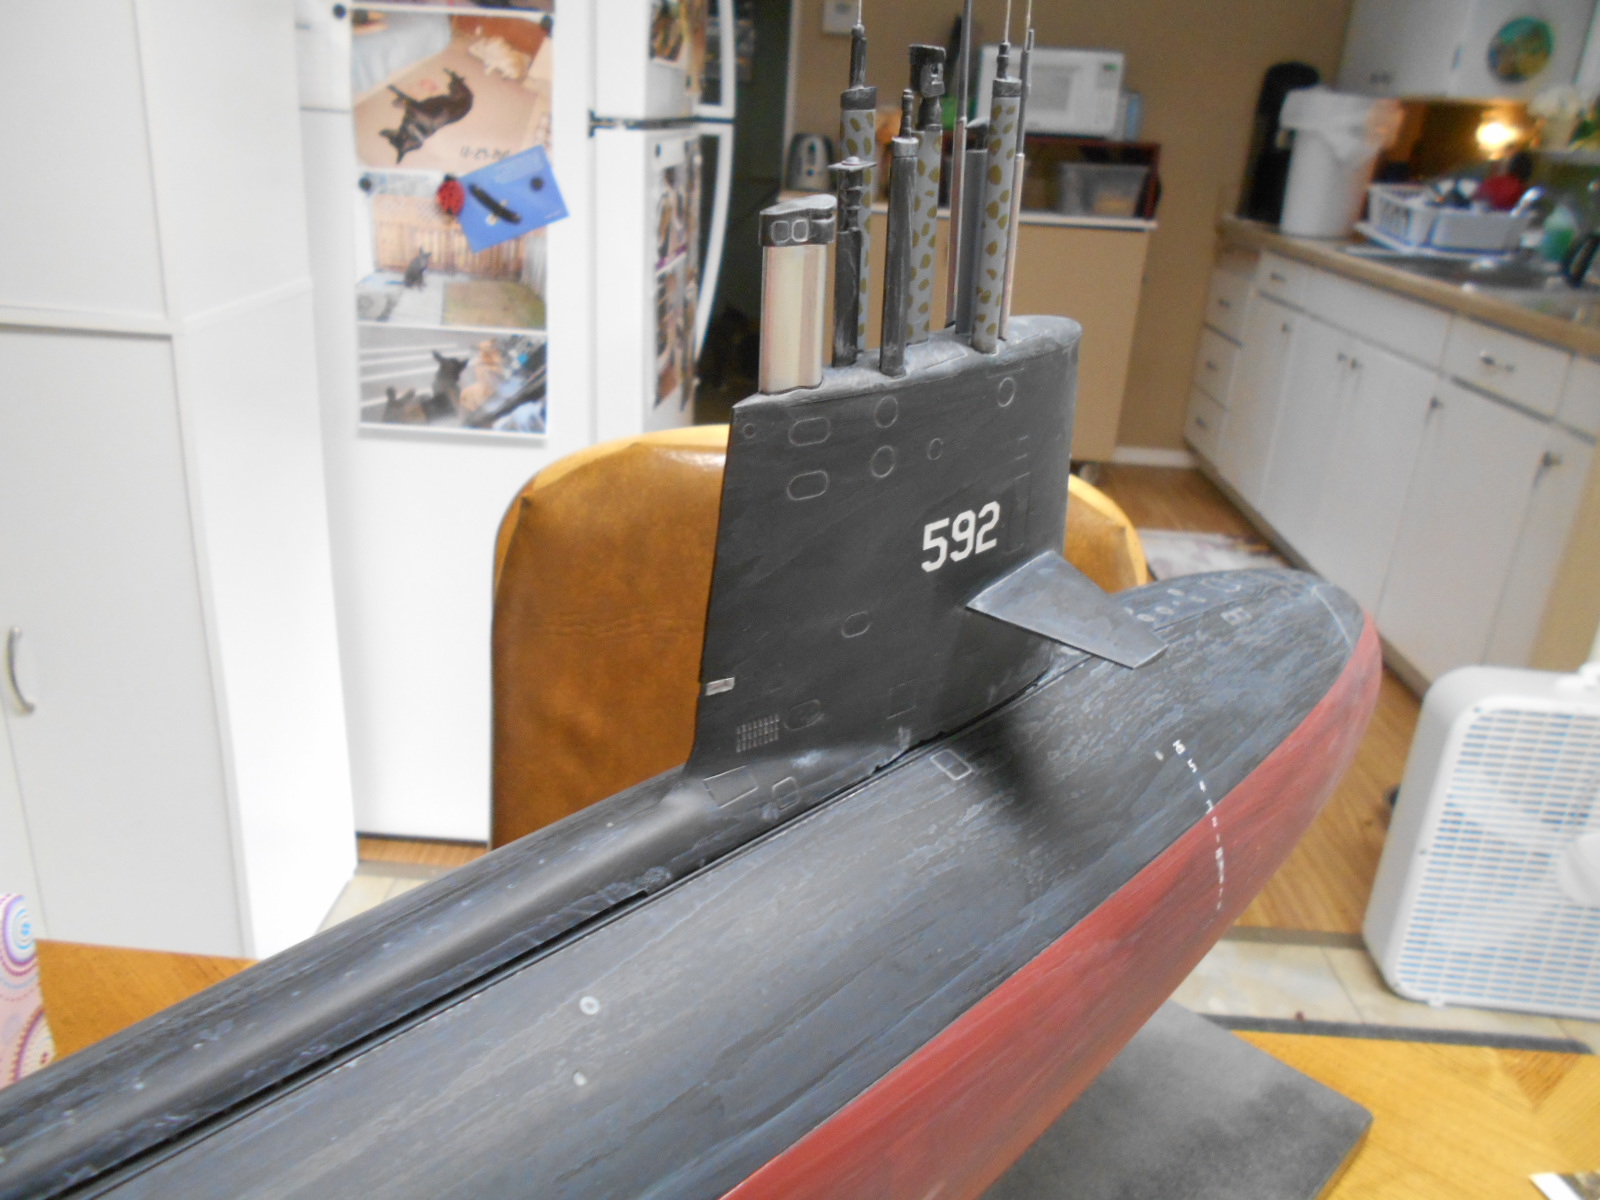
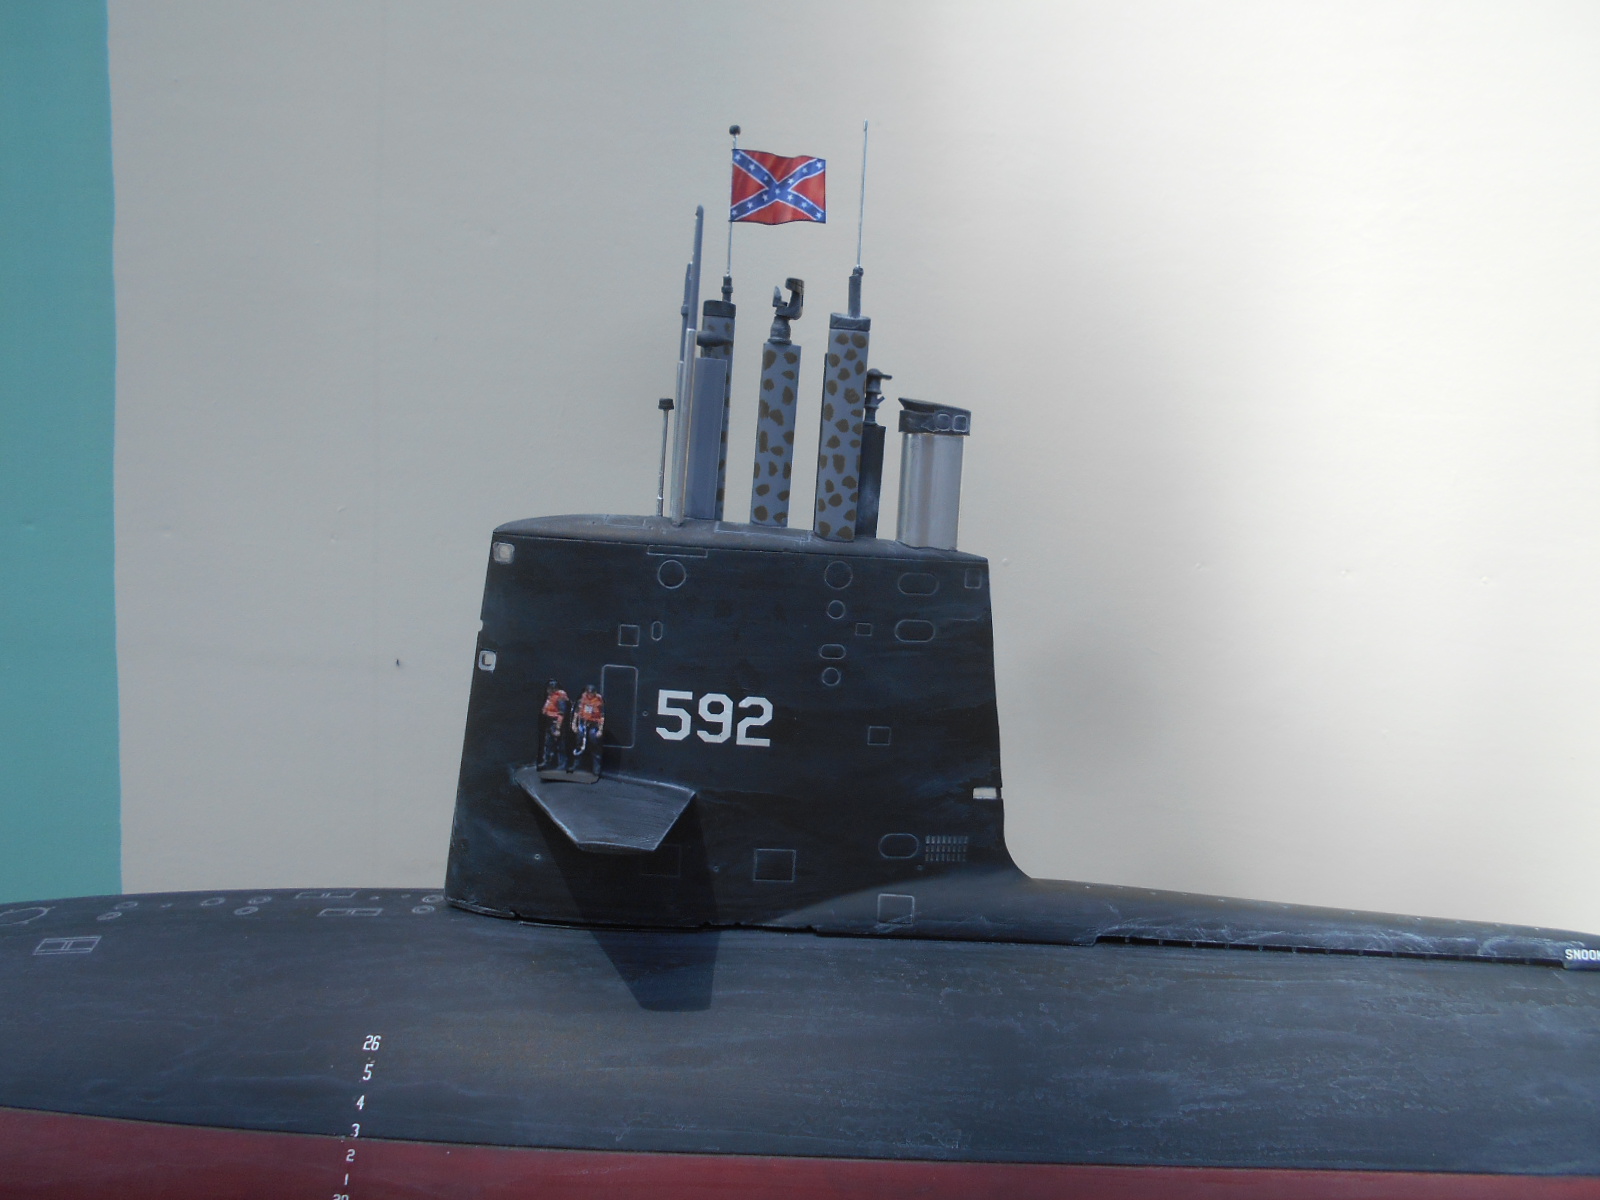
The sail was made removable as well to make it easier for storage- less room needed. As far as colors- 100 different sources show 100 different ways. I left the sonar dome sections the color of the sub (top and bottom) since I read that over time, the sea environment seems to make the ‘colors’ the same as the rest of the sub. Good enough for me.
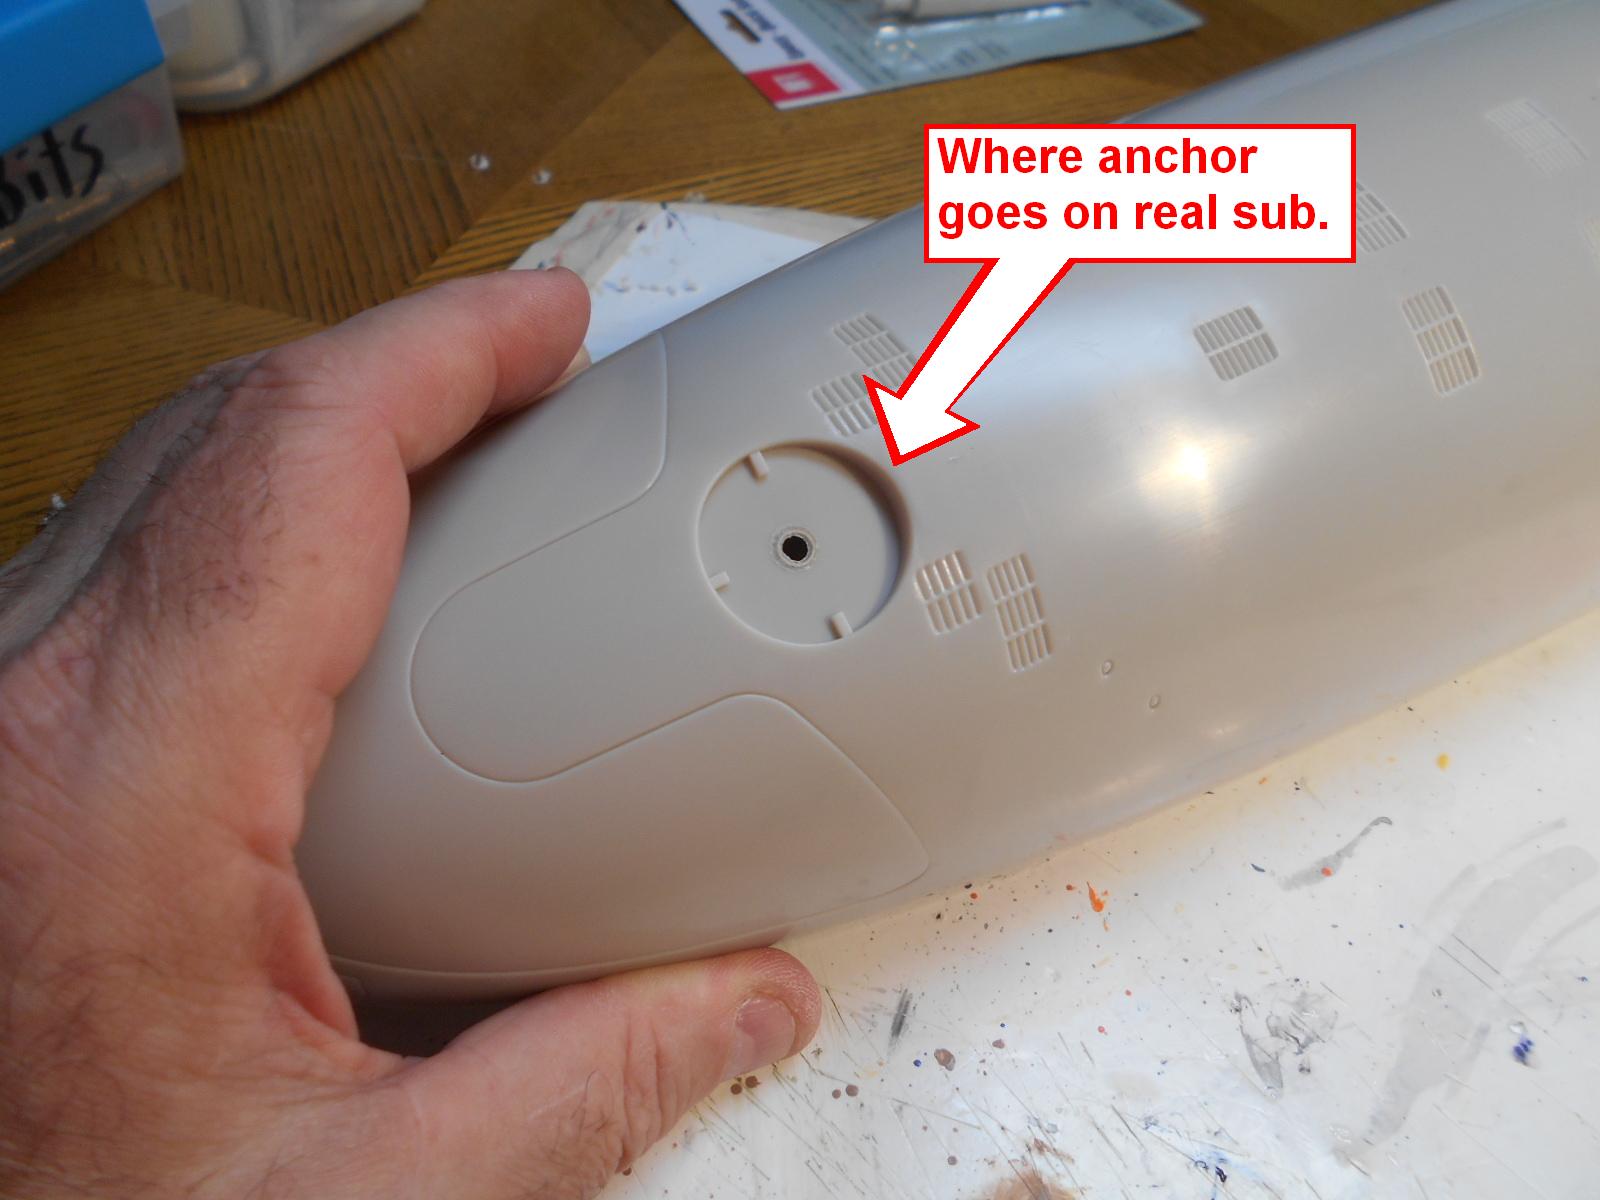
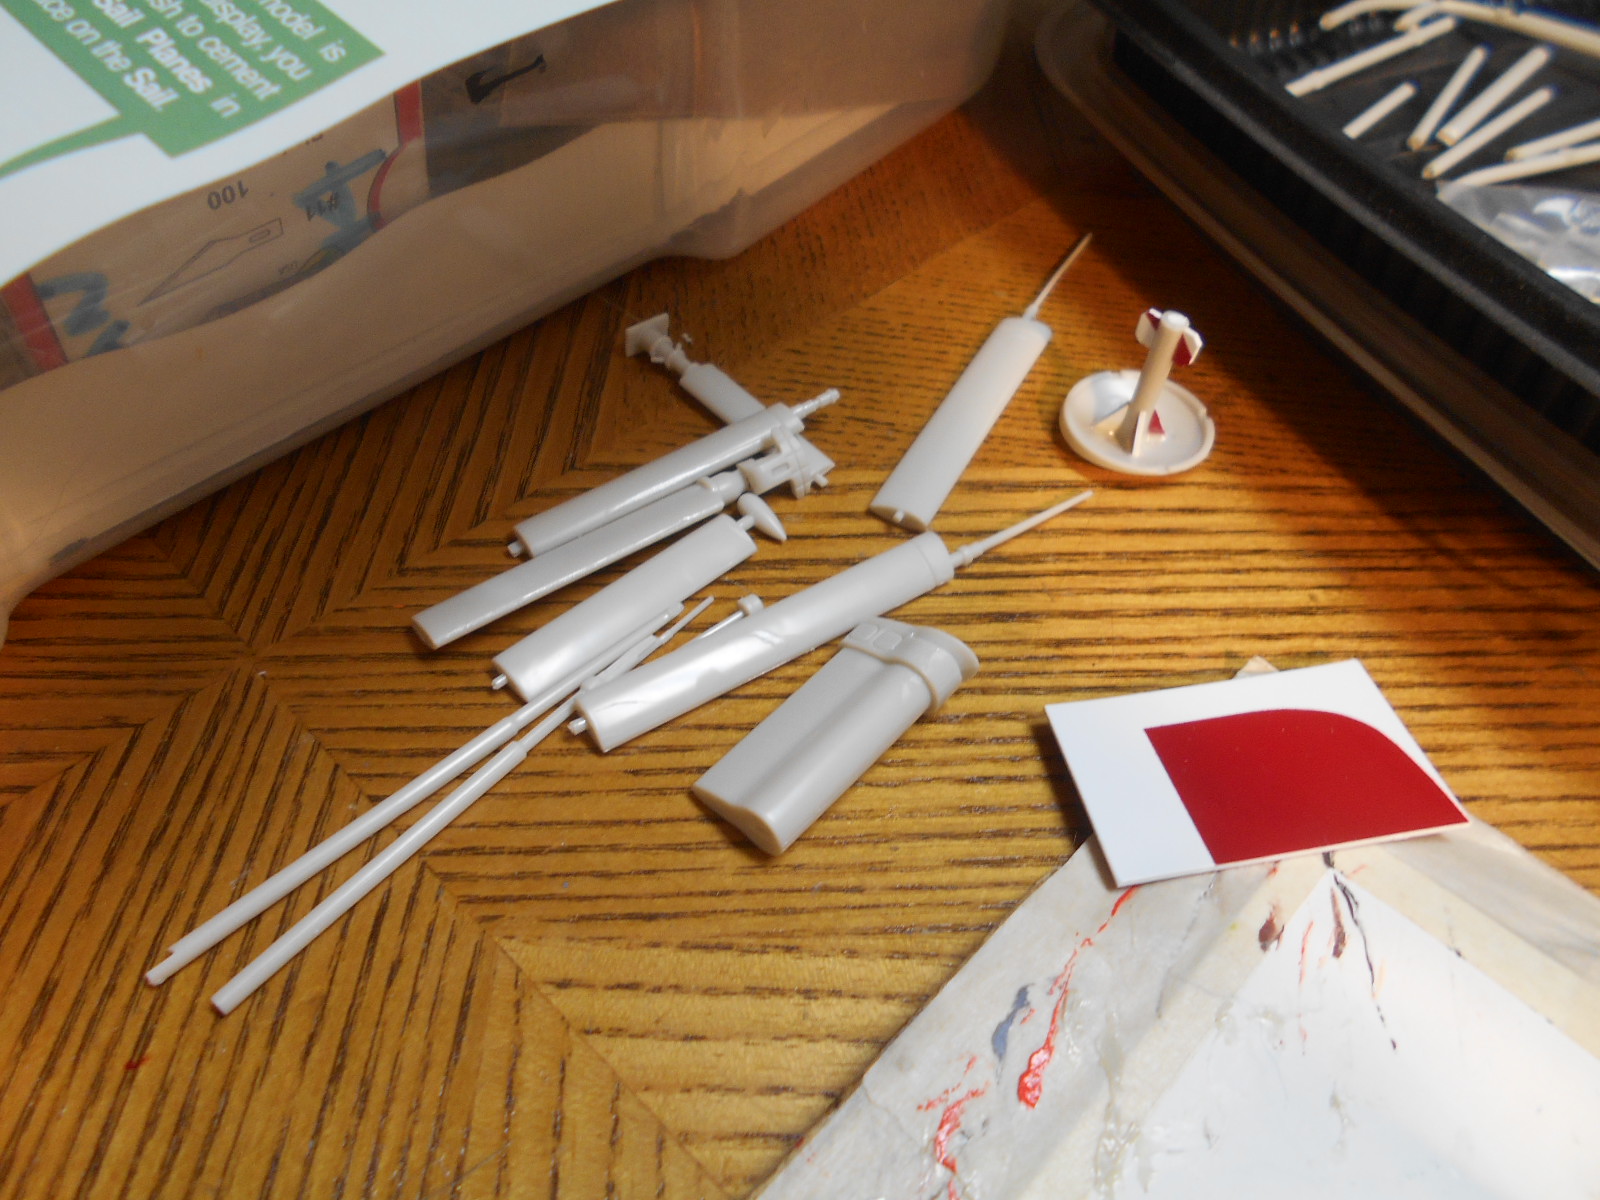
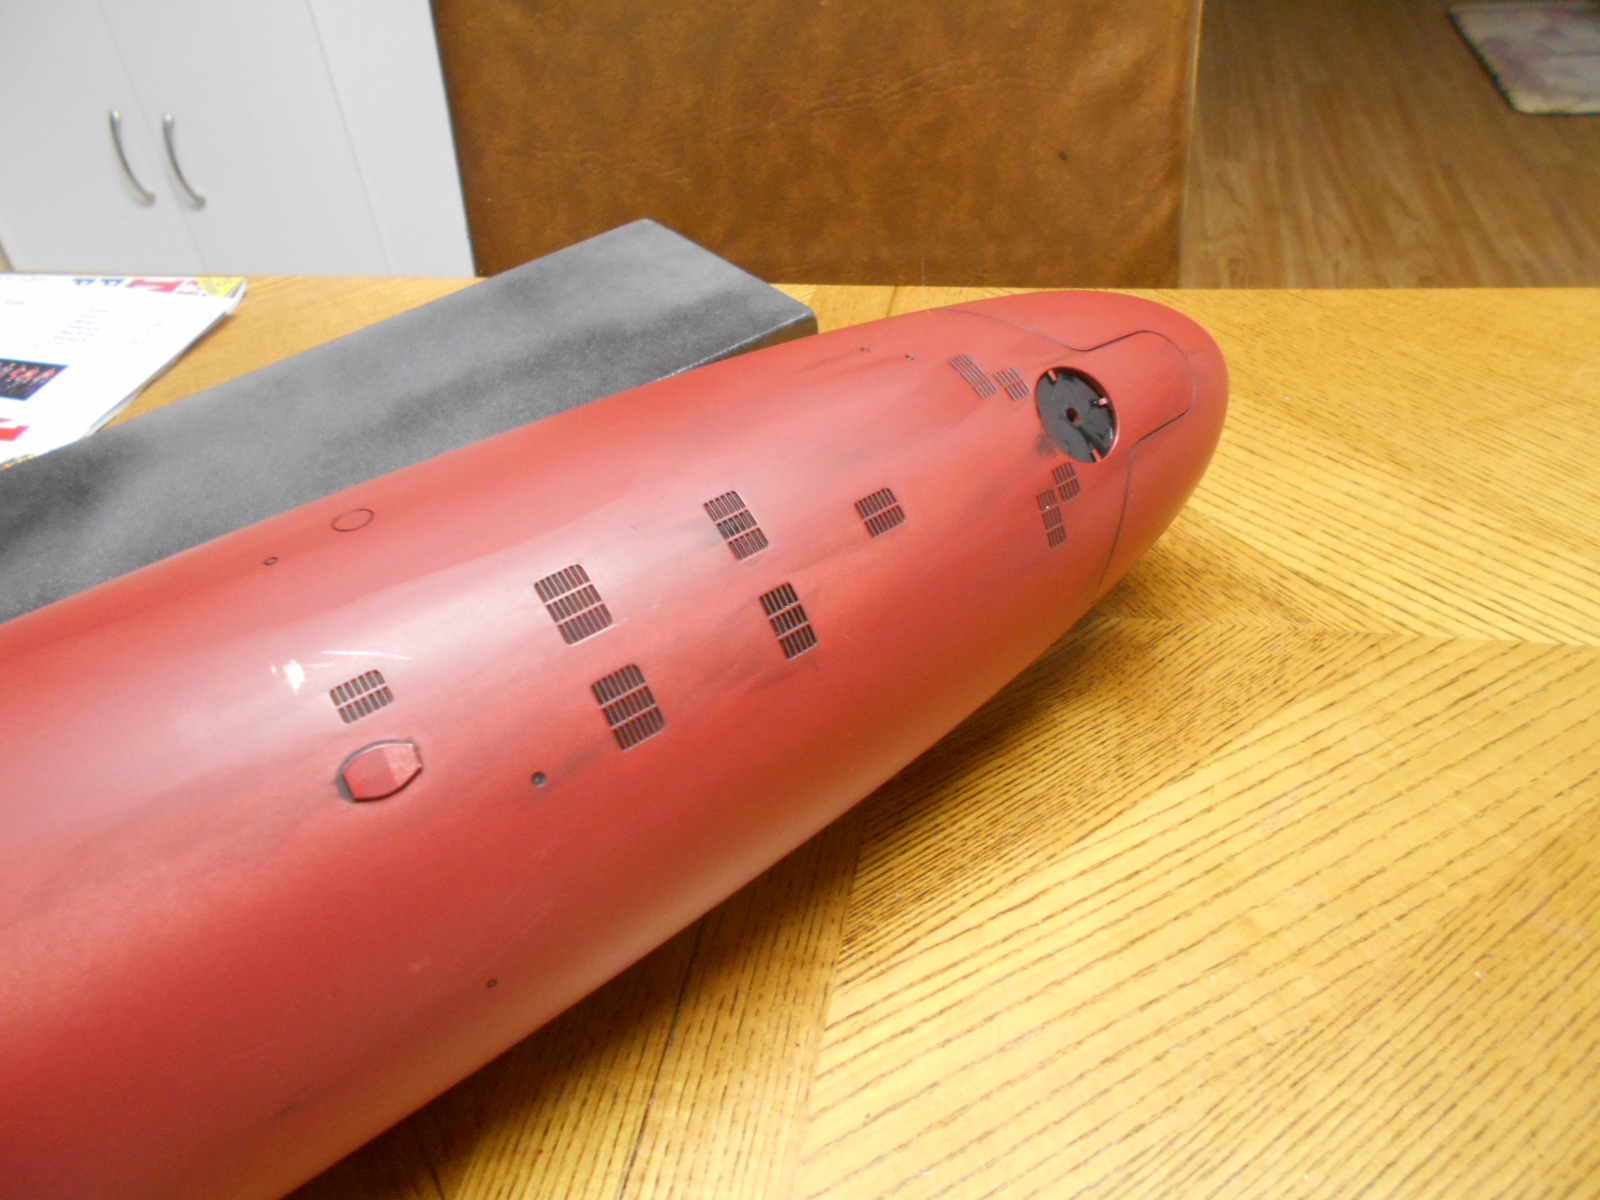
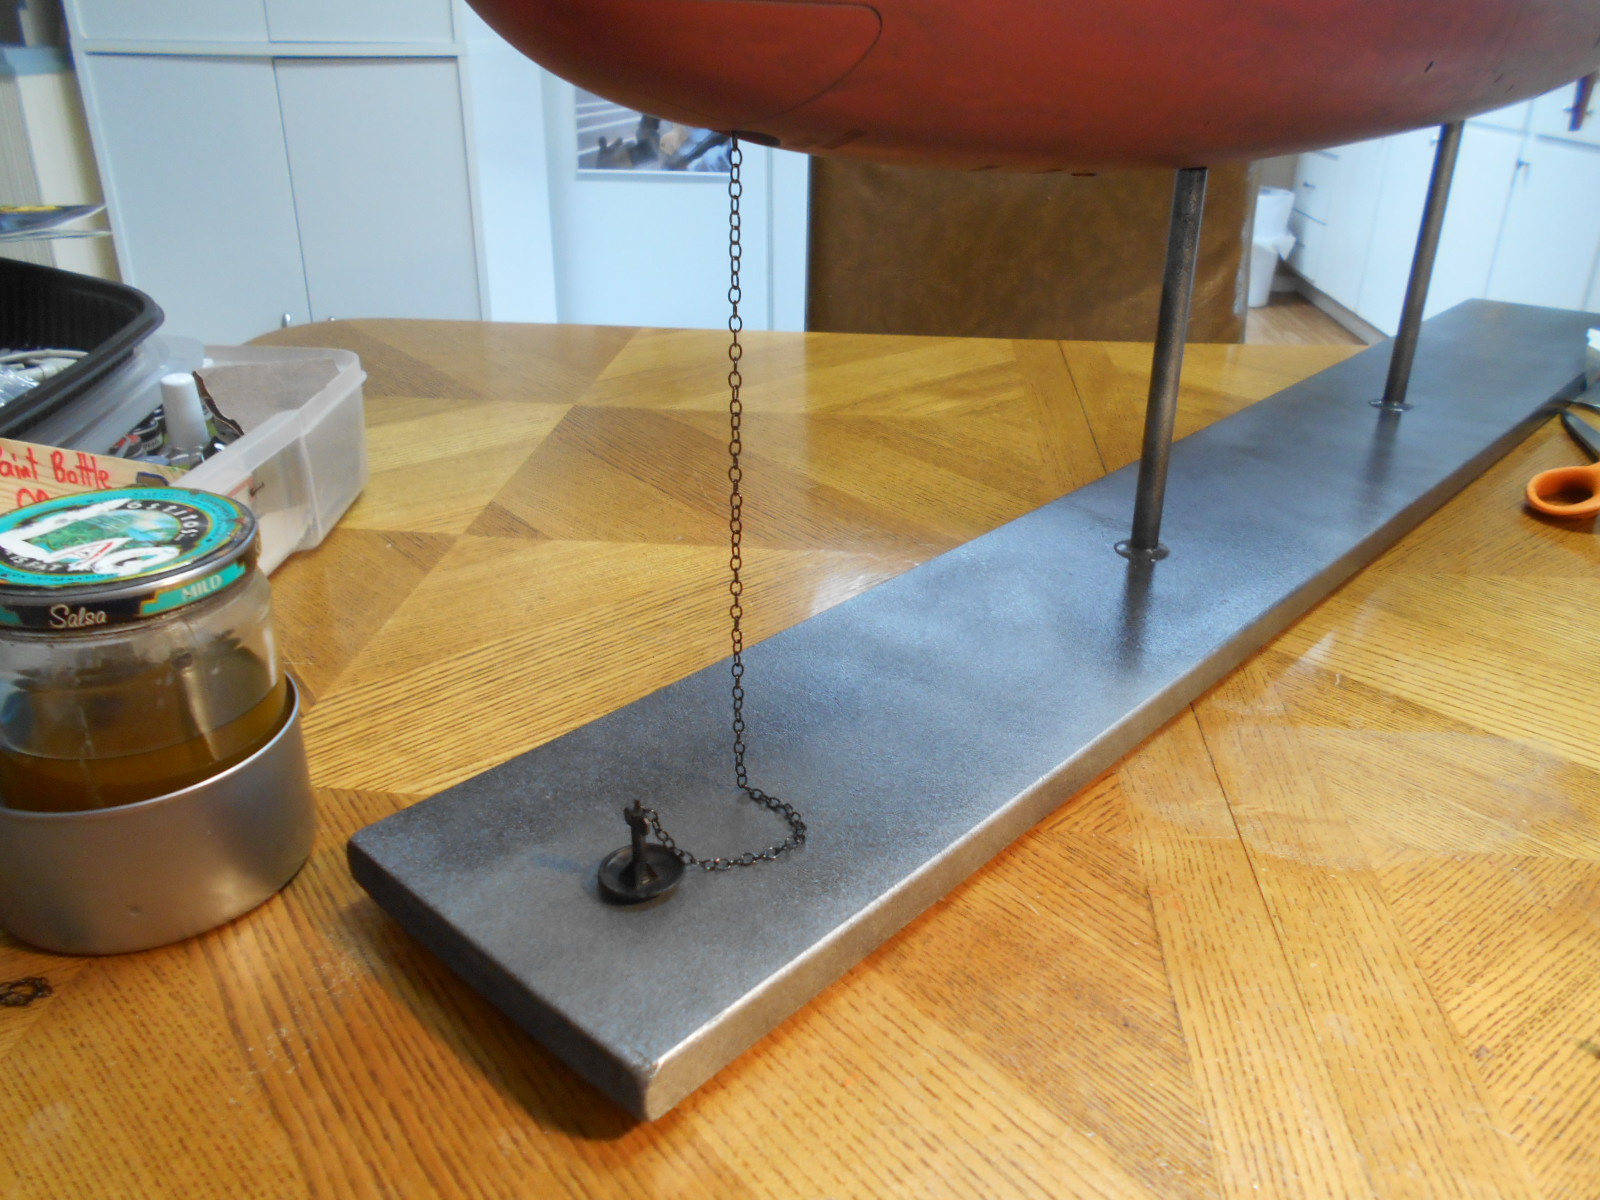
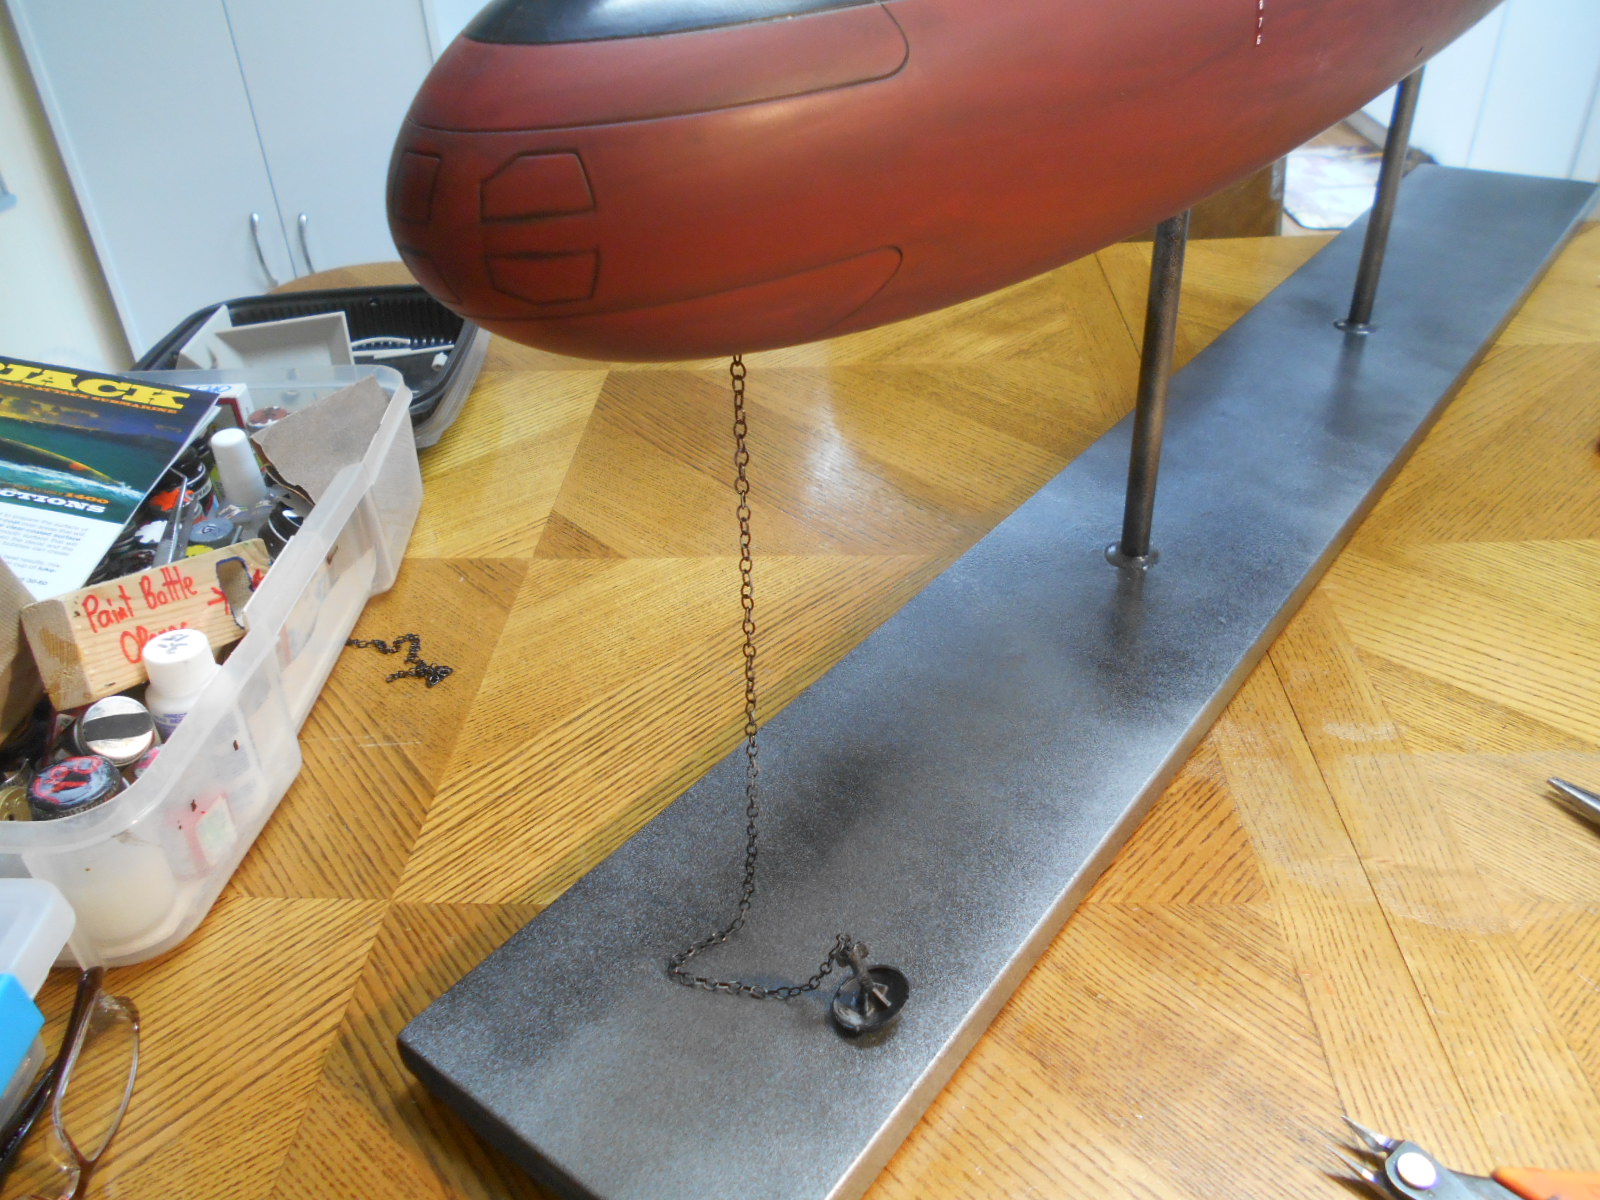
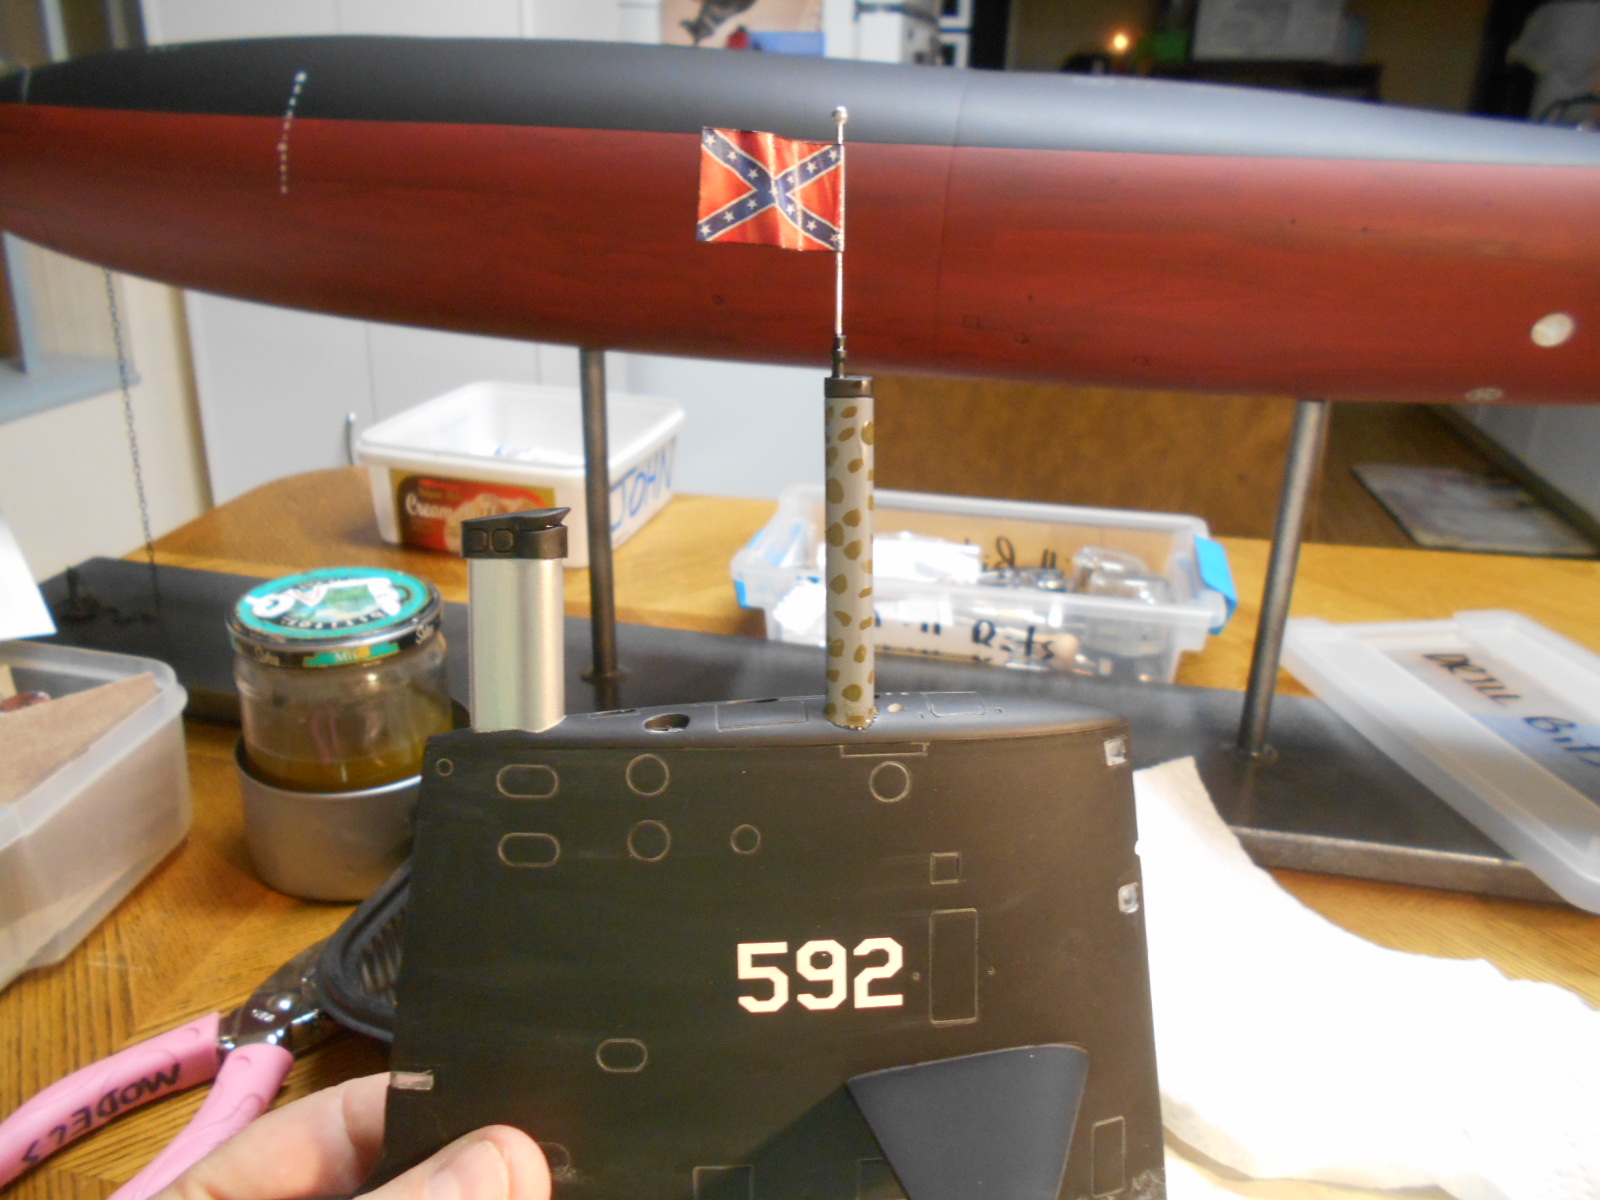
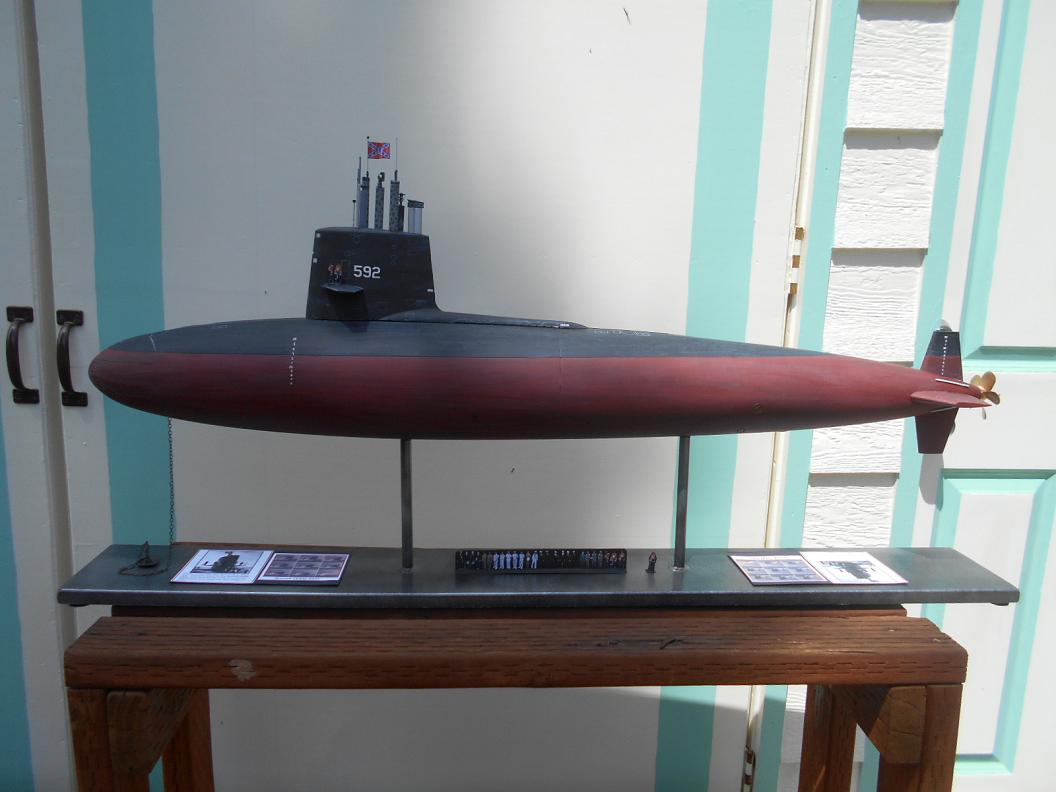
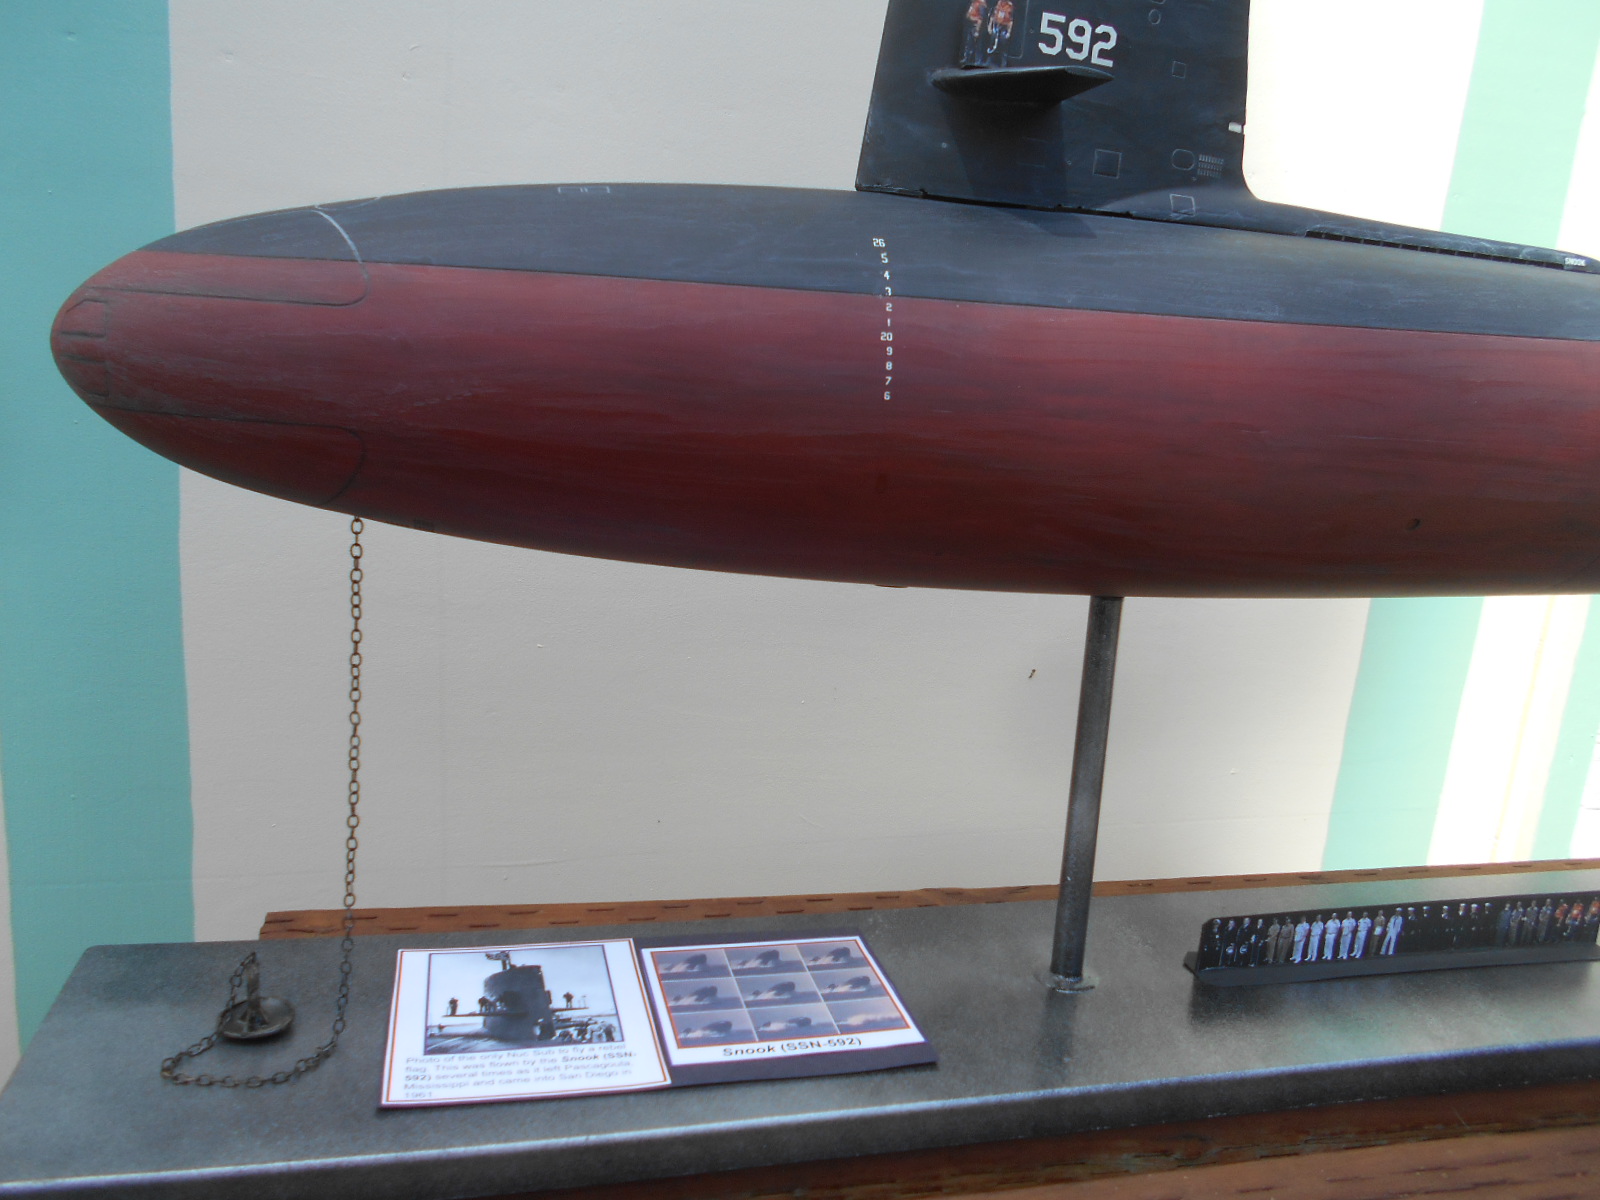
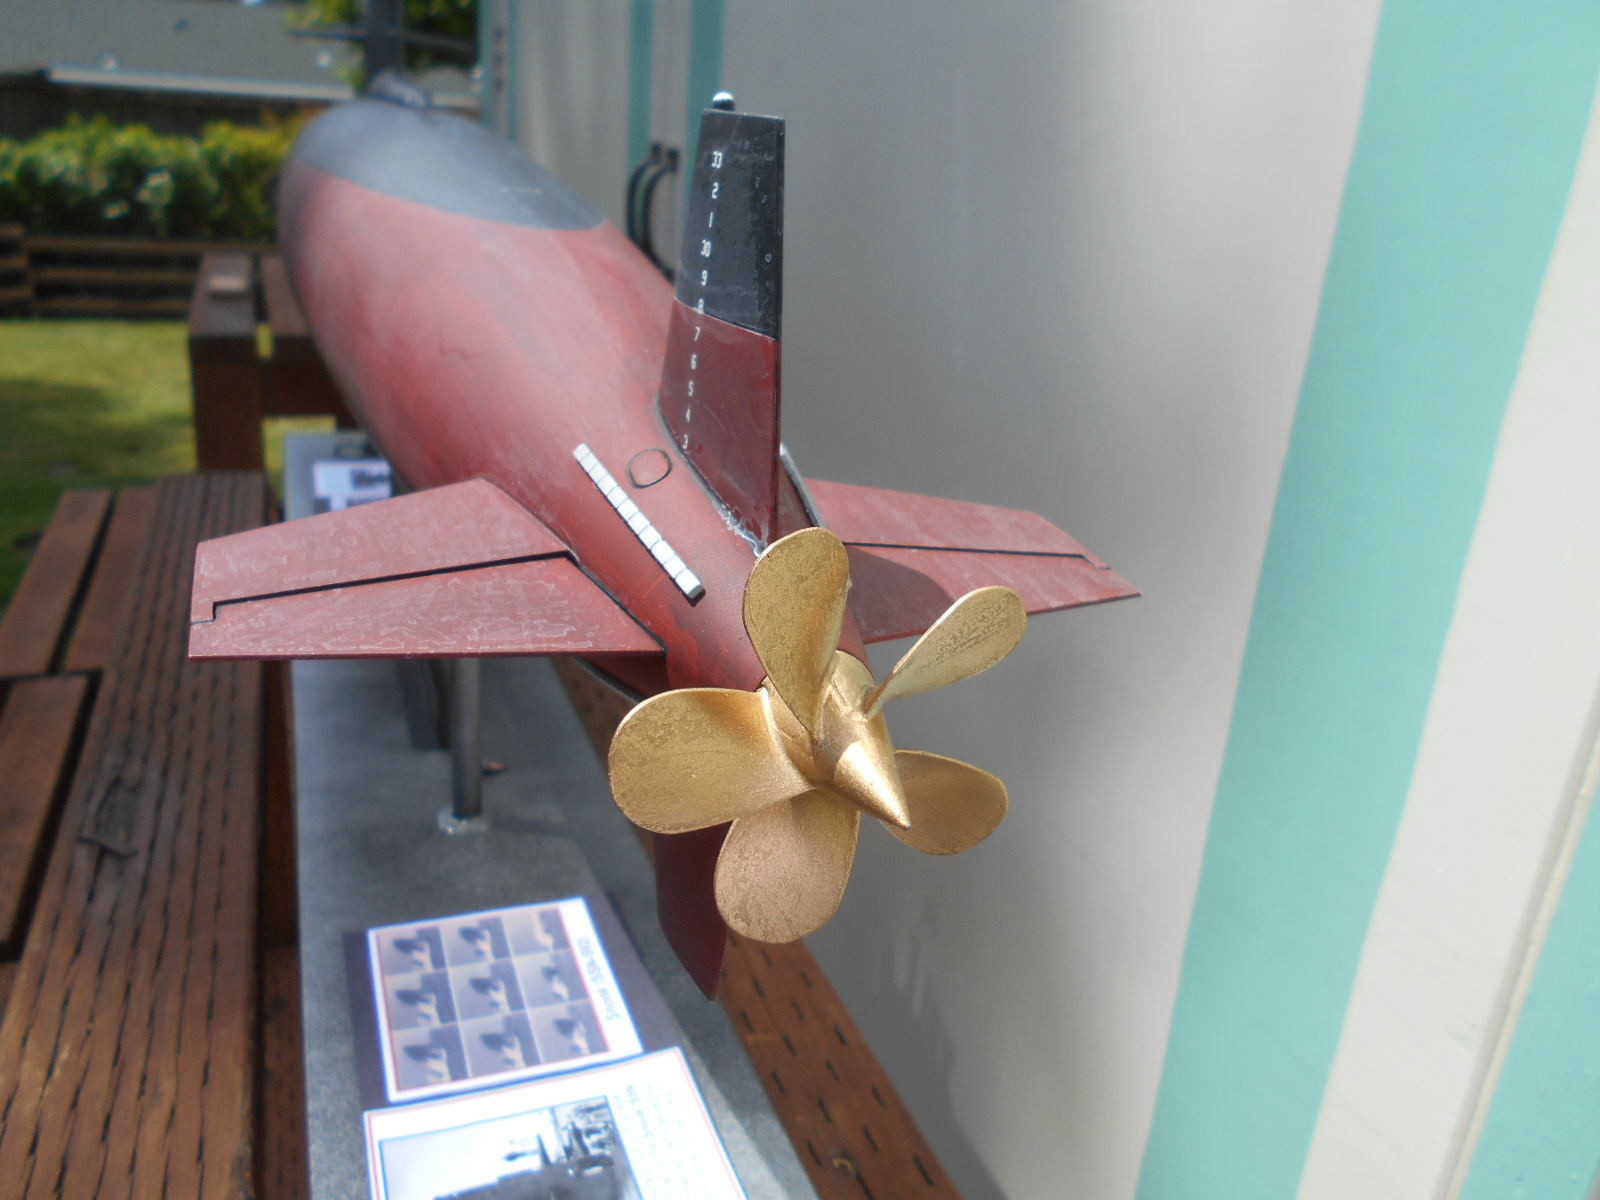
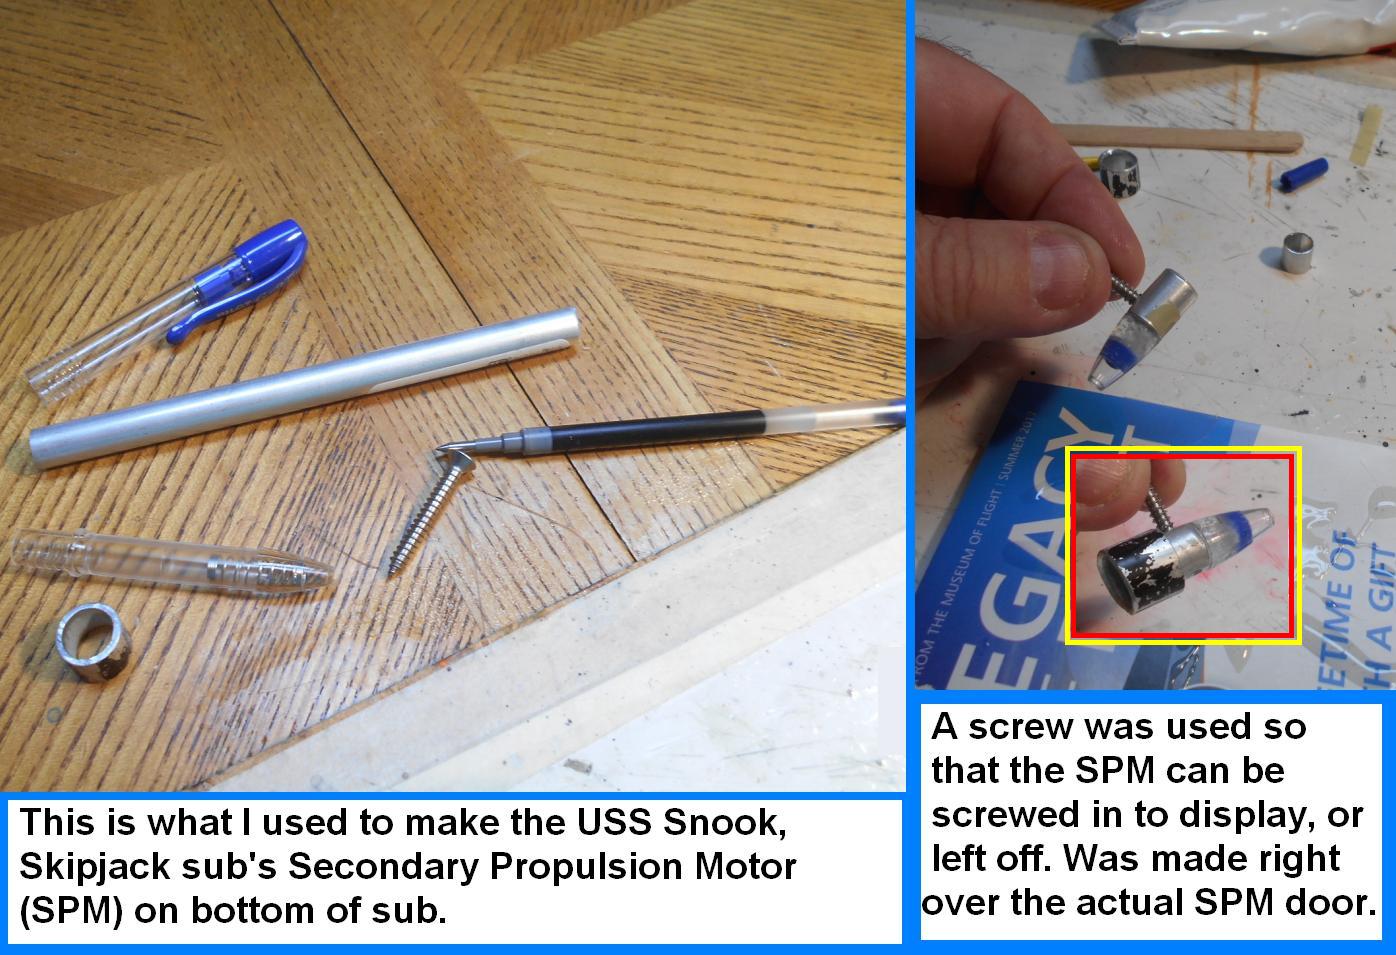
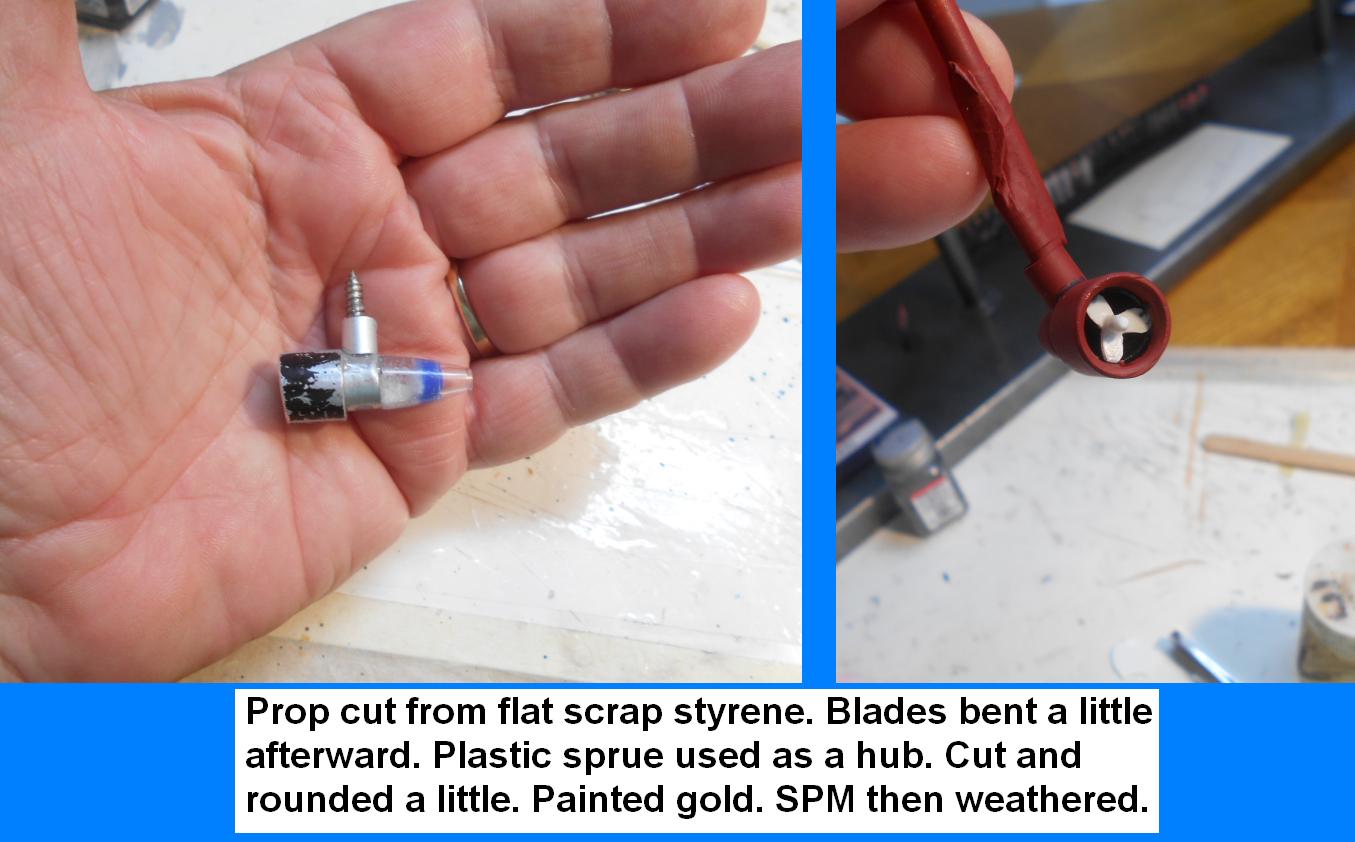
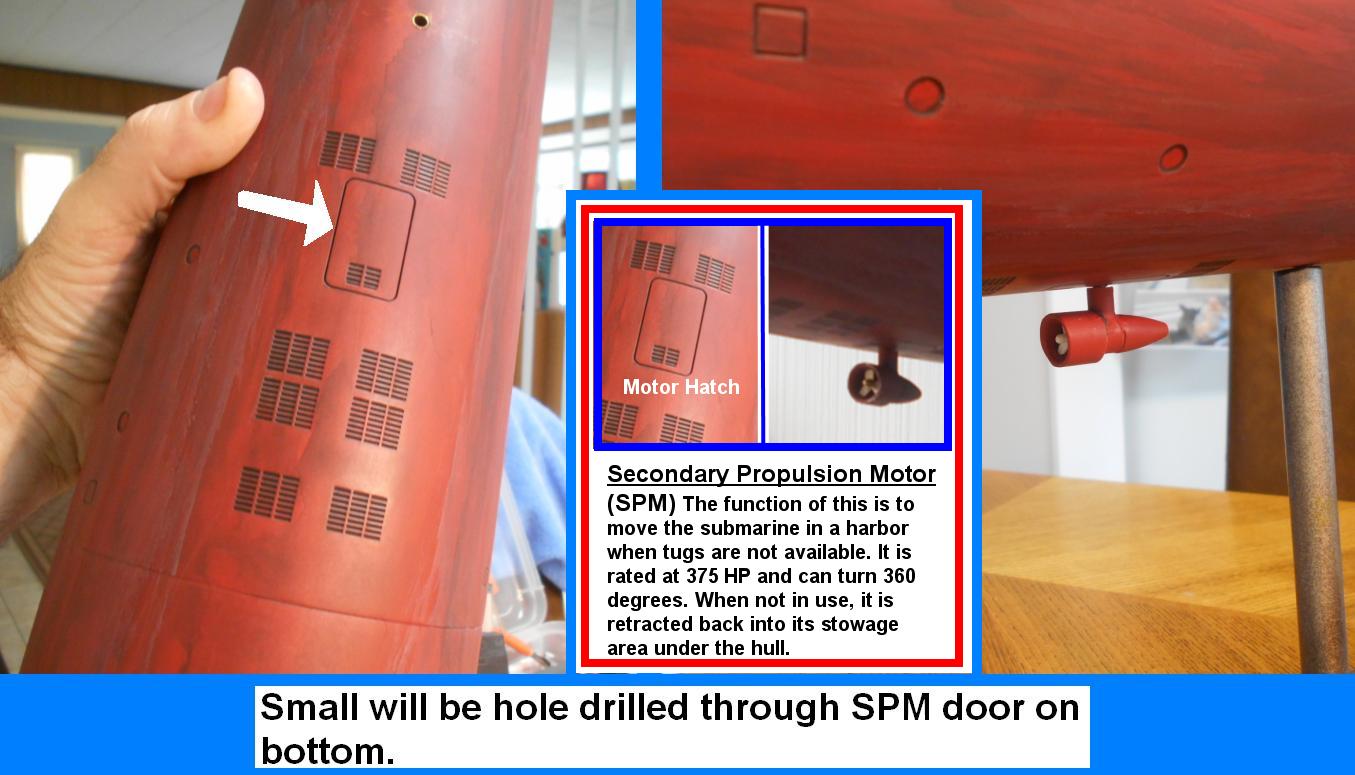
I also made the sub anchor (lots of people don’t realize modern subs have anchors) – and I made a SPM (Secondary Propulsion Motor) motor used by real subs when harbor tugs may not be available. The molding showed the door for this motor- so I made it screw on / off if I wanted to display it that way.
What a totally fun and exciting project!
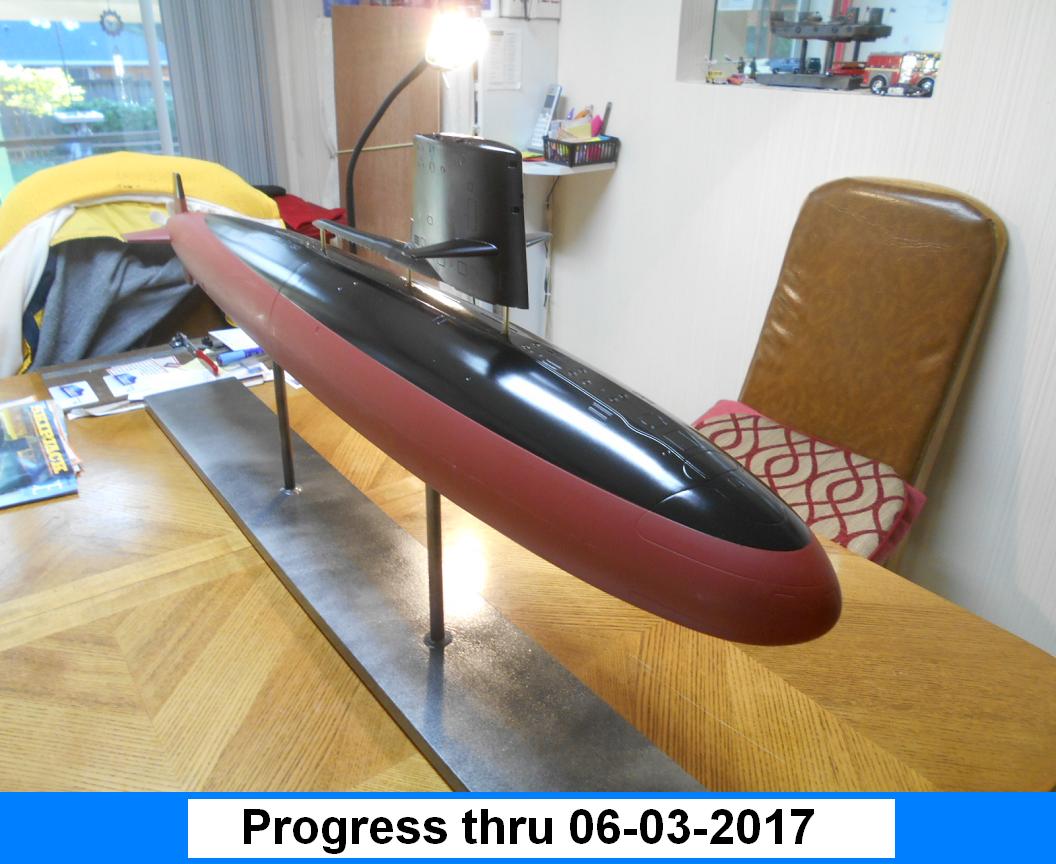
I’ll let the pictures tell the rest.
Enjoy!
John


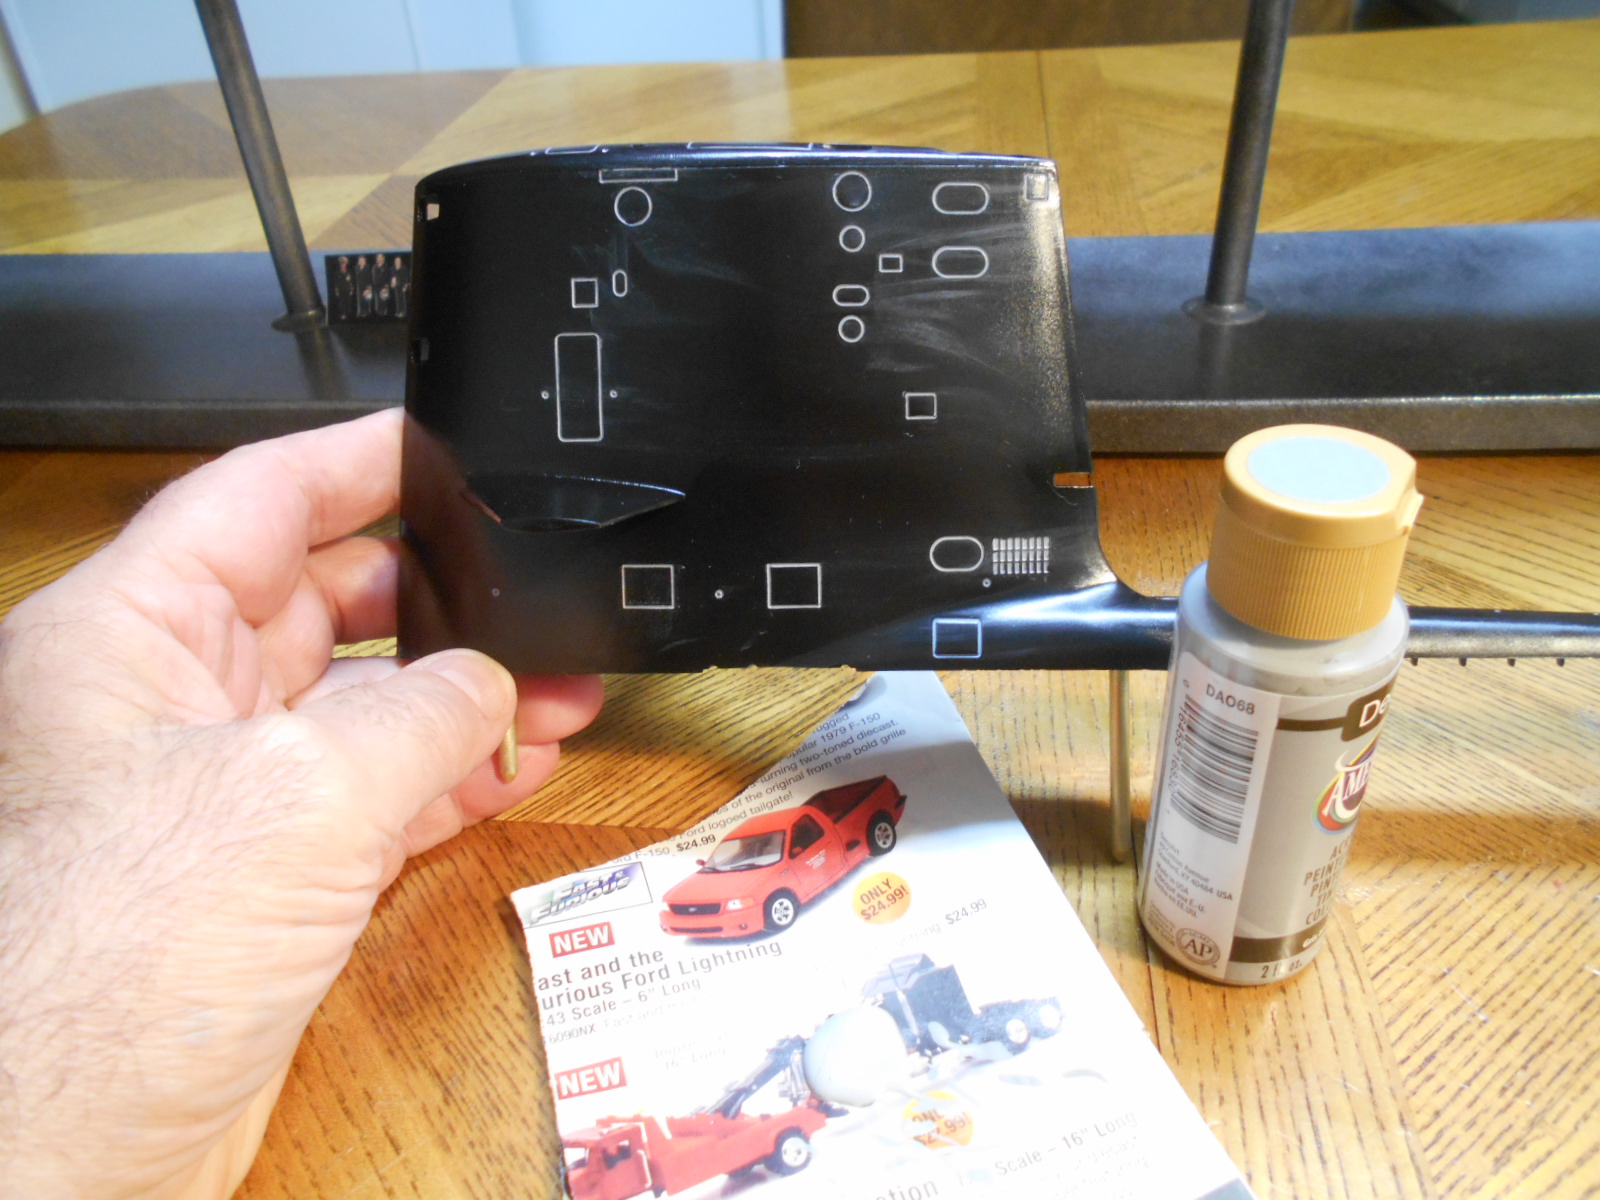
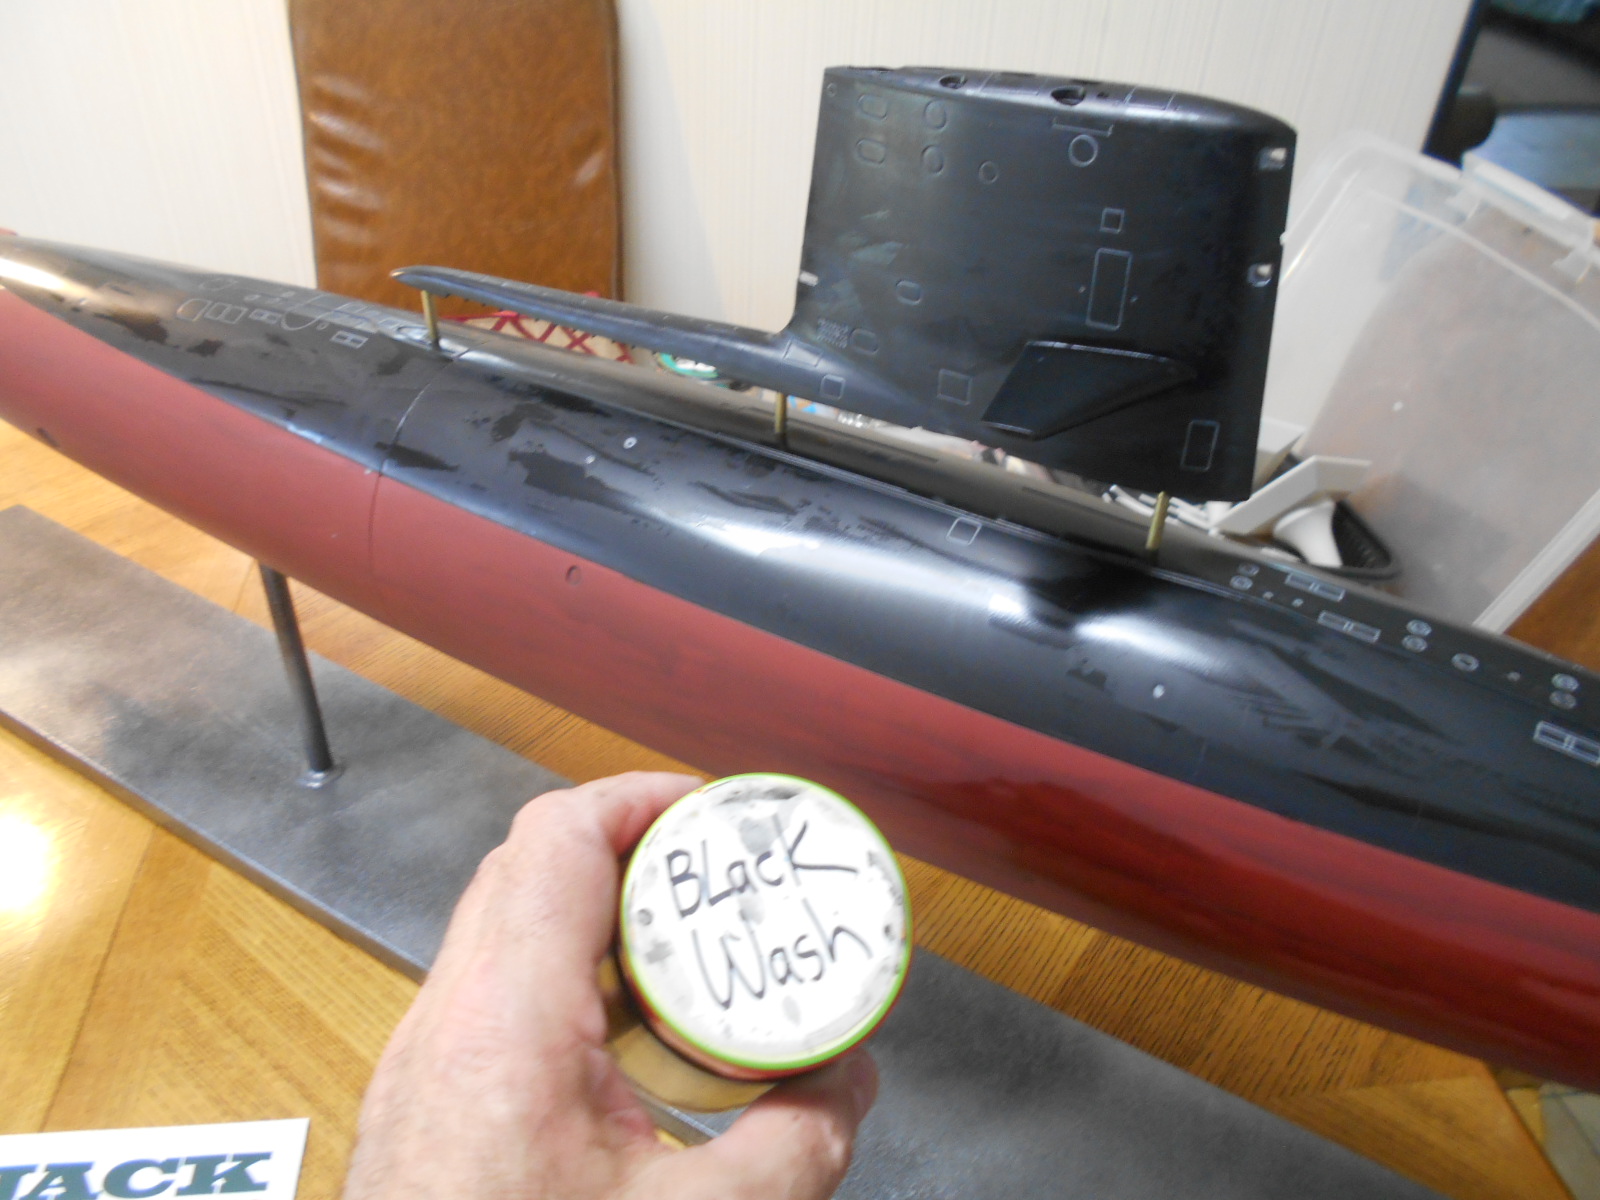
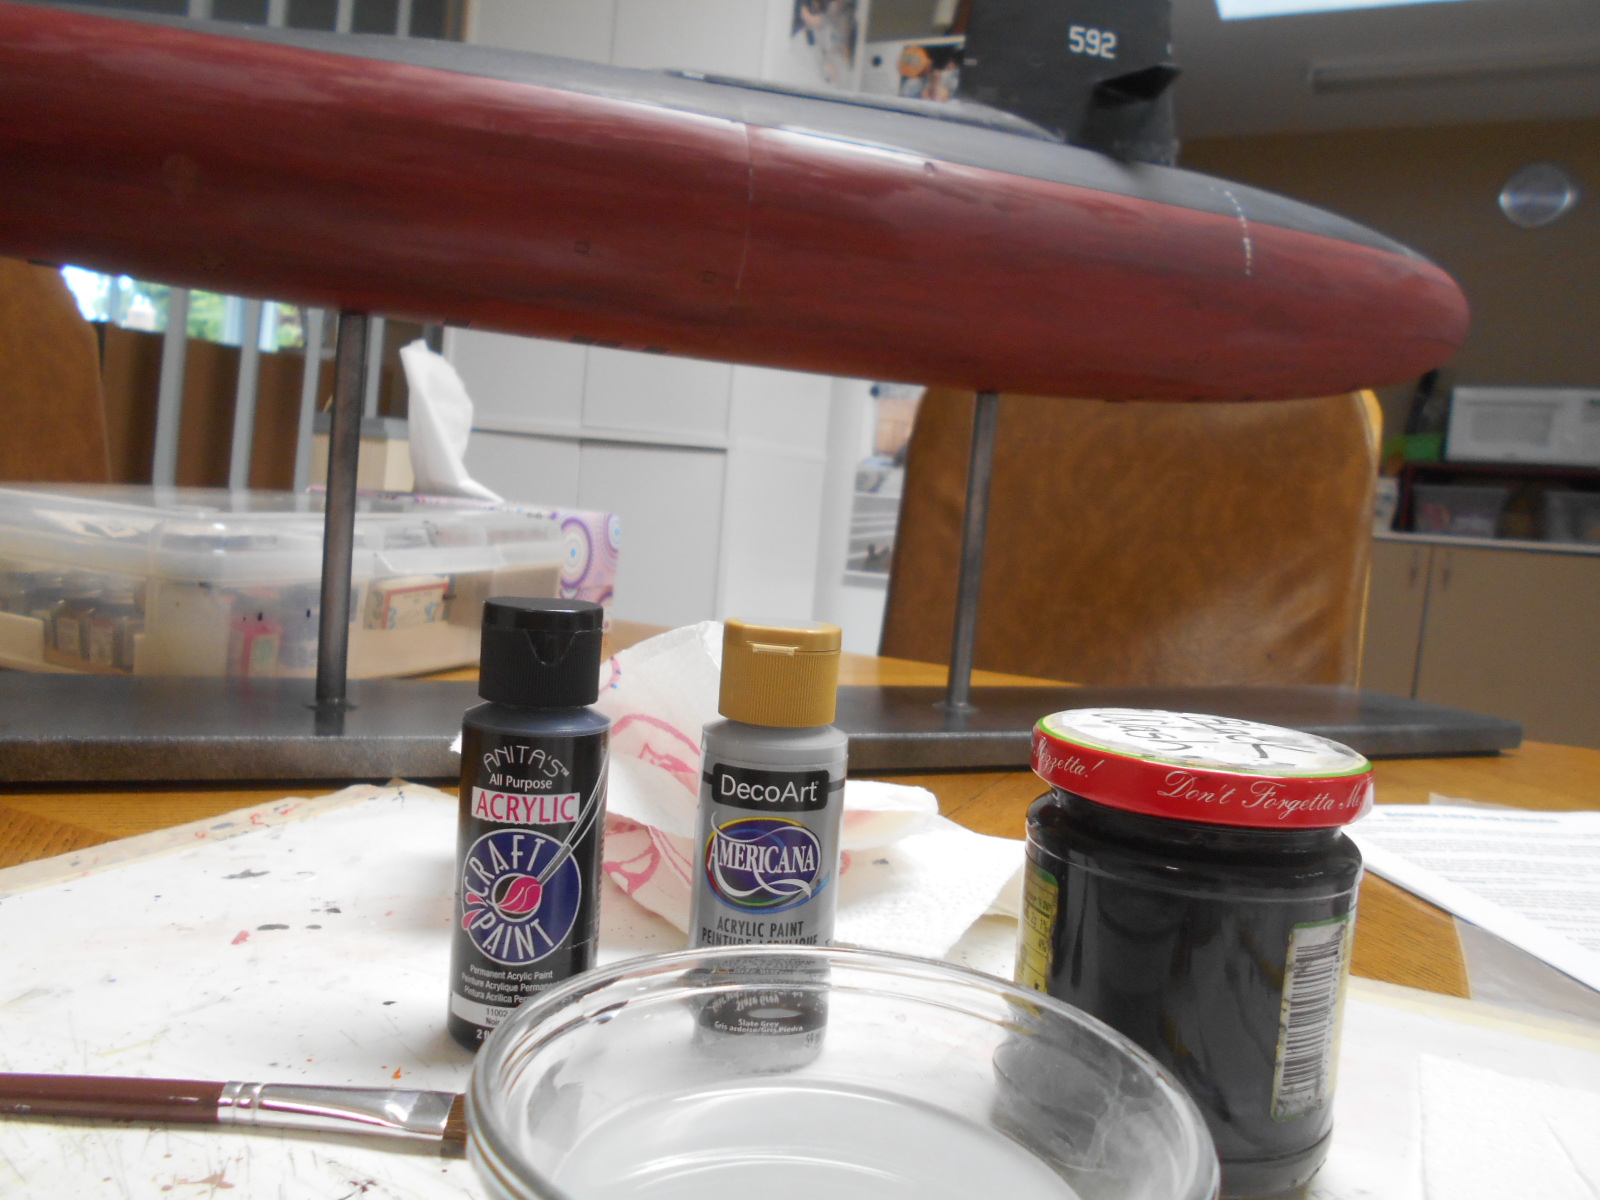
Here I used a cheap craft paint light gray to fill in all recessed panel lines on the whole upper areas of the sub. The bottom I used black. Later I will black wash the whole sub which will reduce the gray. Wanted to give the impression of ‘ocean’ salt on the sub.
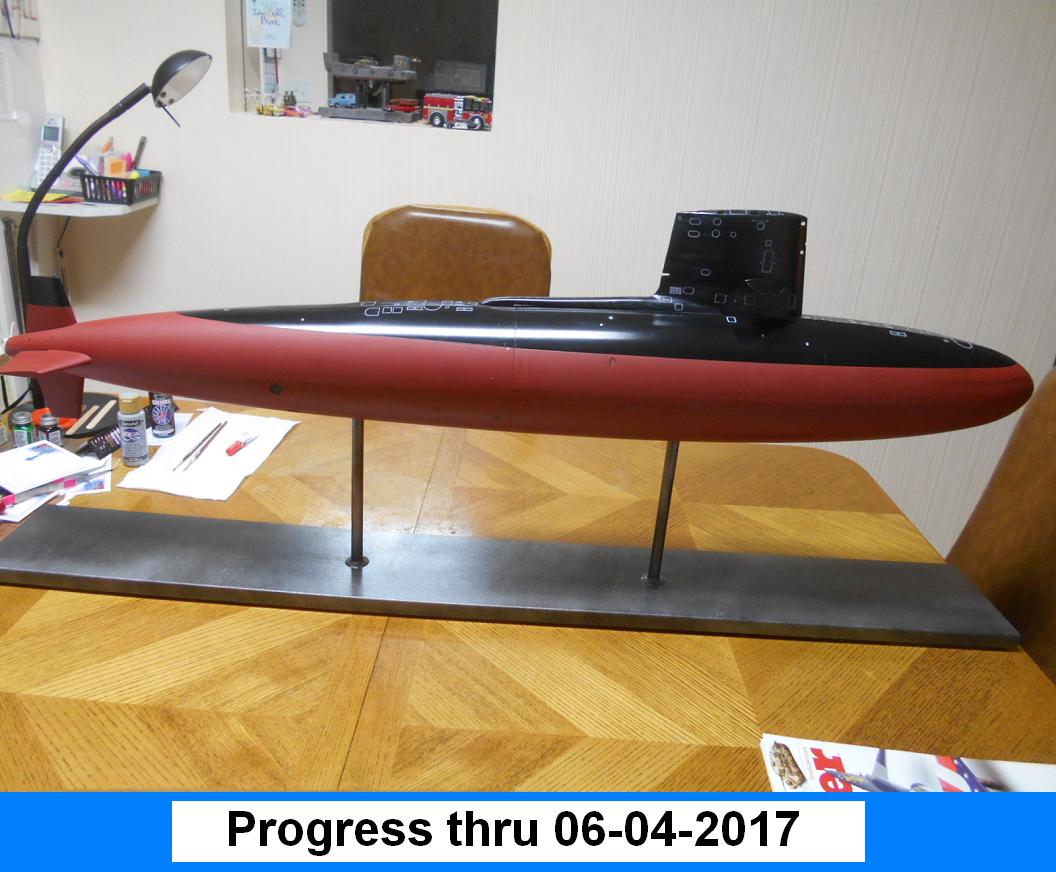
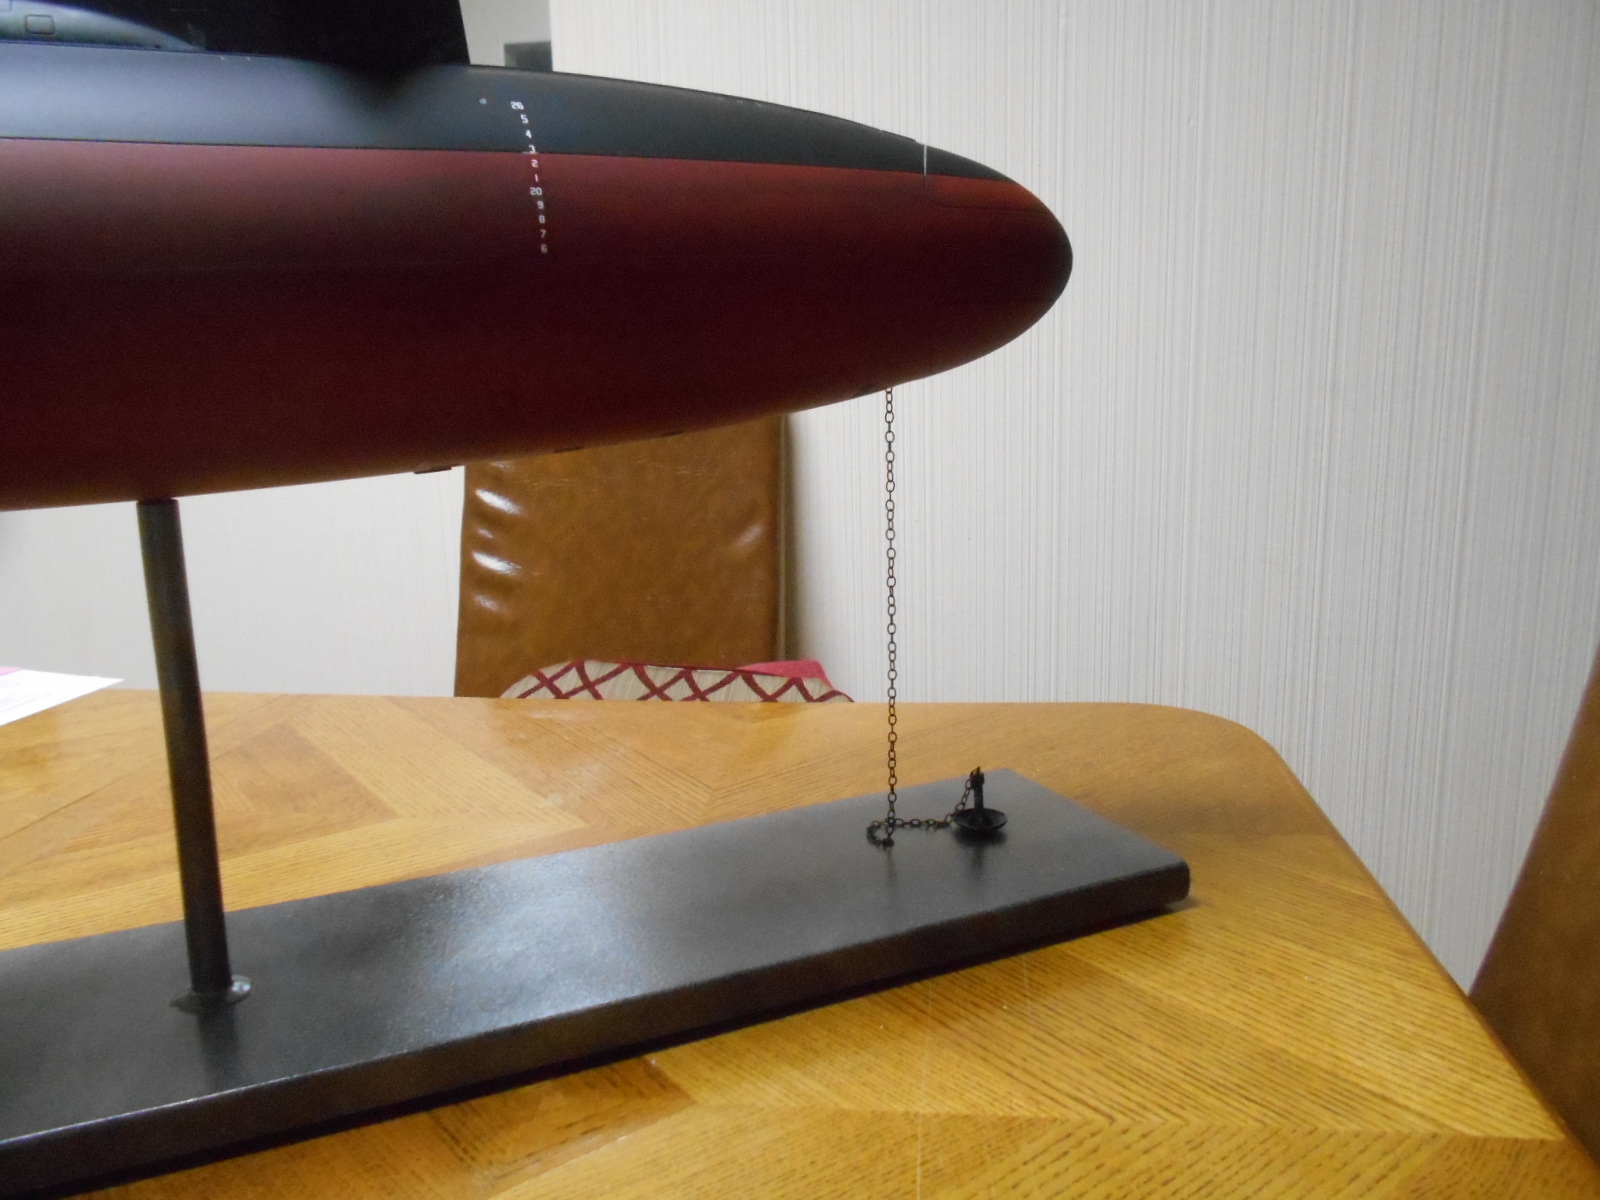
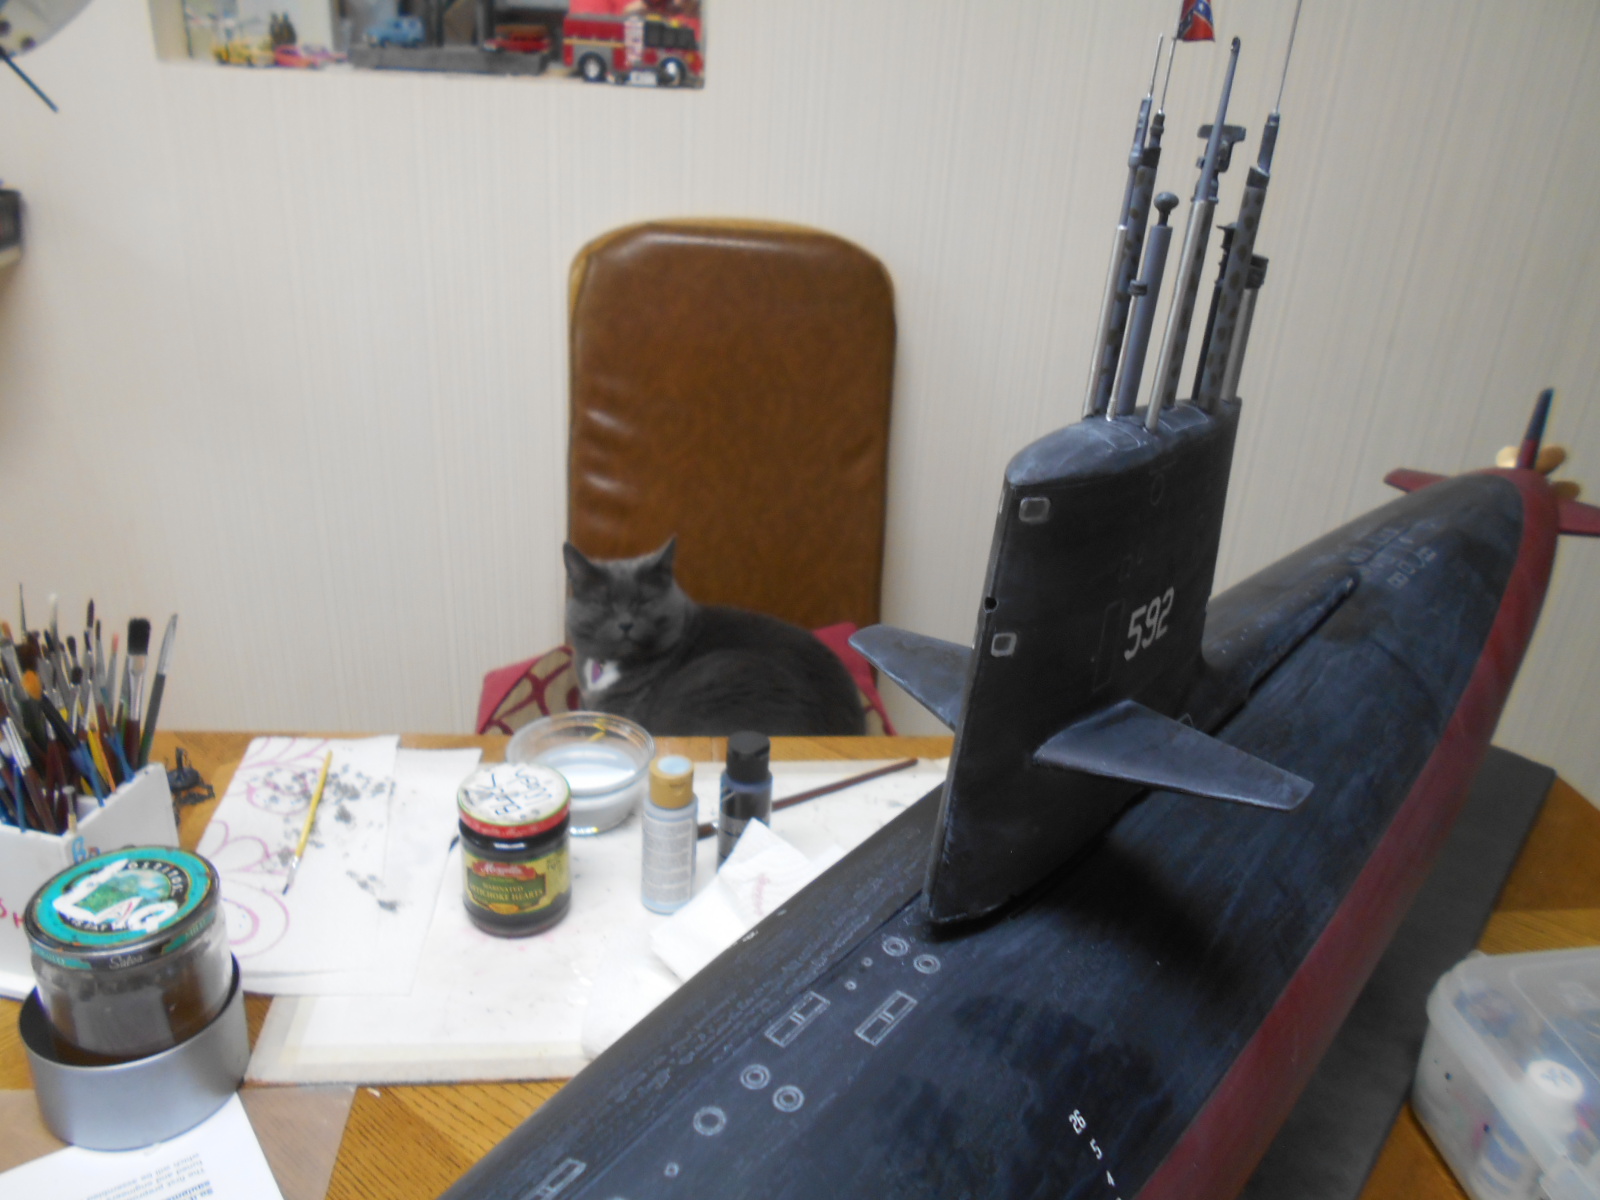
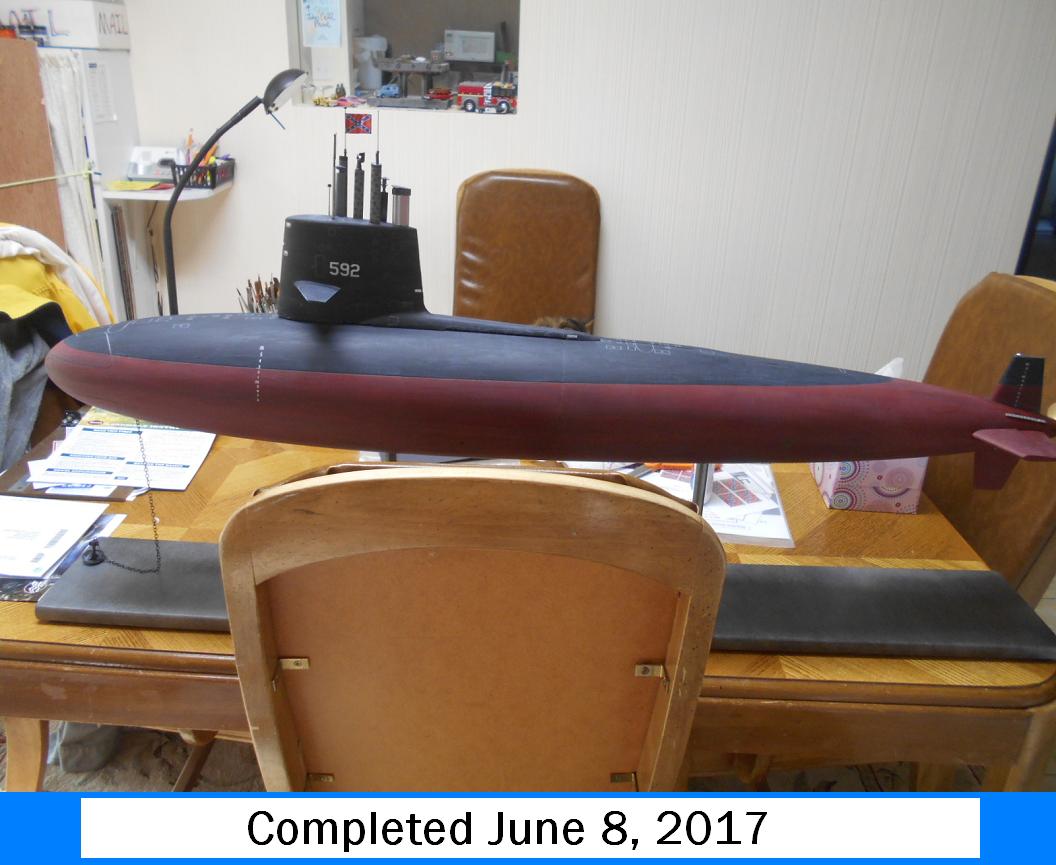
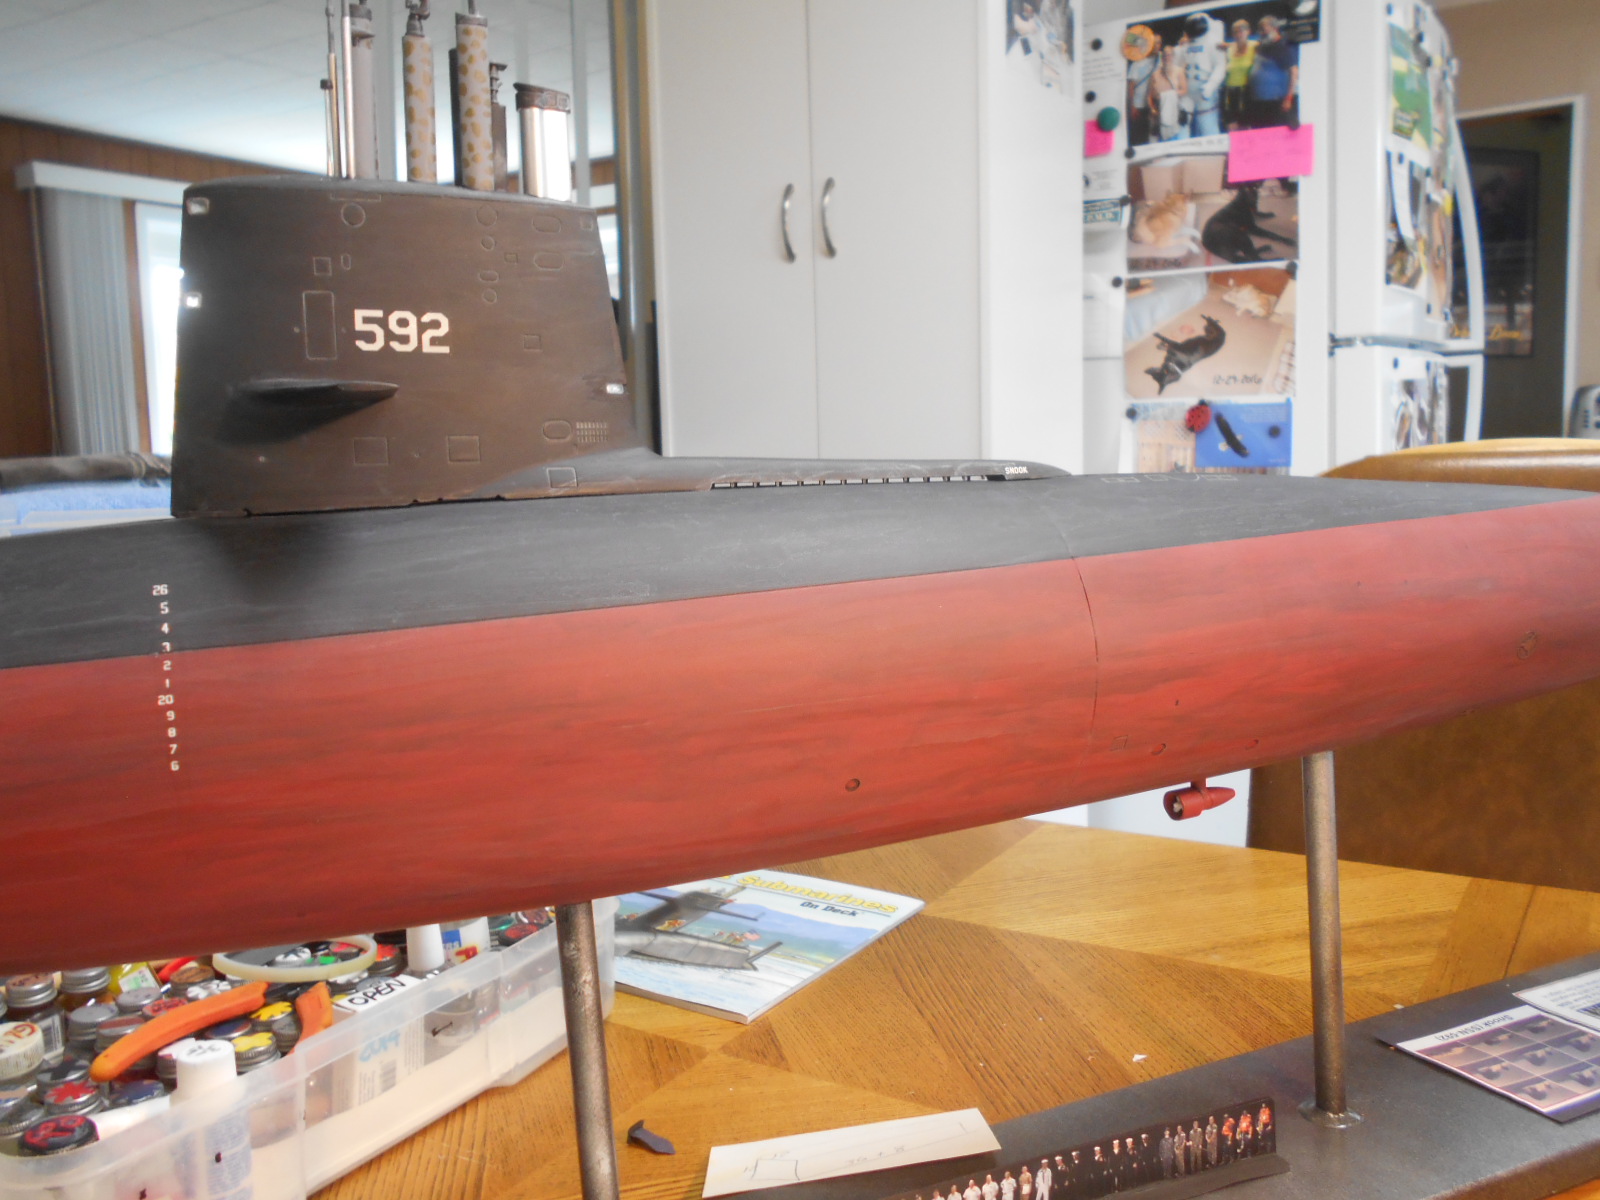
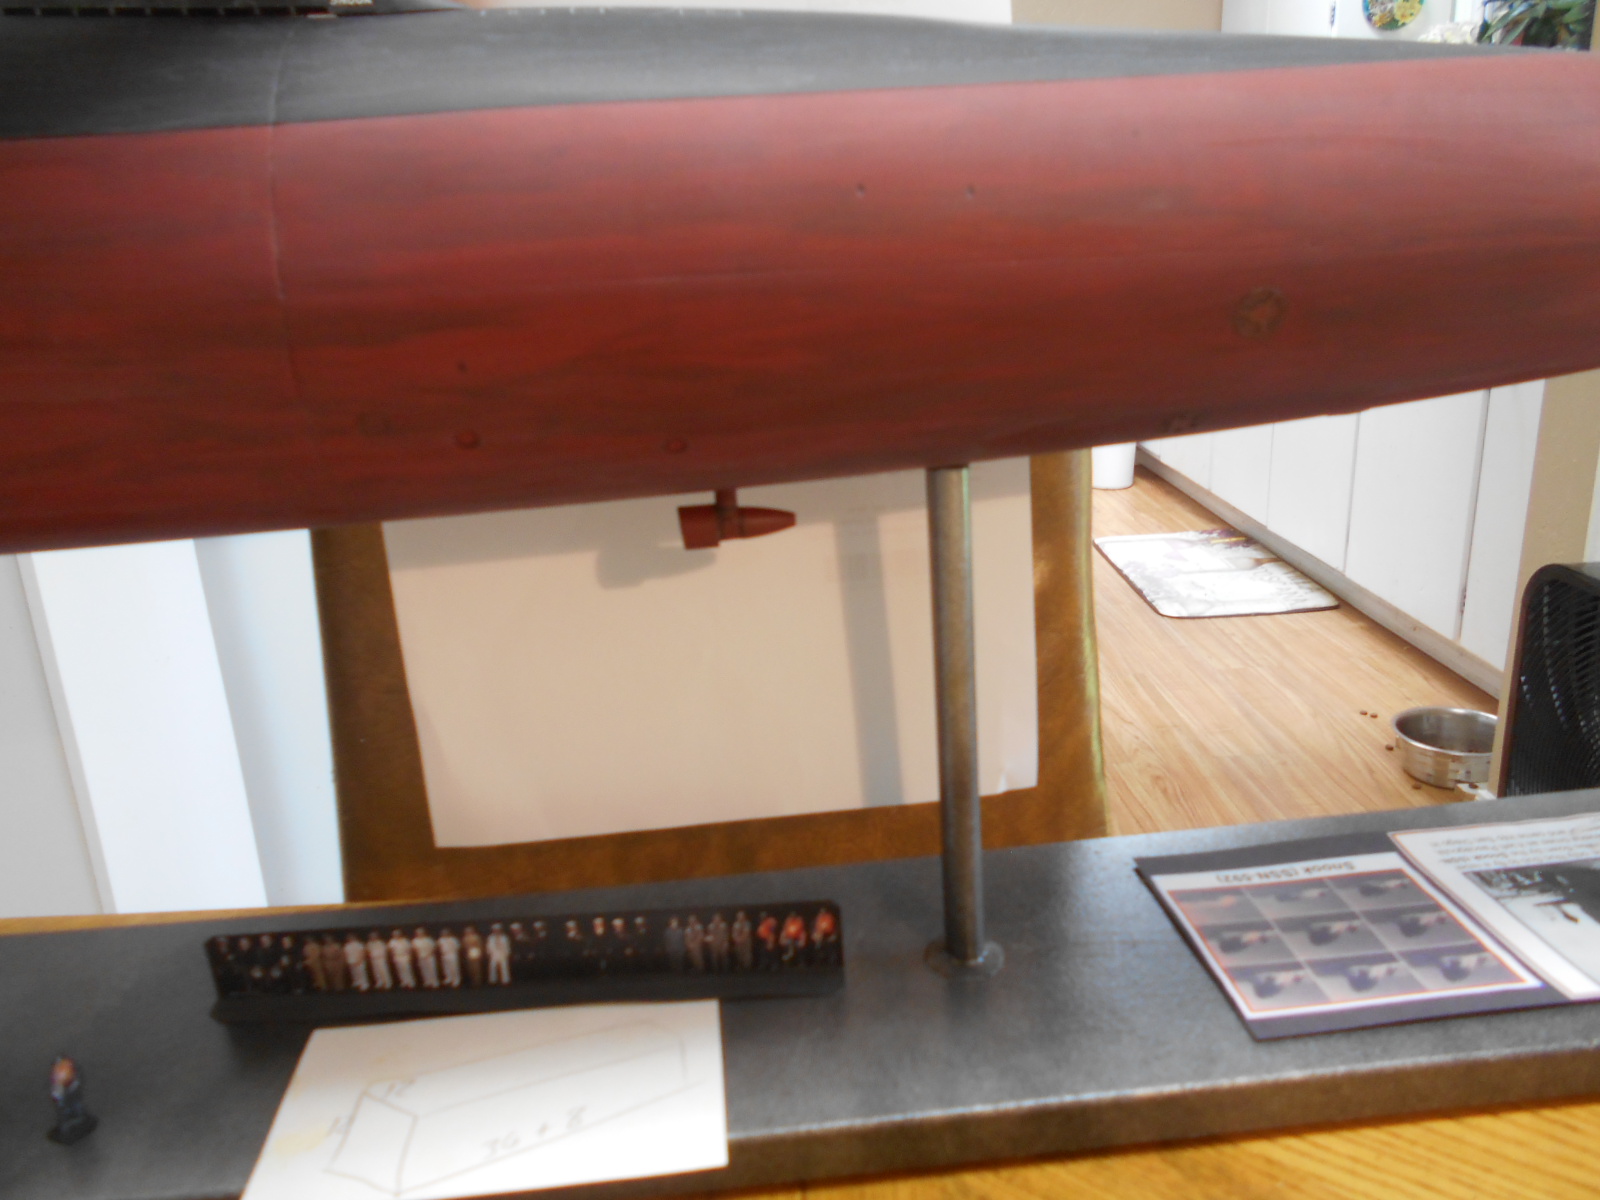
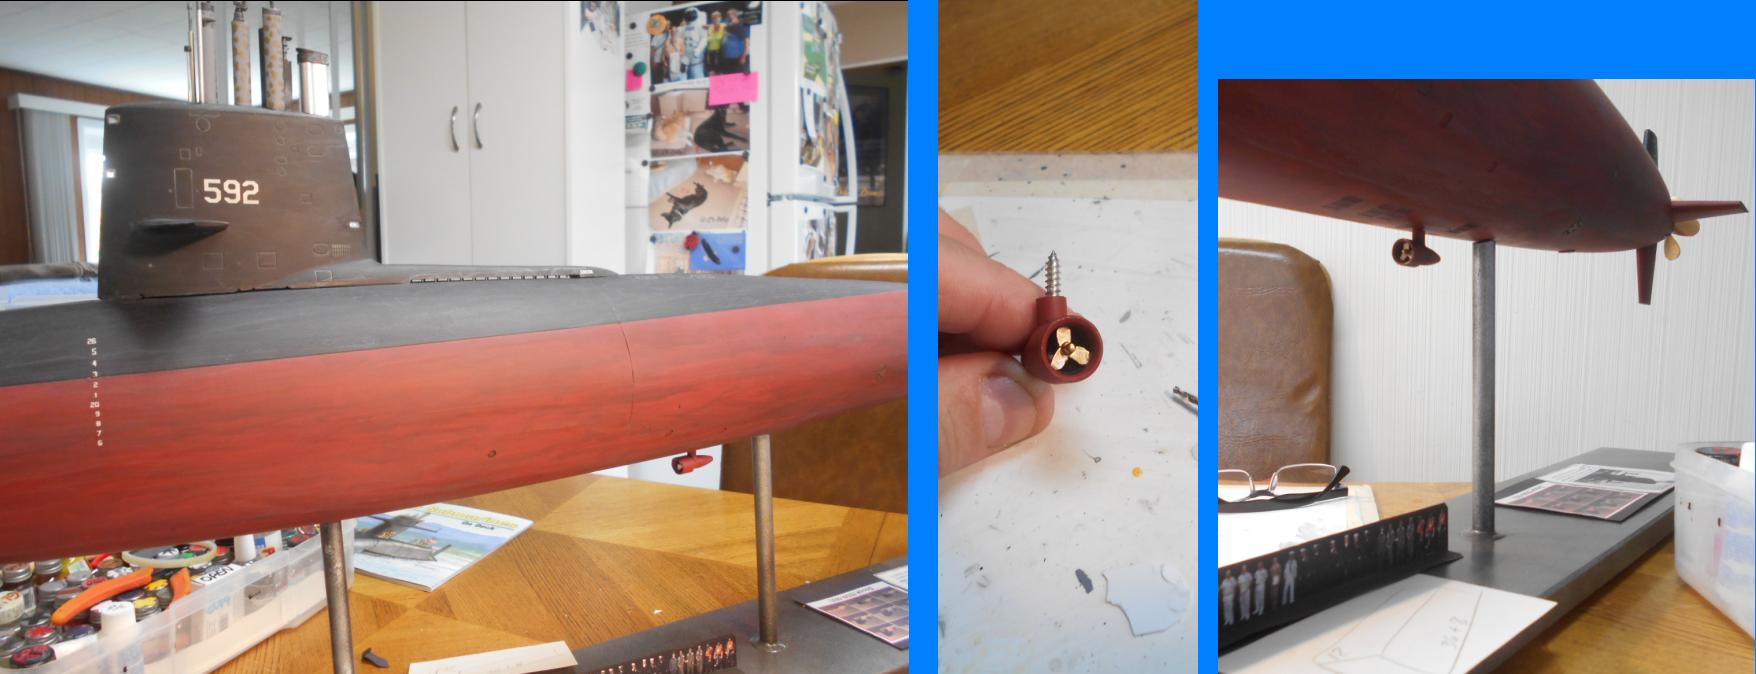
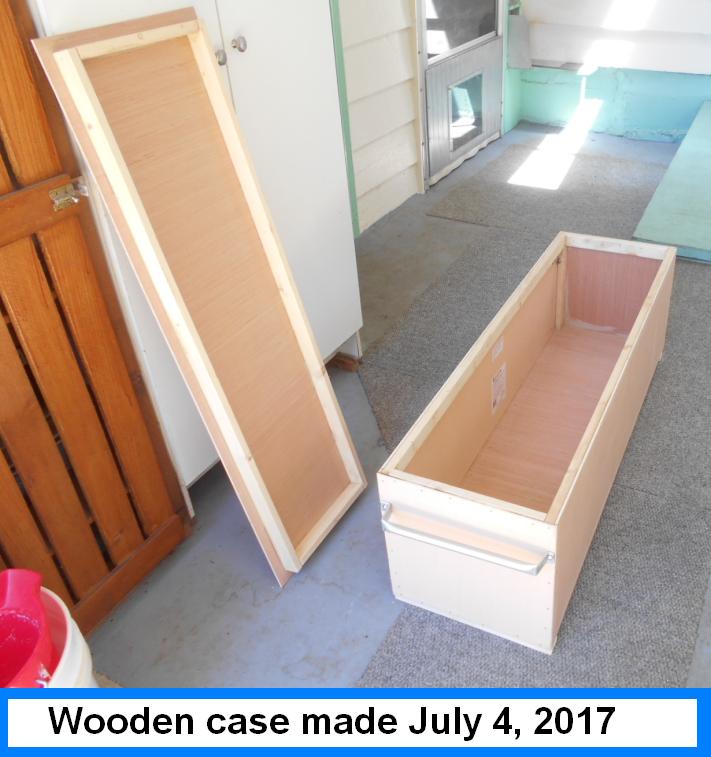
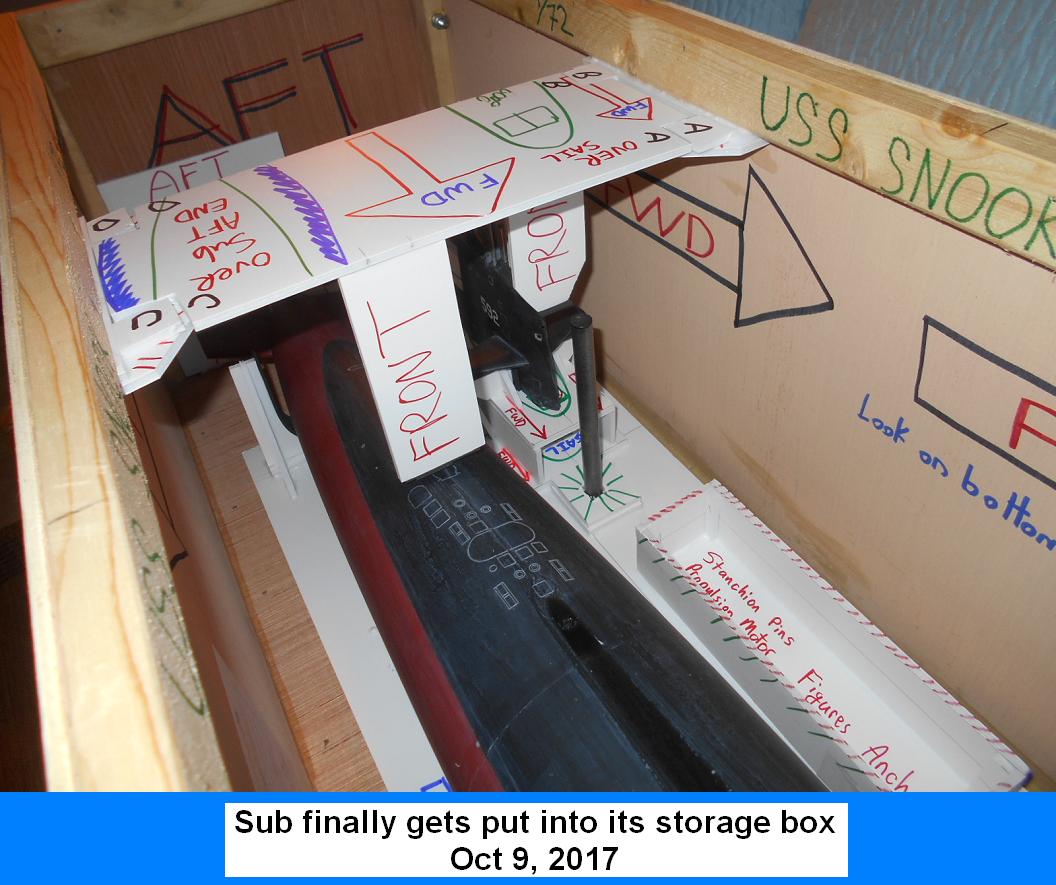
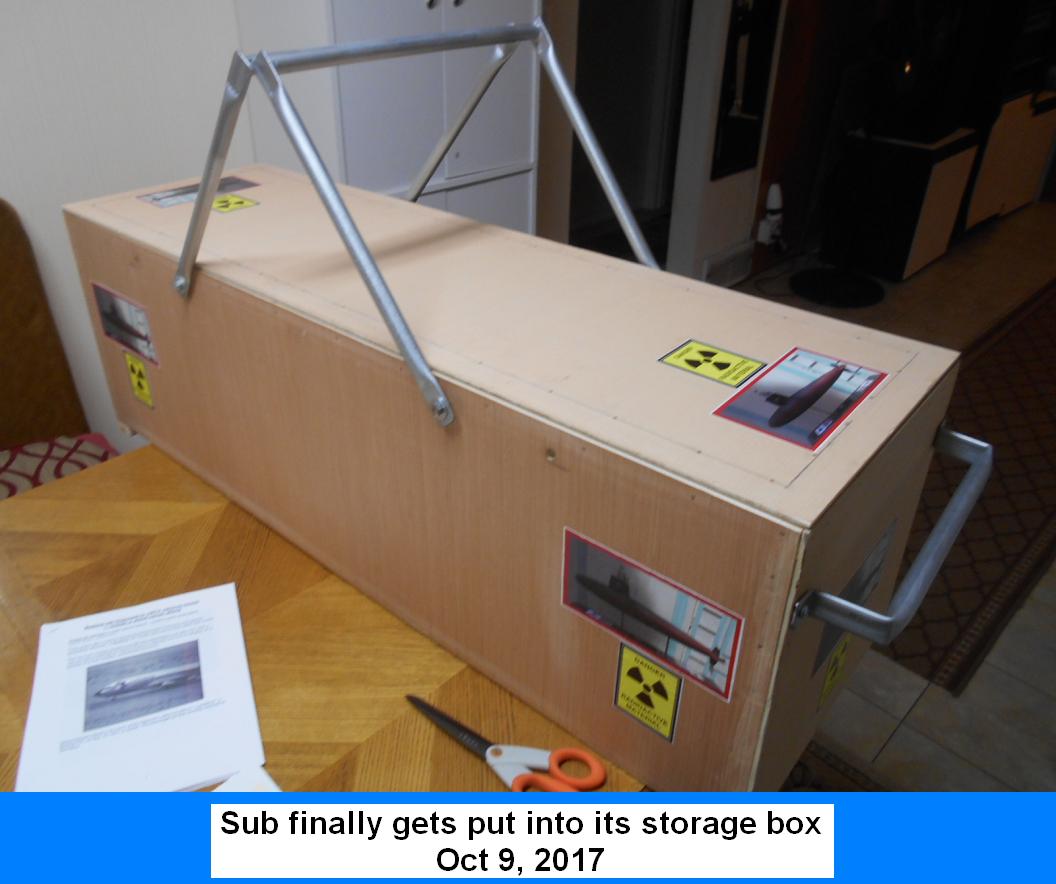
And now the sub is inside for safe keeping:


John, as always, you not only end up with a pretty amazing finished model but, more importantly, you have a heck of a lot of fun getting there. Thanks for sharing your progress along the way and pointing out details of your experiences.
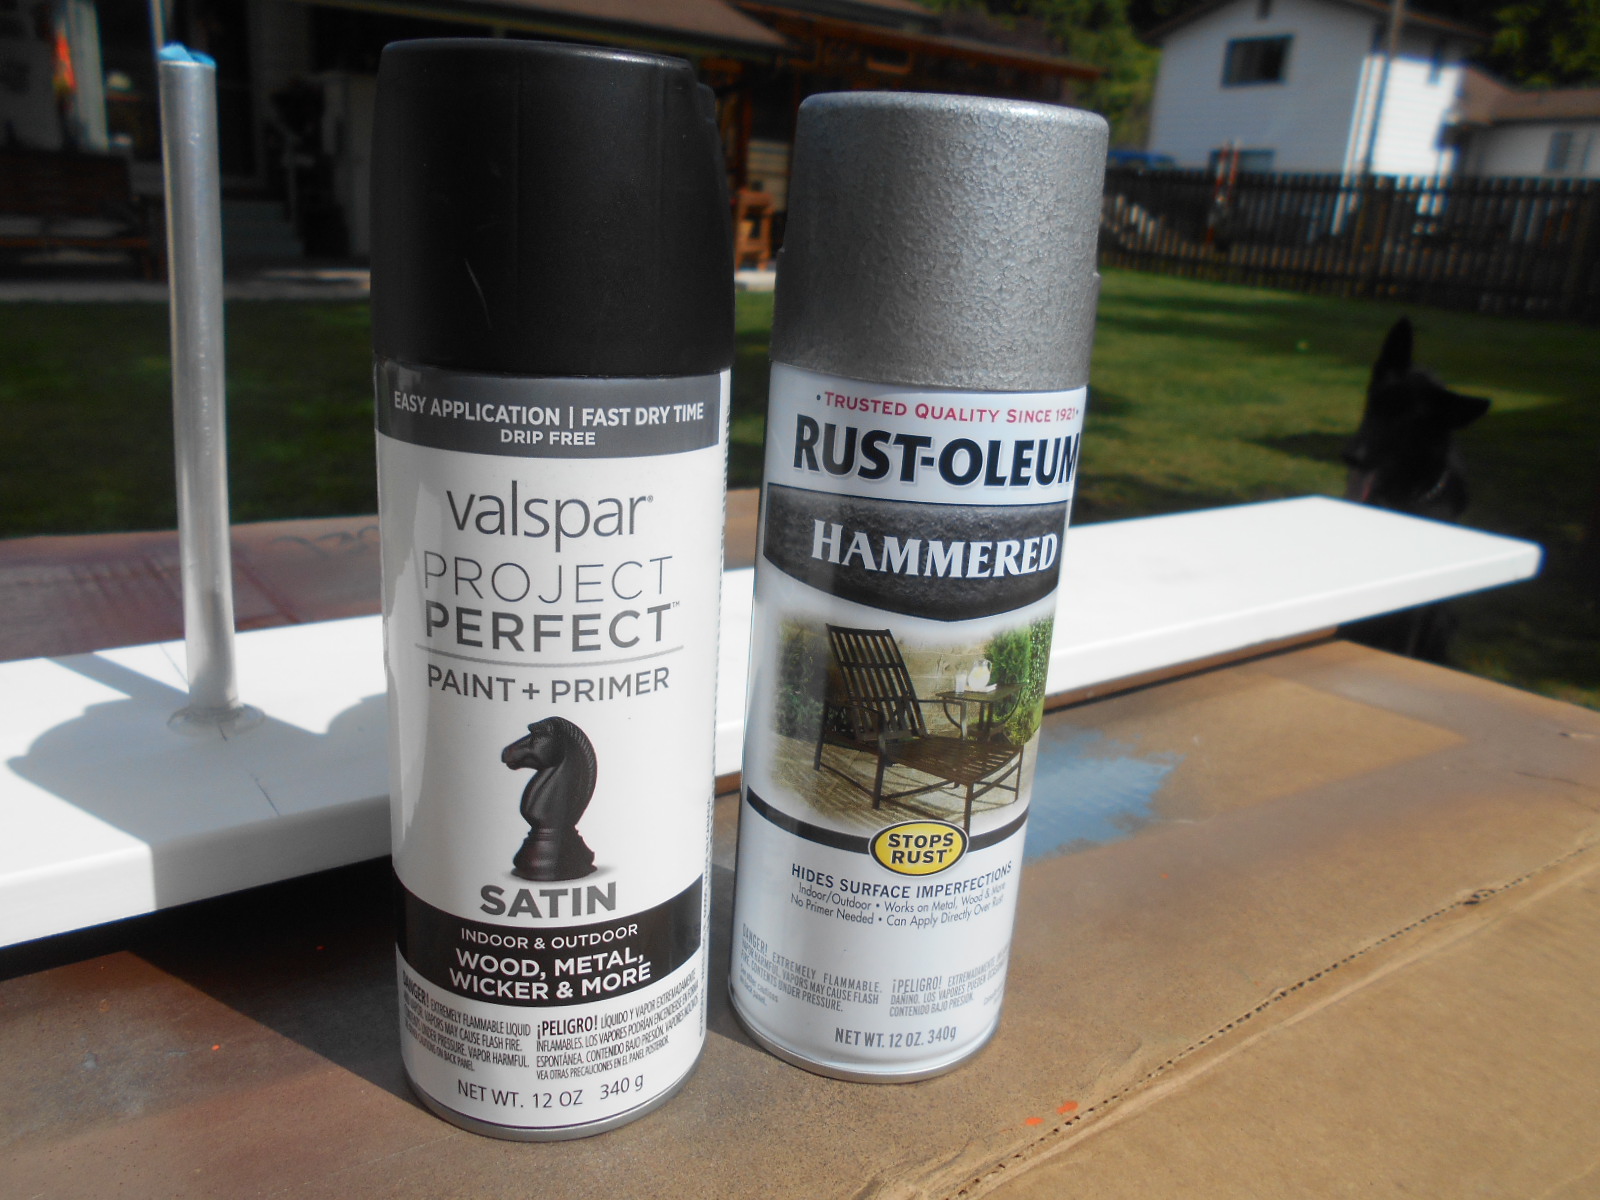
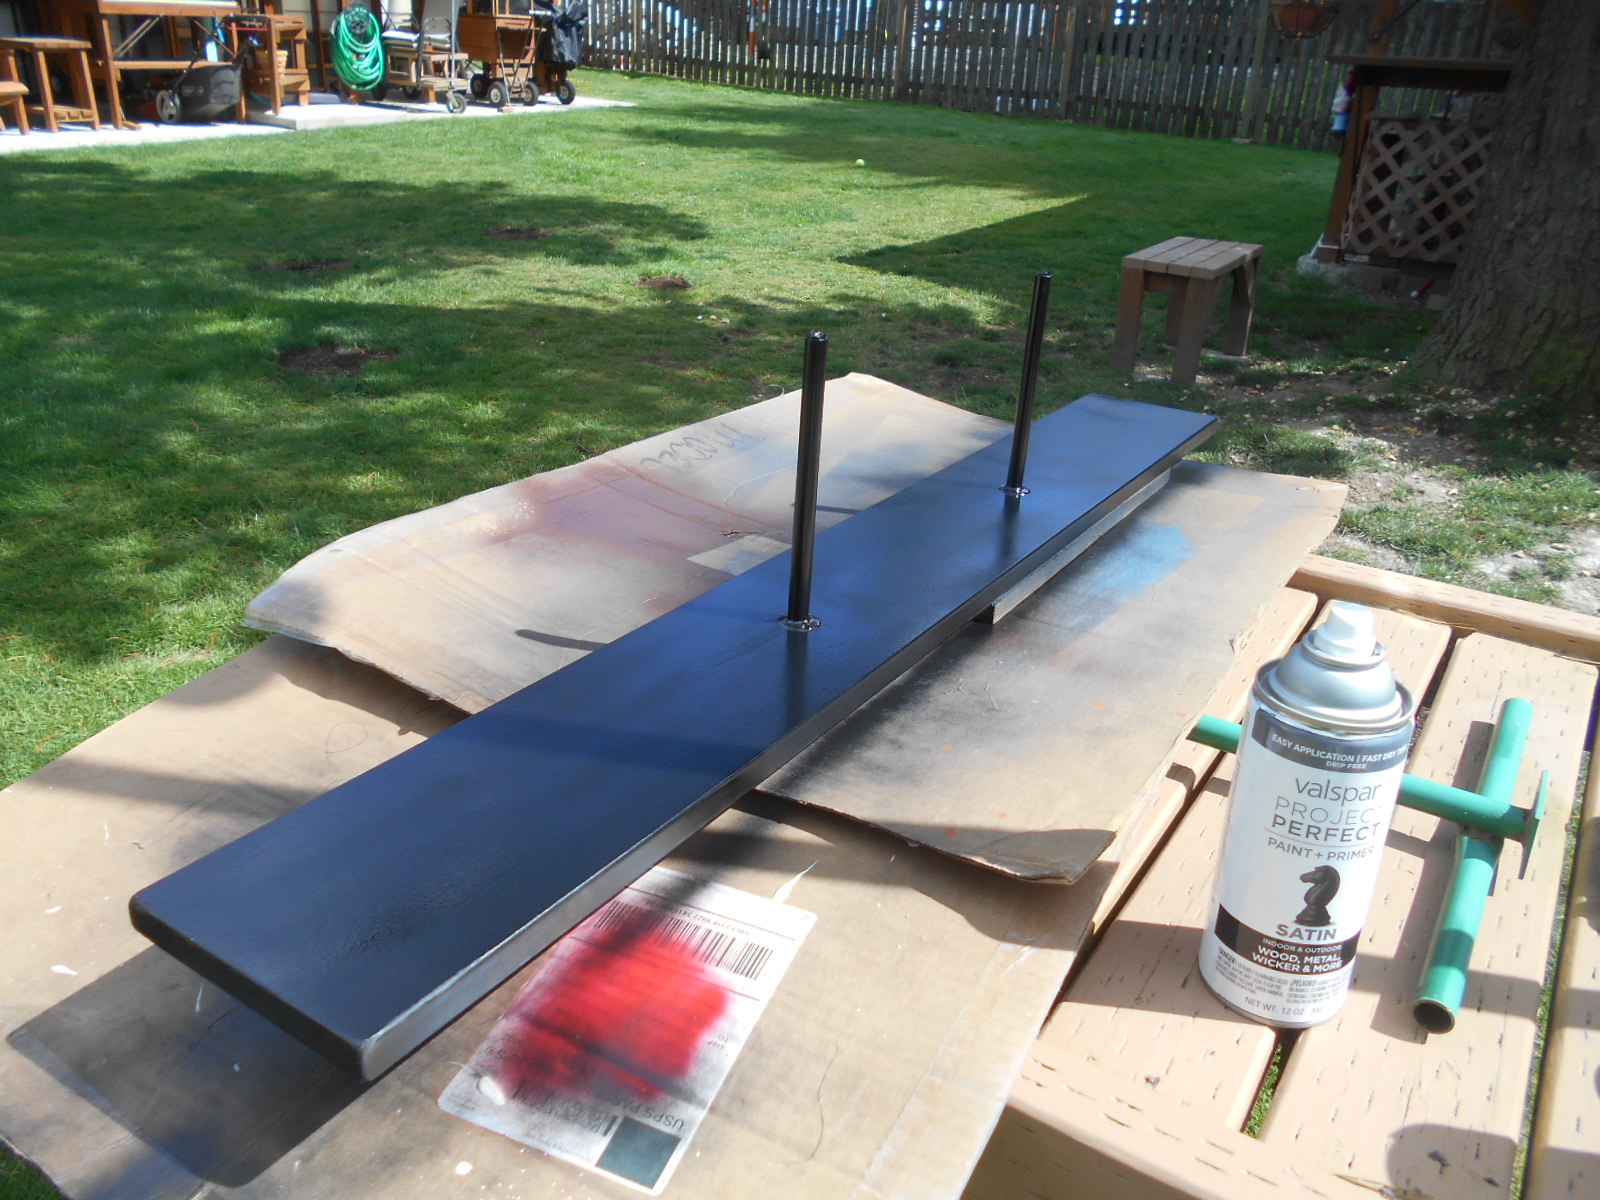
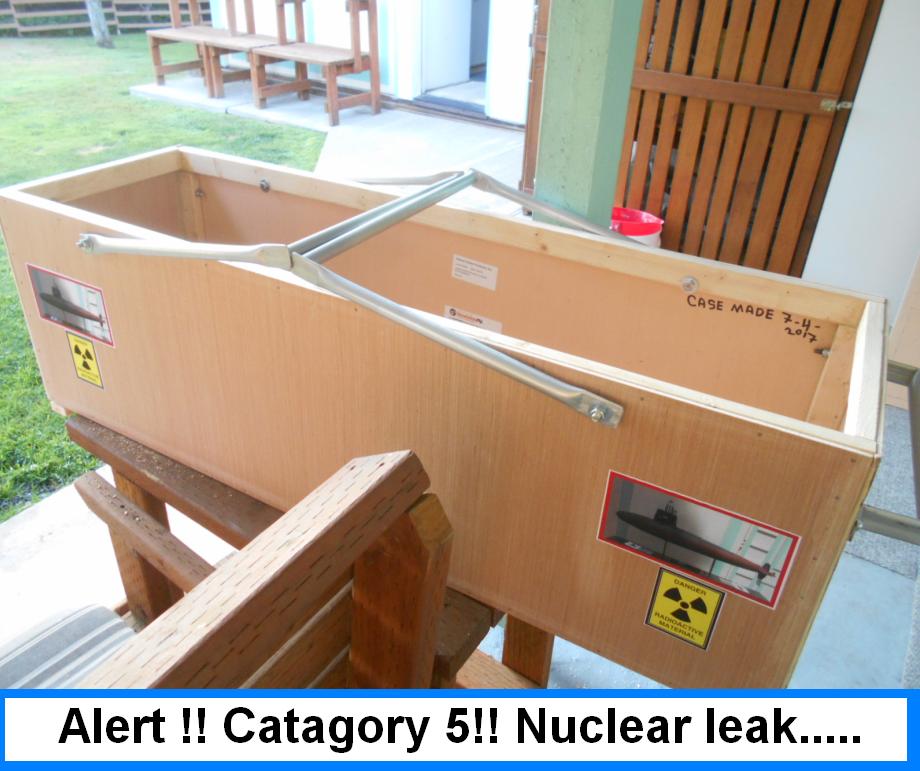
This was a monster Build ! Nice to see your depiction of the paints used. The sad part is always when you have to place your amazing master pieces into their ”Coffins” and move them into the Model-Mausoleum to go rest until possibly qualifying for a brief resurrection to go on display. I think you need to do a video clip on your Models resting place. I recently got to meet your Basement Watchkeeper.
Attached image: