Reviews
Armor
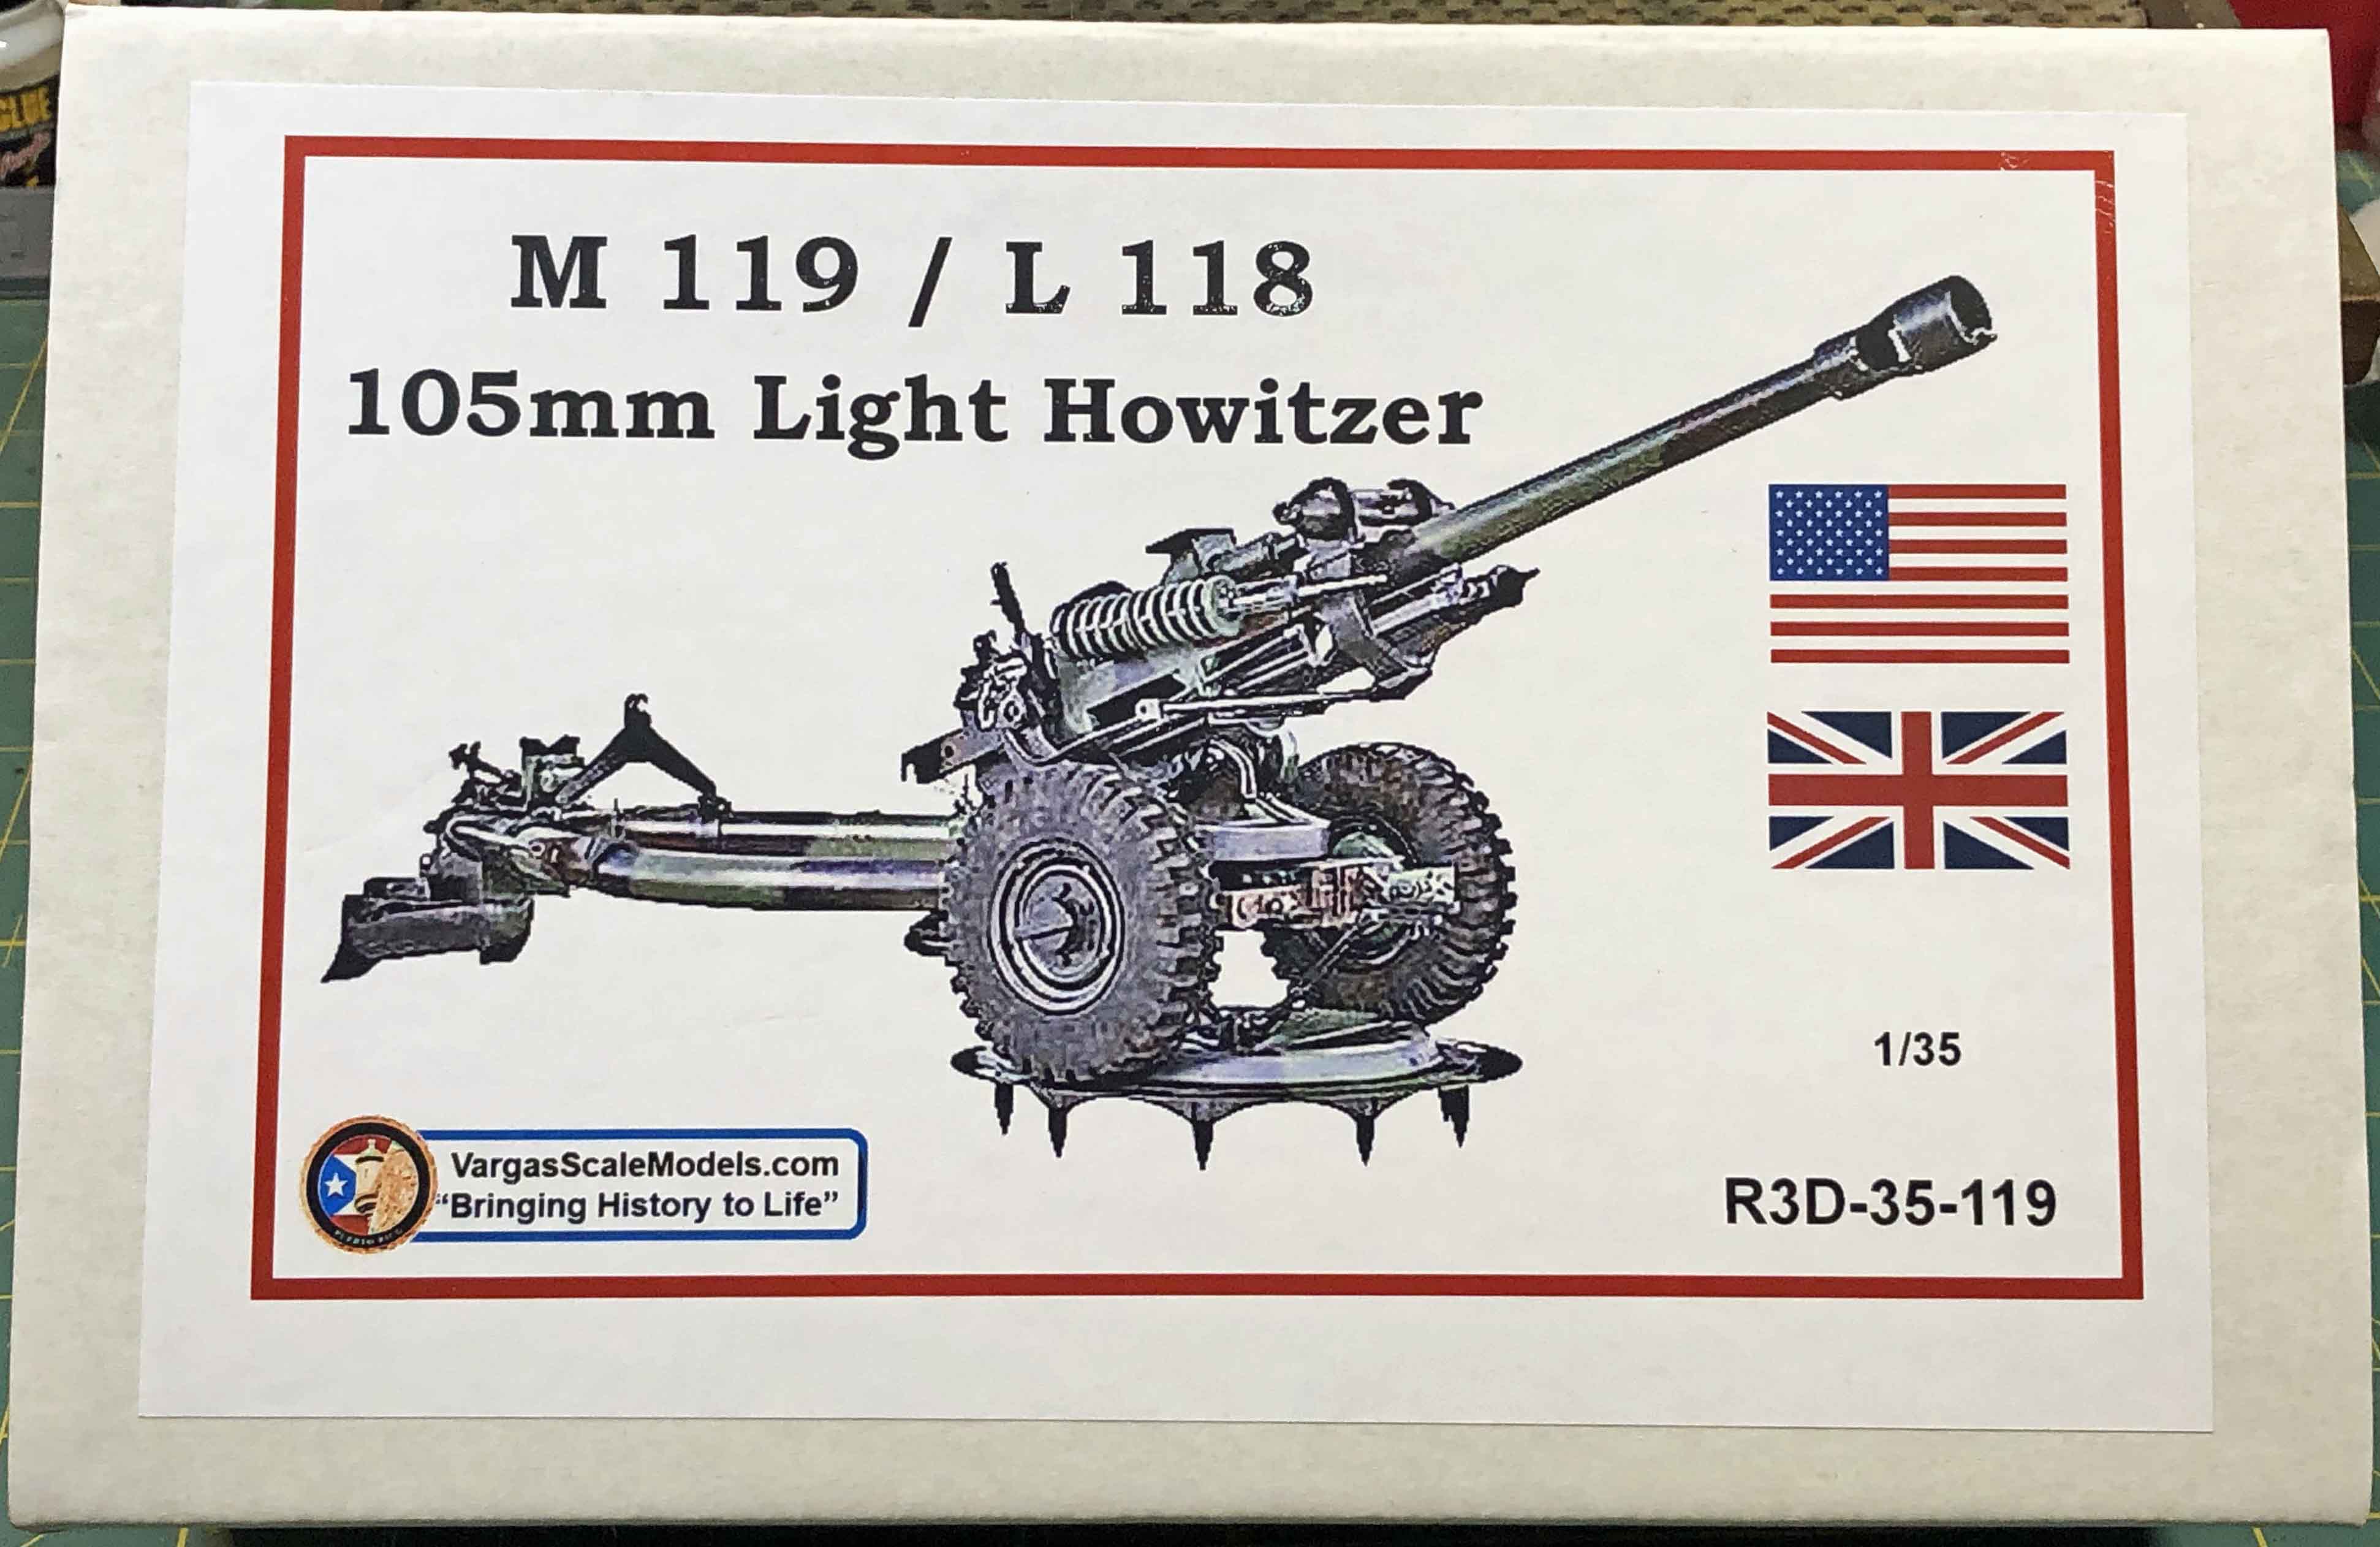
M119/L118 105mm Light Howitzer
by Eric Christianson
 Model: M119/L118 105mm Light Howitzer
Reviewed by: Eric Christianson, IPMS # 42218
Scale: 1/35
Company: Vargas
Price: $84.50
Product/Stock #: R3D-35-119
Website: Vargas
Product Web Page: View
Up here in Seattle we have a large IPMS club. Over the past two years or so, one of our members, Rick Taylor, has been busy building a large variety of very unusual resin, 3-D printed, limited-run armor models from a small company called Vargas Models. Owner Luis Vargas specializes in 1/35th (and more recently 1/72nd) scale models that, for the most part, cannot be found elsewhere. His prolific output, along with Rick’s building expertise, has created quite a stir up here in Seattle. Rick drove most of his Vargas builds out to the recent Omaha Nationals and had them on display at the vendor booth, eventually picking up several awards in the show. I was lucky enough to be provided with one of the latest kits myself for review; the L118/M119 105mm Light Towed Howitzer.
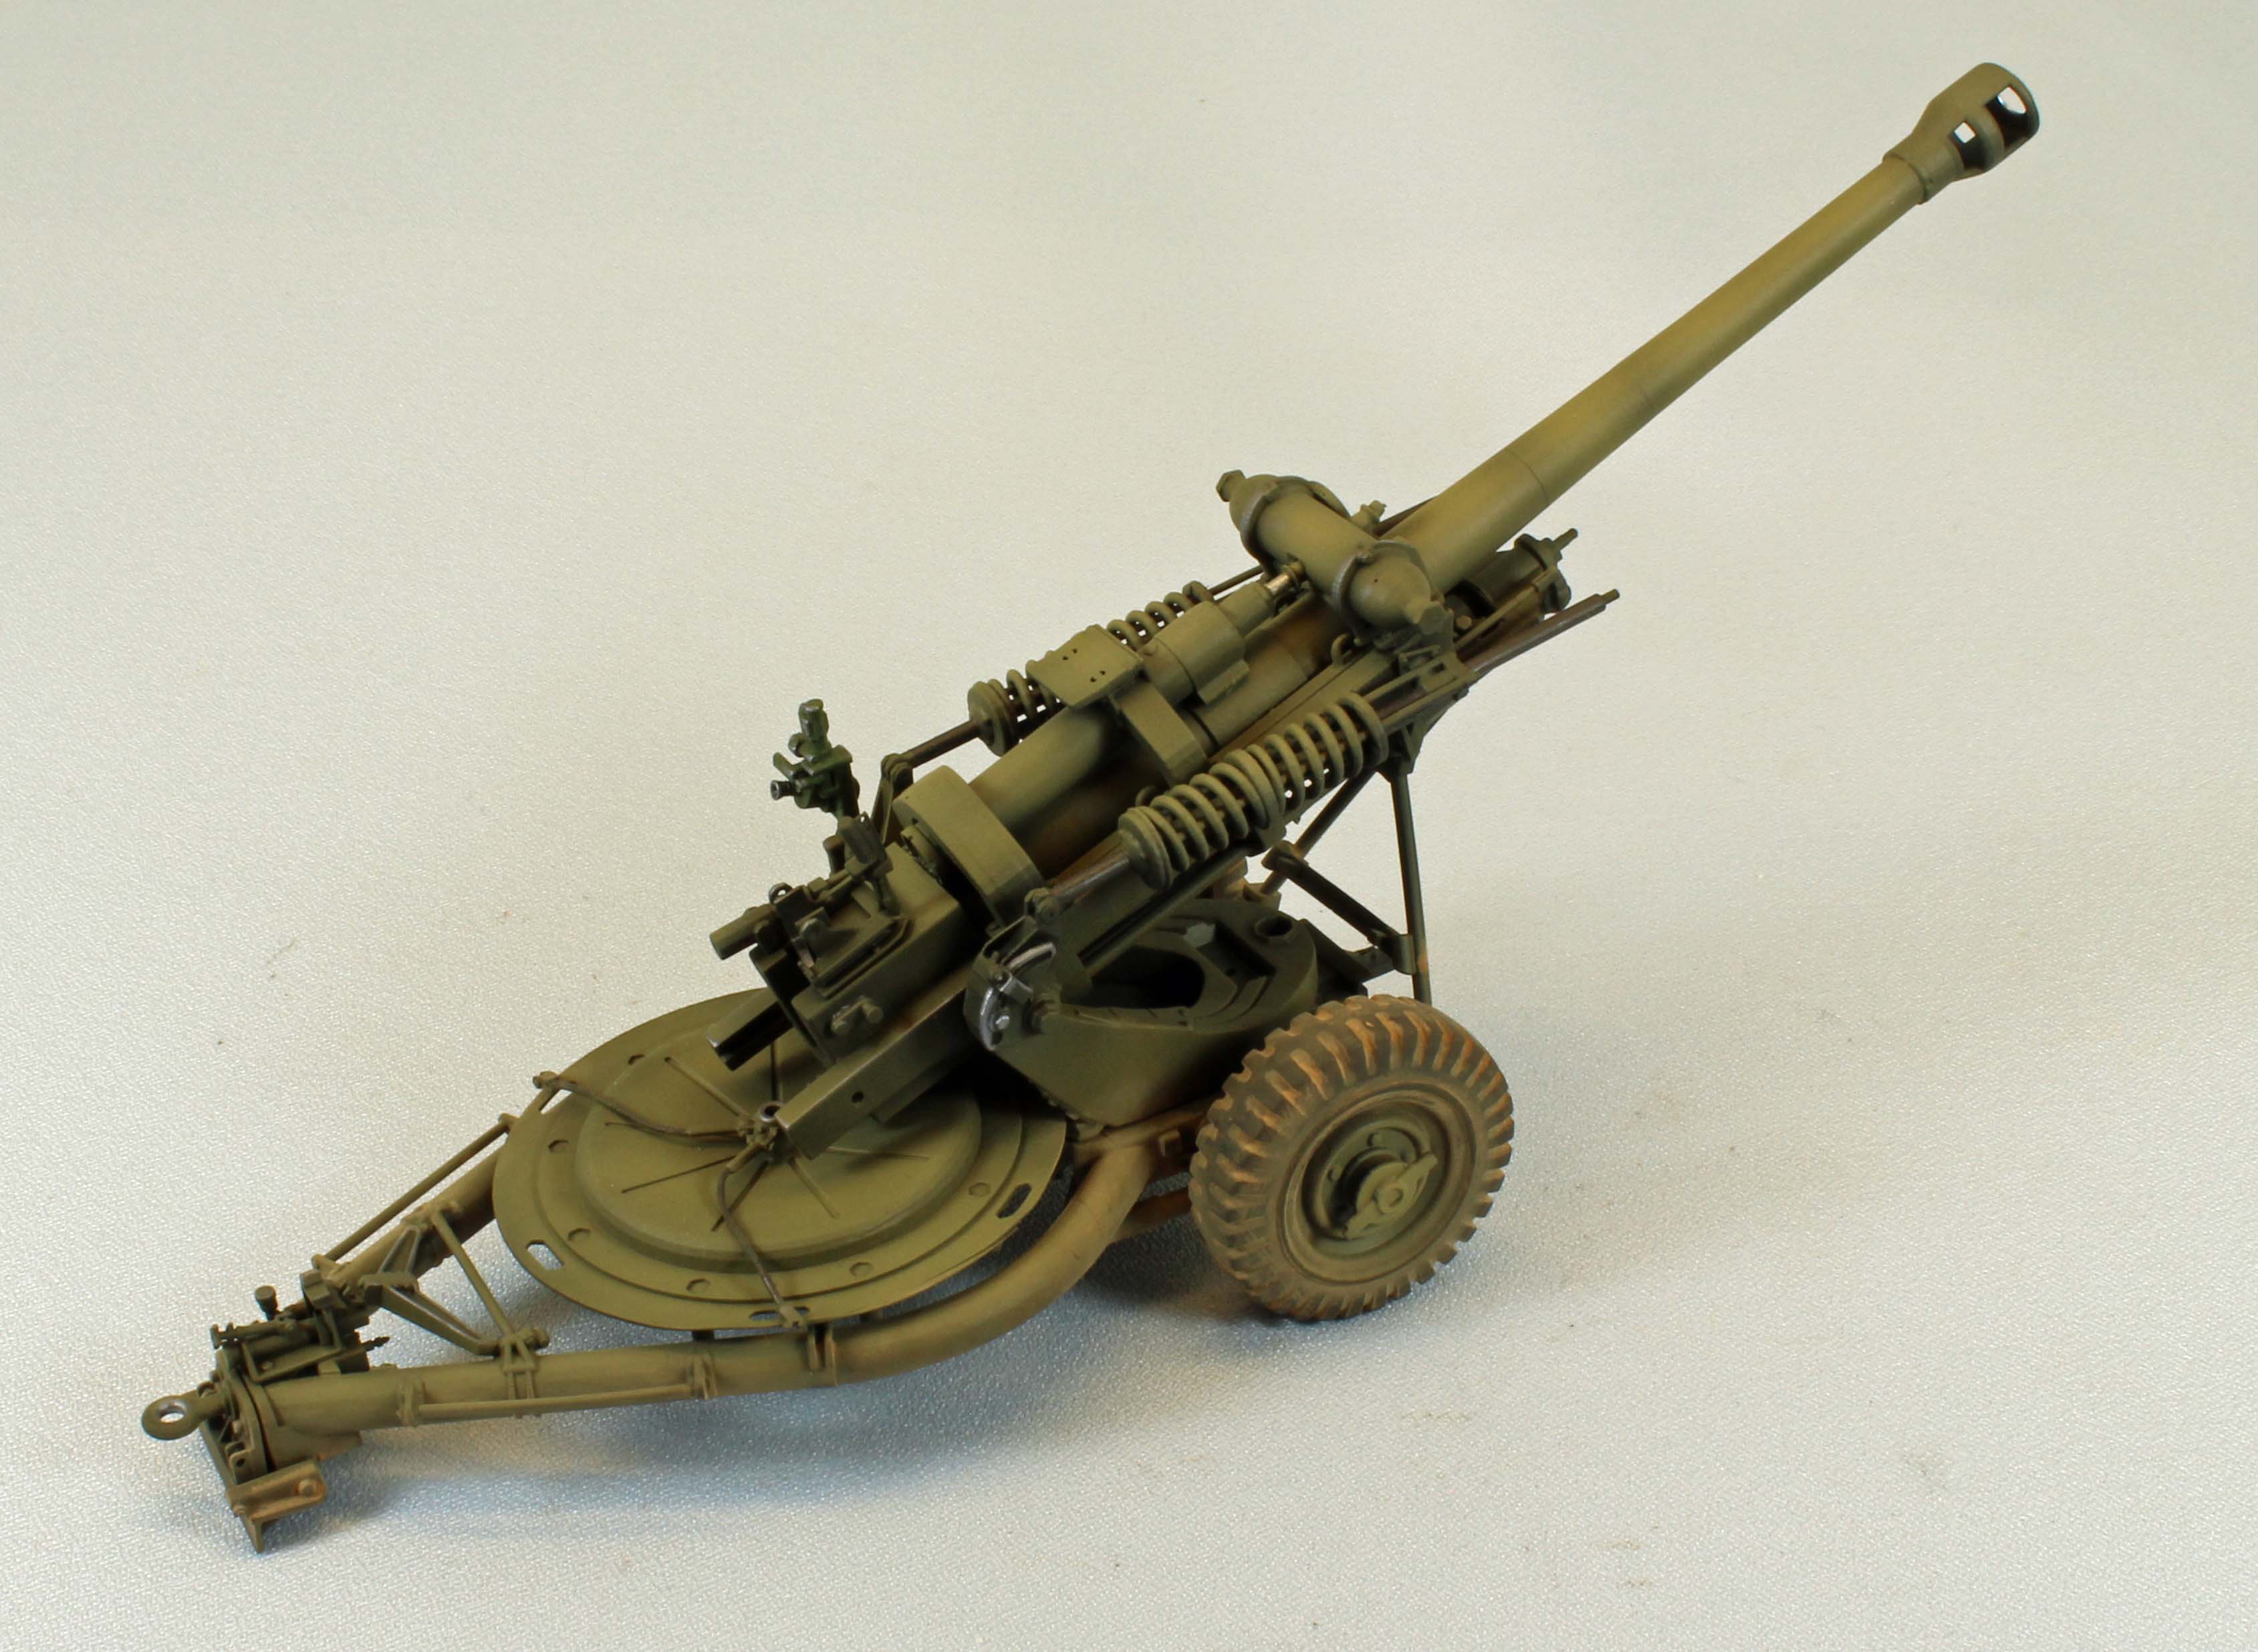
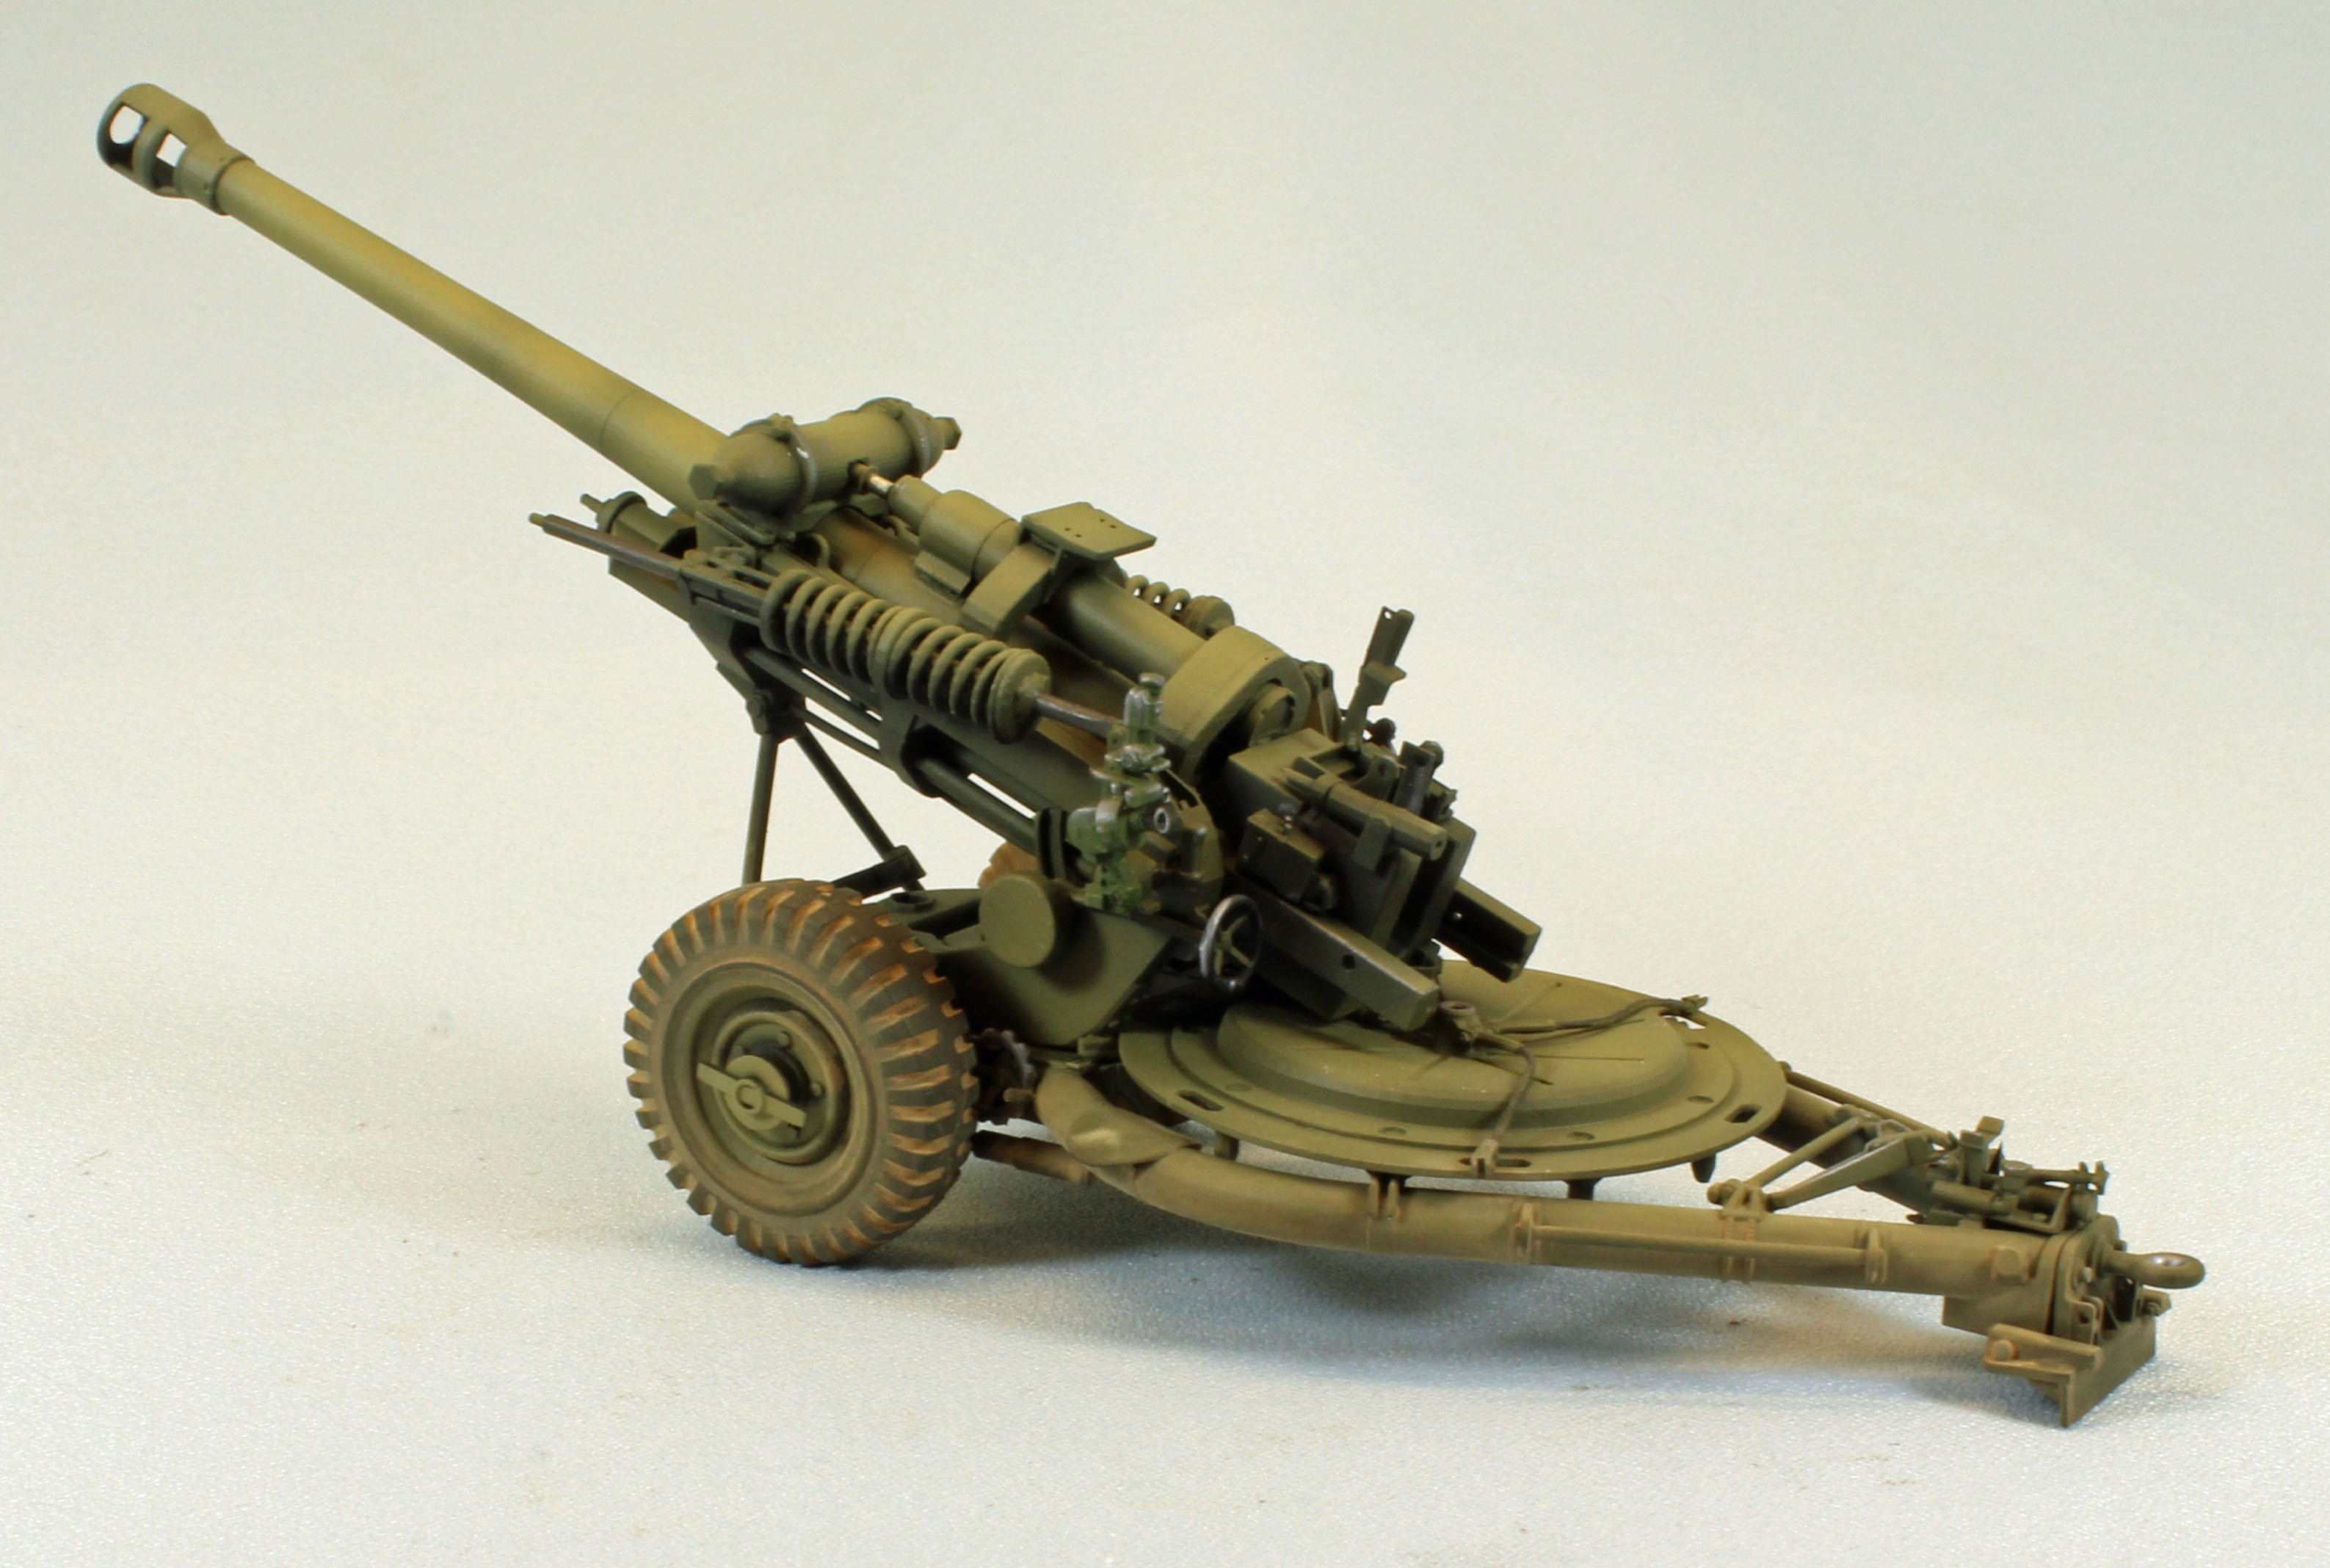
The two versions offered in the box (one British, one American) differ only slightly in appearance – the British version sporting a slightly longer barrel and more pronounced muzzle brake, and different sights. Rick had built the M119 American version and finished it in desert yellow, so I thought I’d tackle the L118 British variant, and finish it olive drab. You can find Rick’s review over at Hyperscale.
The Kit
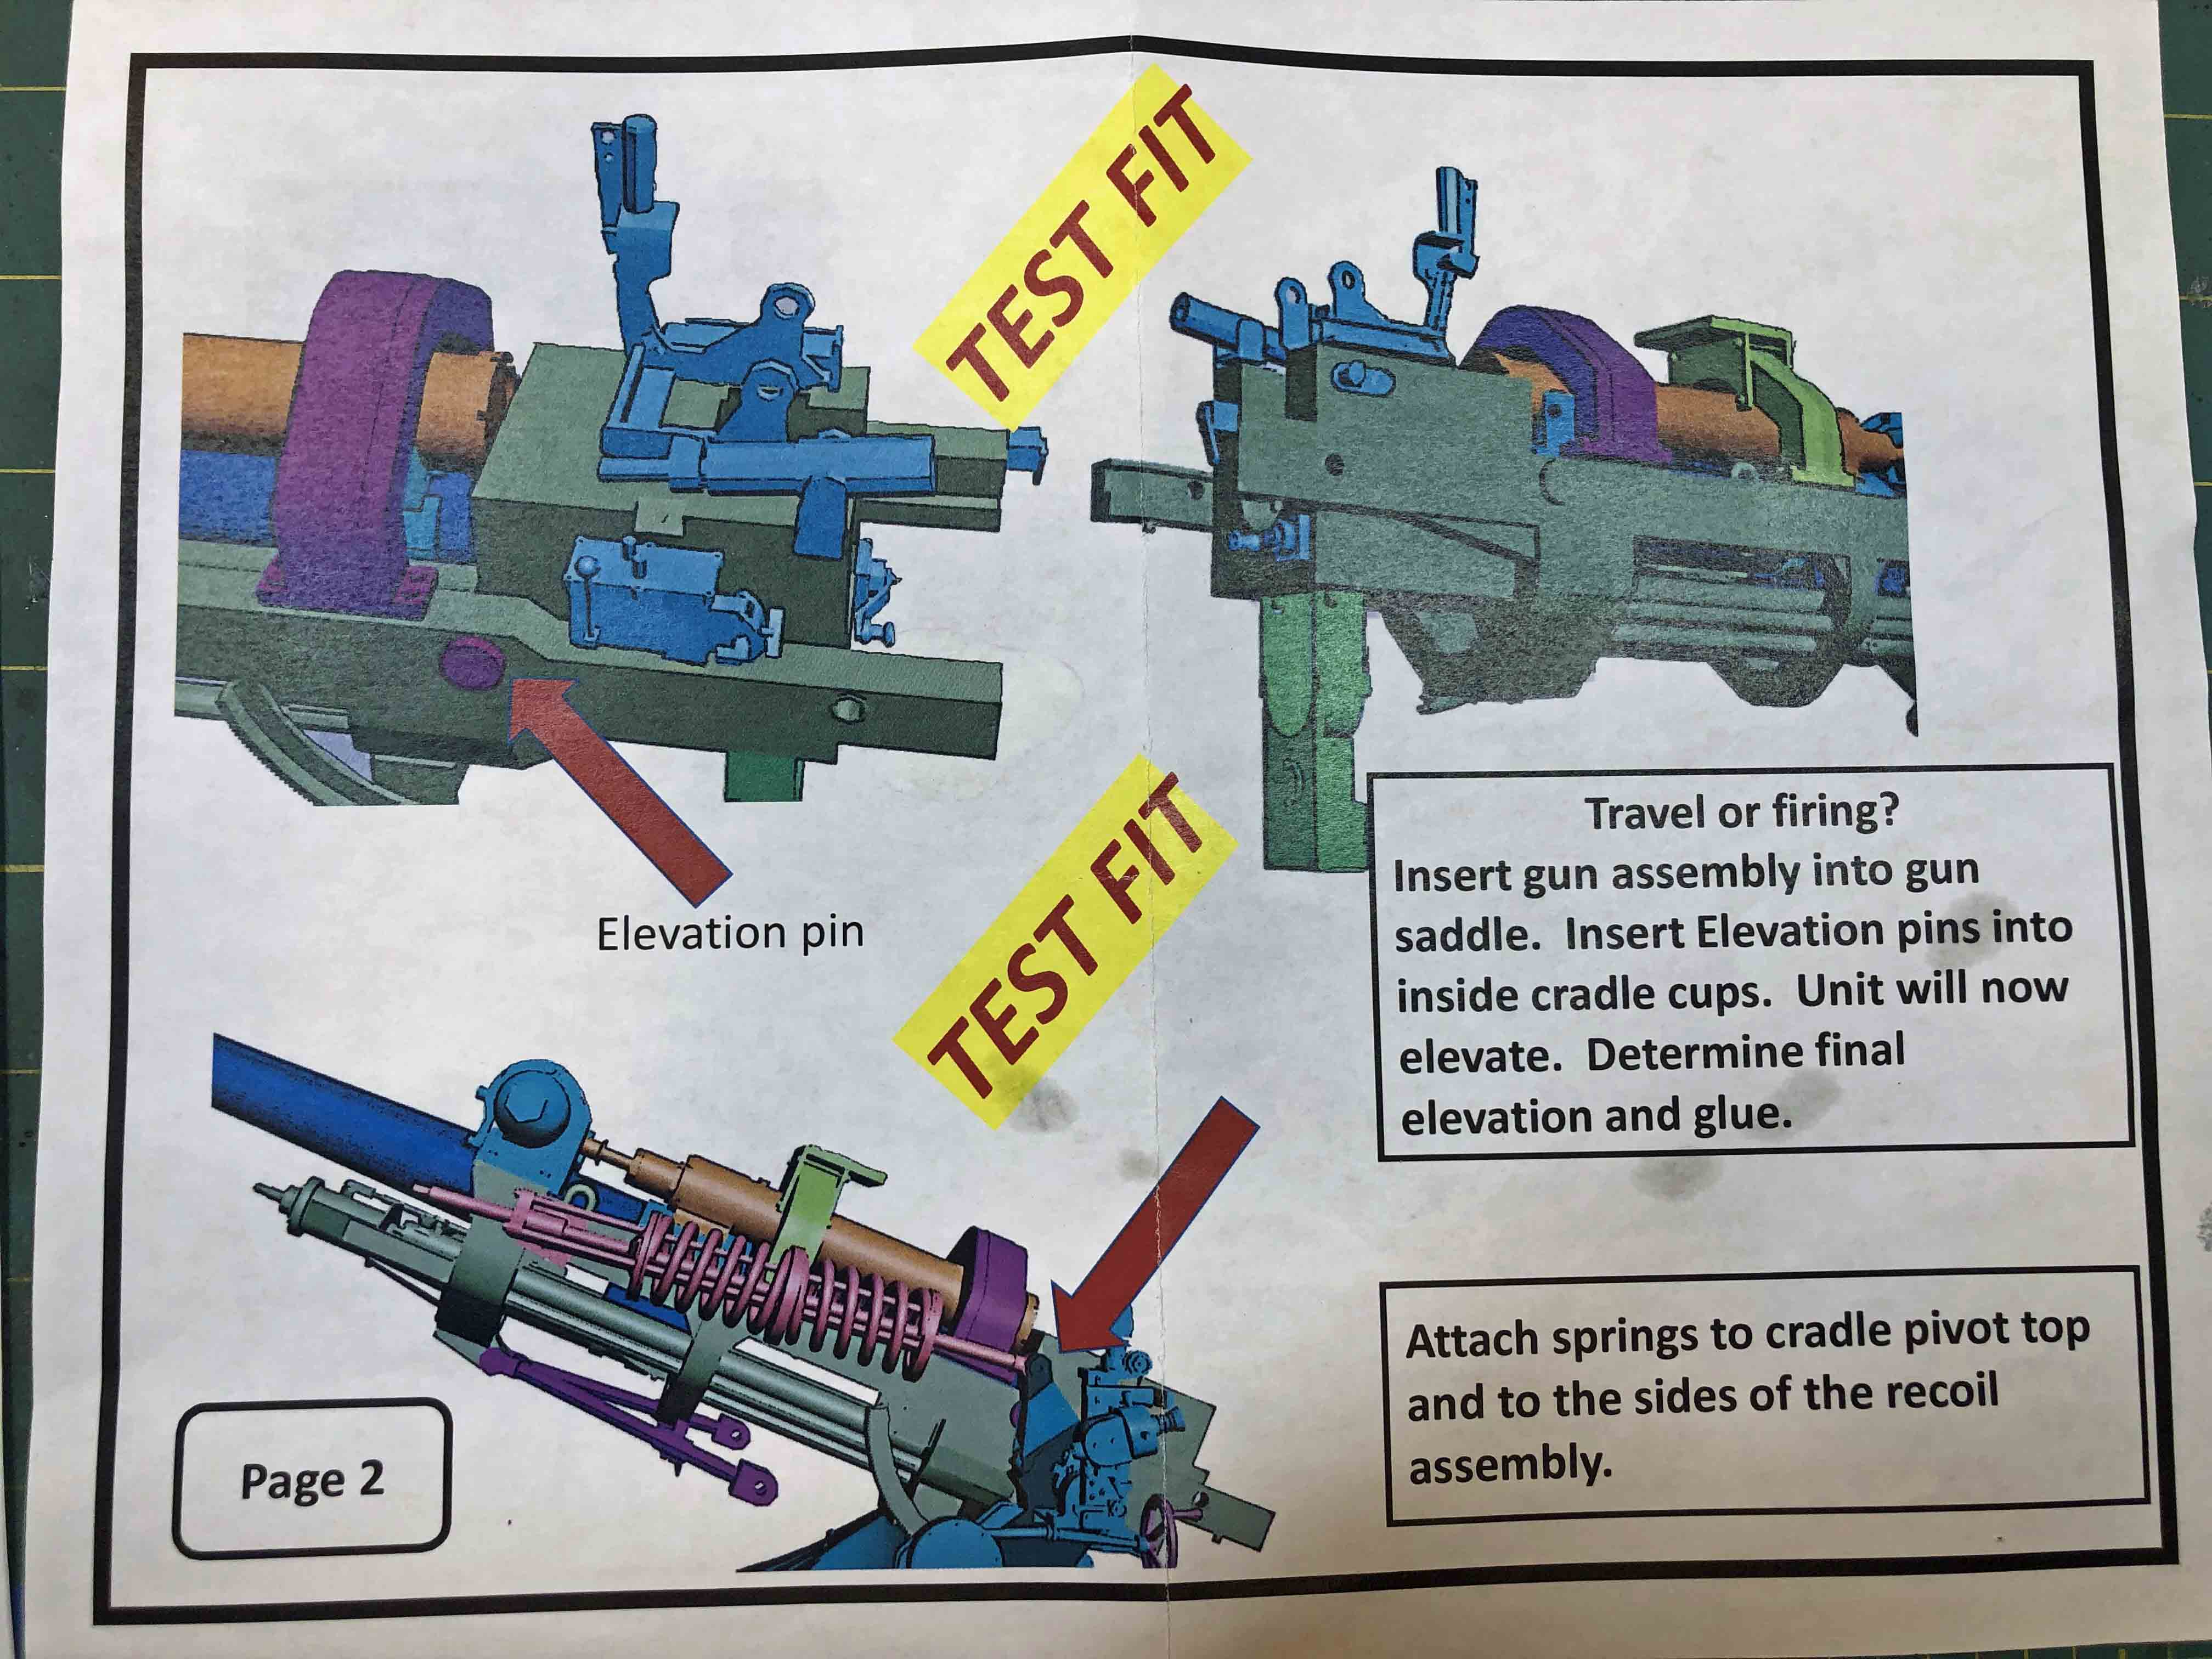
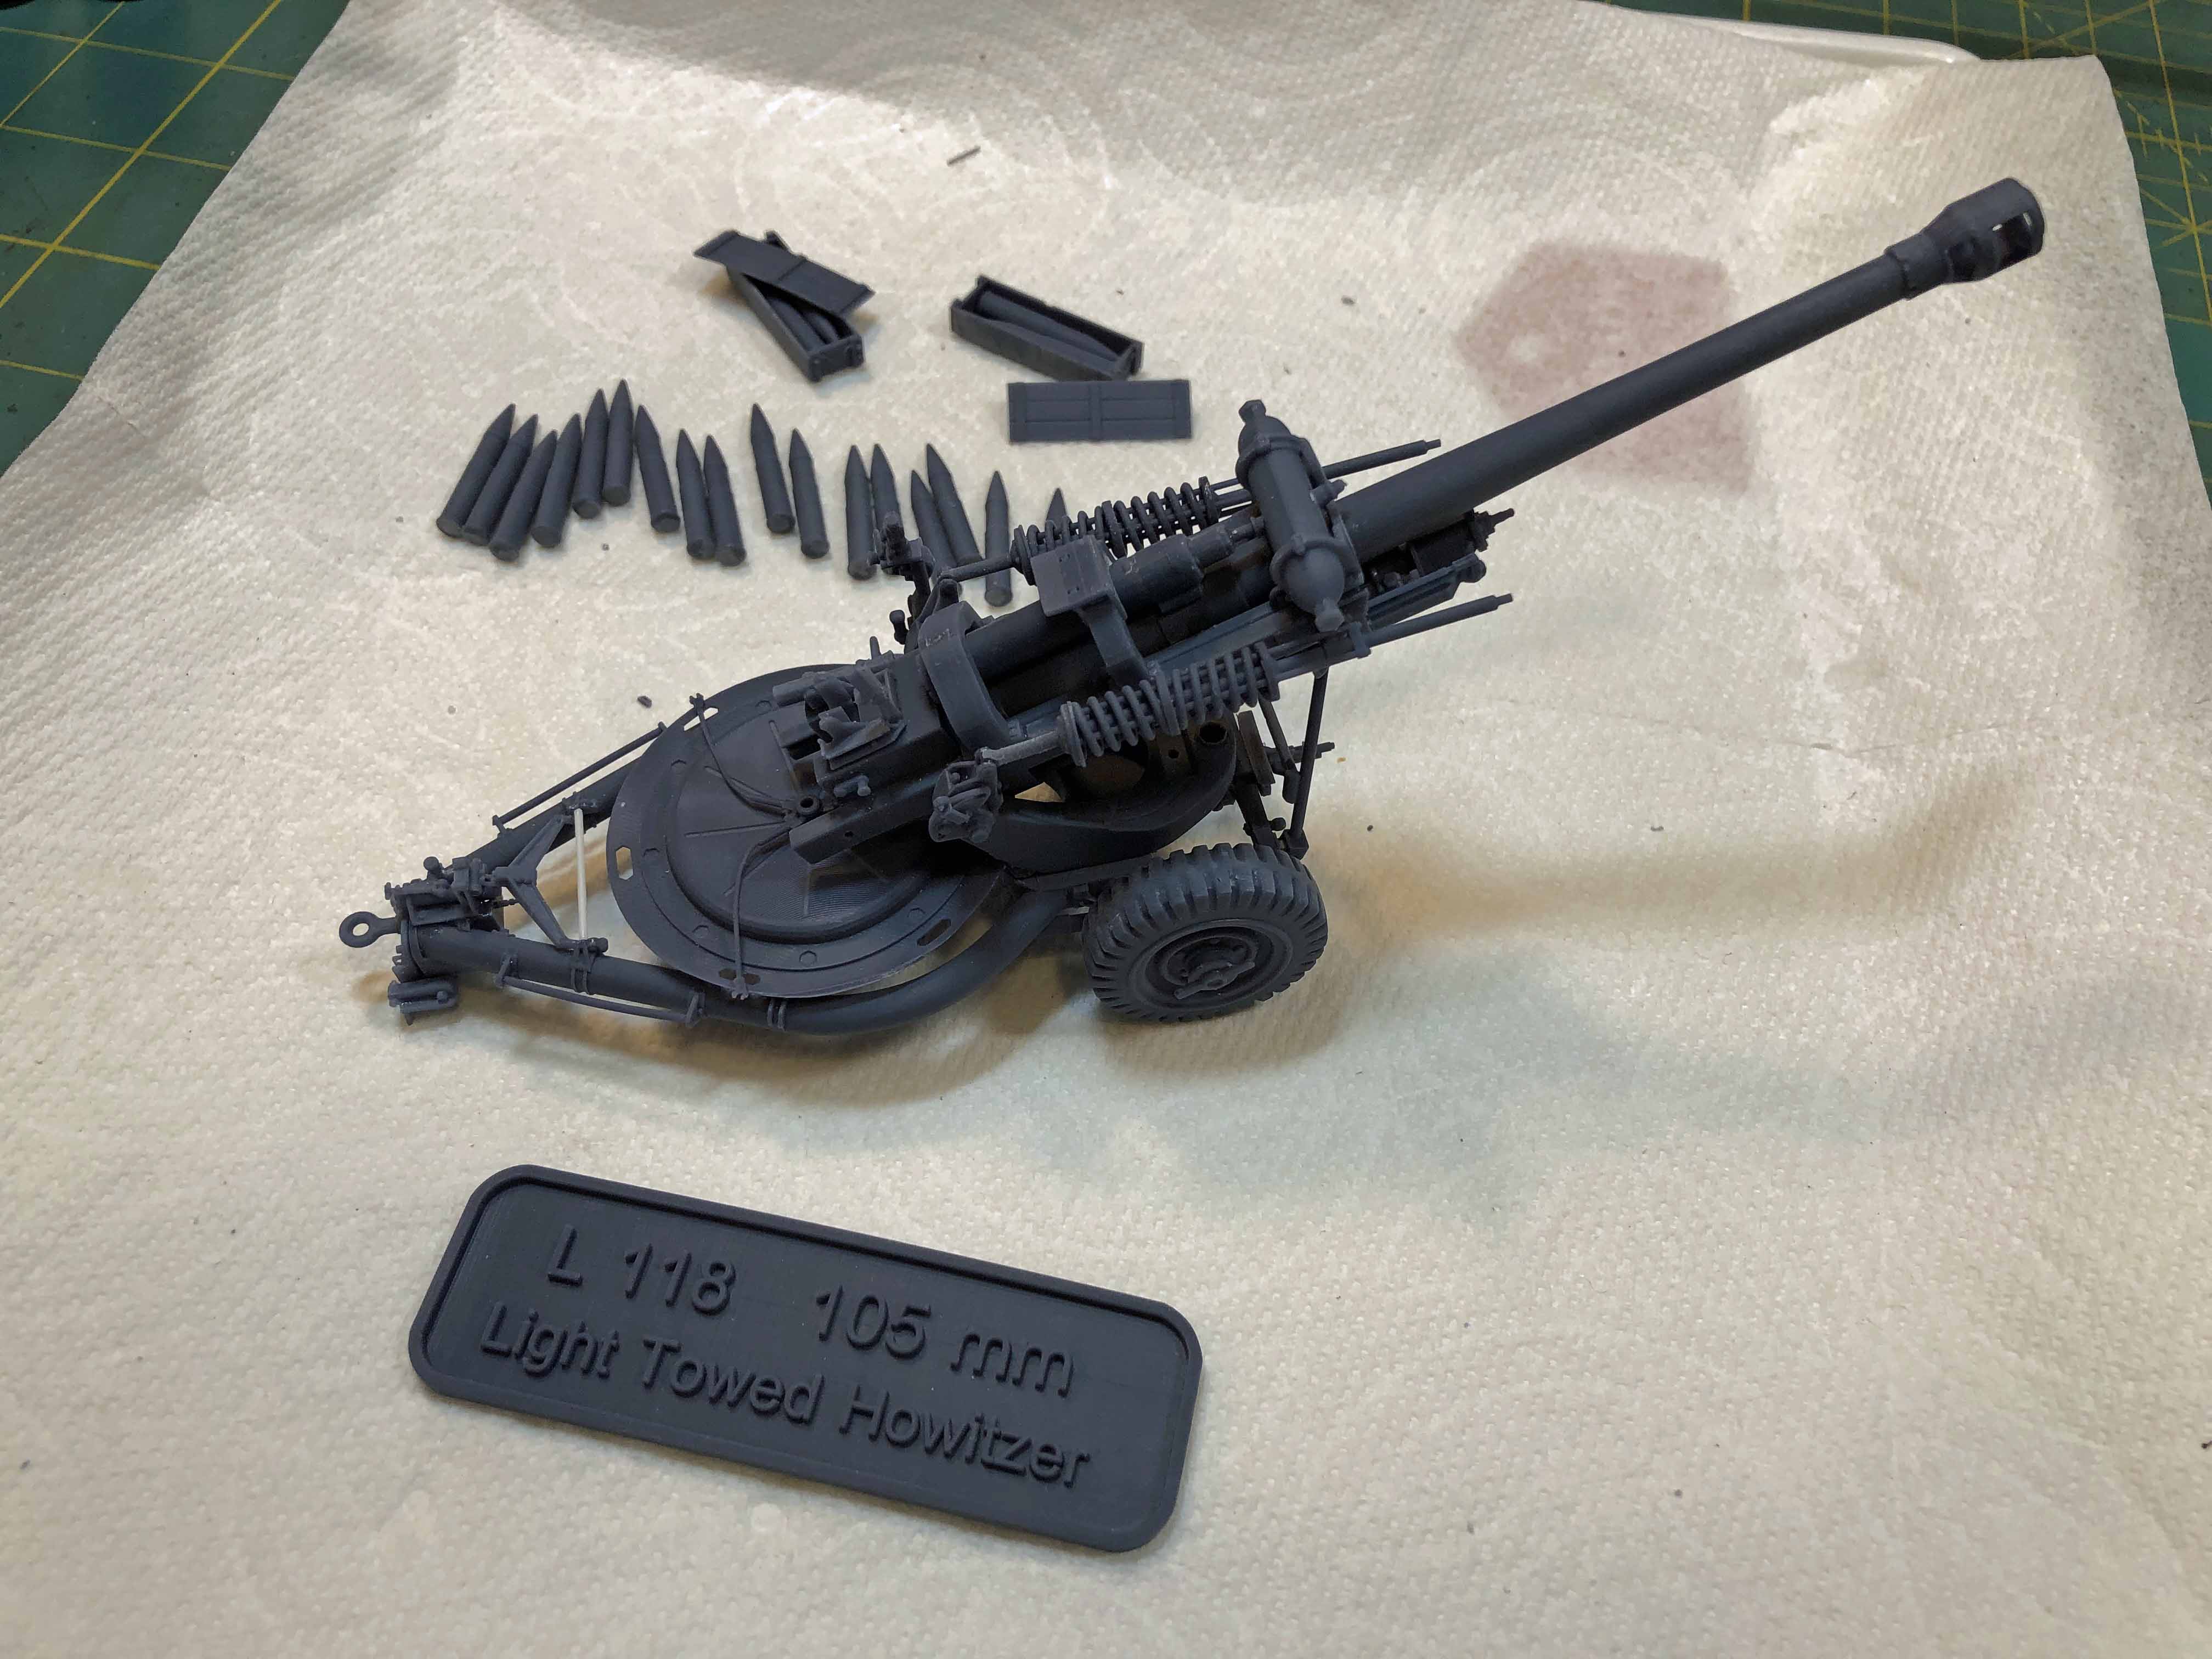
The howitzer can be built in one of three modes; two travel modes (barrel forward or rearward-facing), and one firing mode. As with most 3-D printed kits, the sprues do not have any old-school poured-resin blocks to remove; instead containing dozens (hundreds?) of very thin connecting rods that are part of the printing process. This makes the parts very simple to remove from the sprues. The howitzer itself (minus the bonus name plates, artillery rounds and ammunition cases) has very few actual parts, and these are exquisitely detailed – some of the best work I’ve seen in this medium. There is cleanup required, to be sure, but nothing like what I would normally expect for limited-run subjects.
The dark-grey resin is firm, but sands easily enough, and there are some very slight surface striations on some of the round parts that require attention, making preparation more important than with typical styrene kits. Comparatively, however, this work from Vargas is pretty good as delivered. There are very few, if any, surface flaws and the molding is excellent with no noticeable defects. The detail overall is crisp, and while many of the parts are very delicate, Vargas pulls everything together without having to resort to using photo-etch or other finicky mediums, which is a big plus (for me at least).
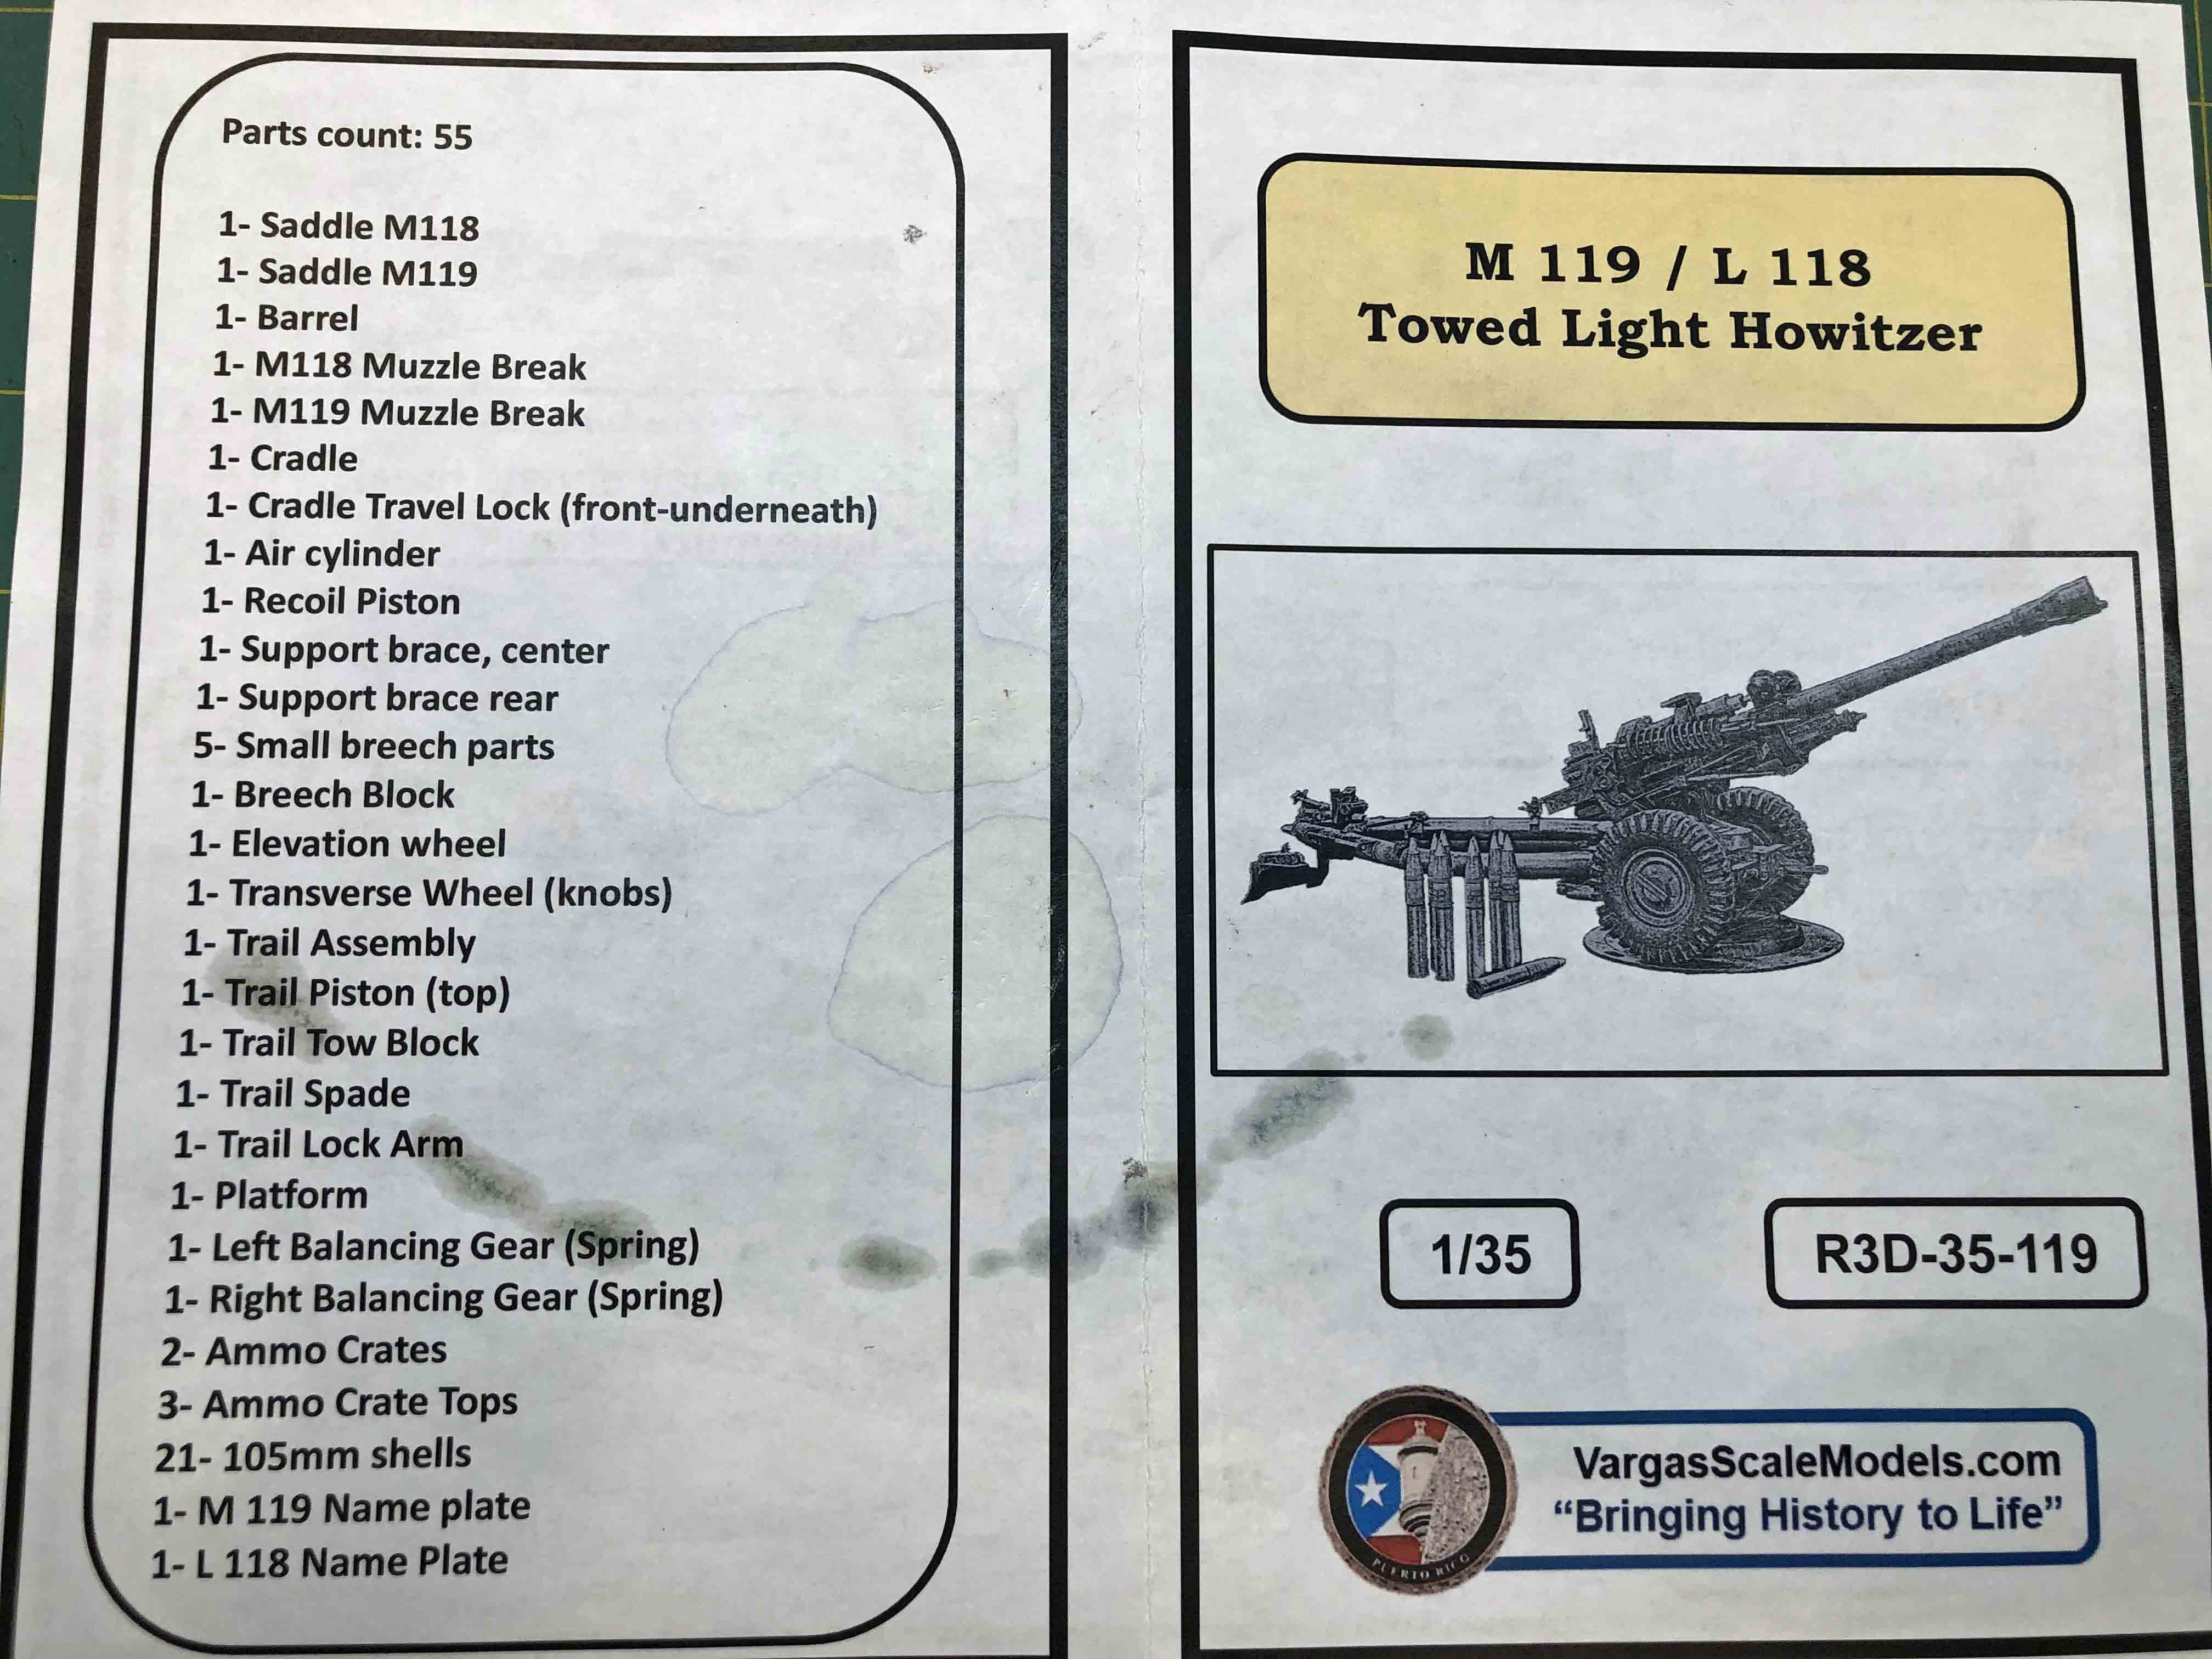
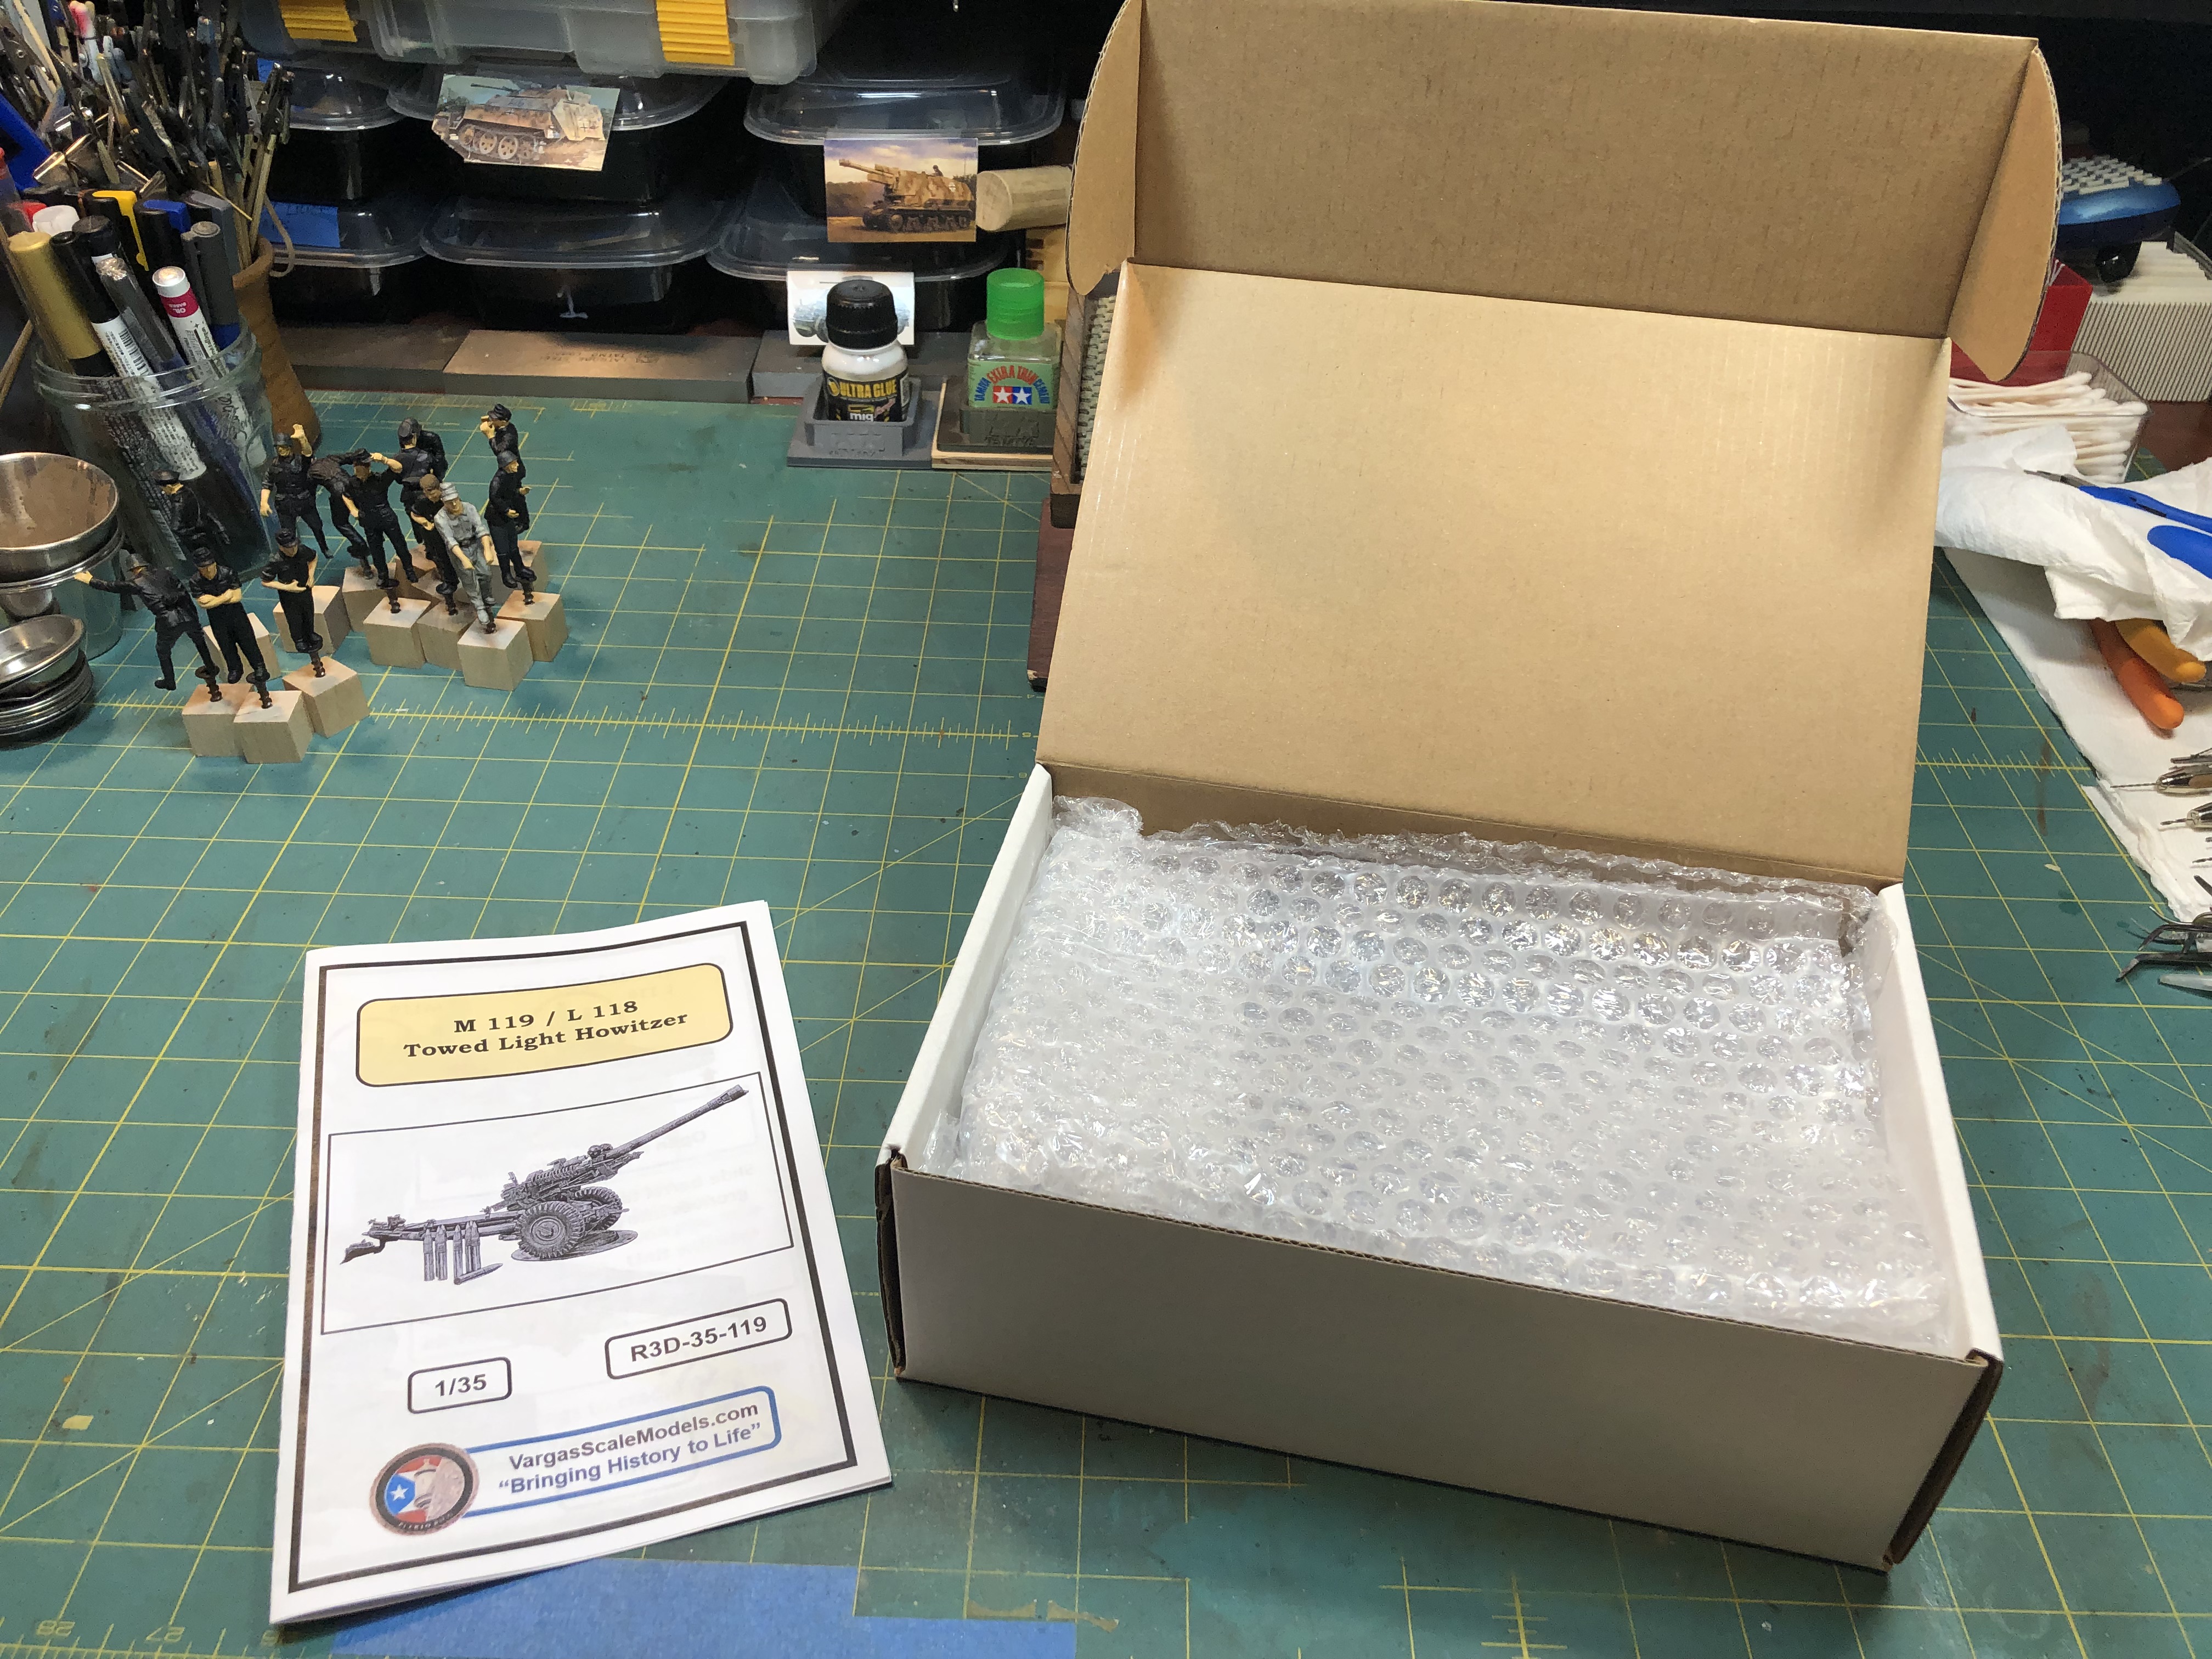
The contents of the box include:
- Five resin sprues, three containing howitzer parts and name plates, one with the ammunition boxes and extra rounds, and one for the wide, round baseplate. Each sprue is packed in separate bubble wrap, inside a bubble-wrapped, sturdy, cardboard box.
- A 4-page, color instruction booklet, consisting of two full size sheets, folded in half, which includes a parts list. All text and label information is printed in English.
There are no markings included for this vehicle.
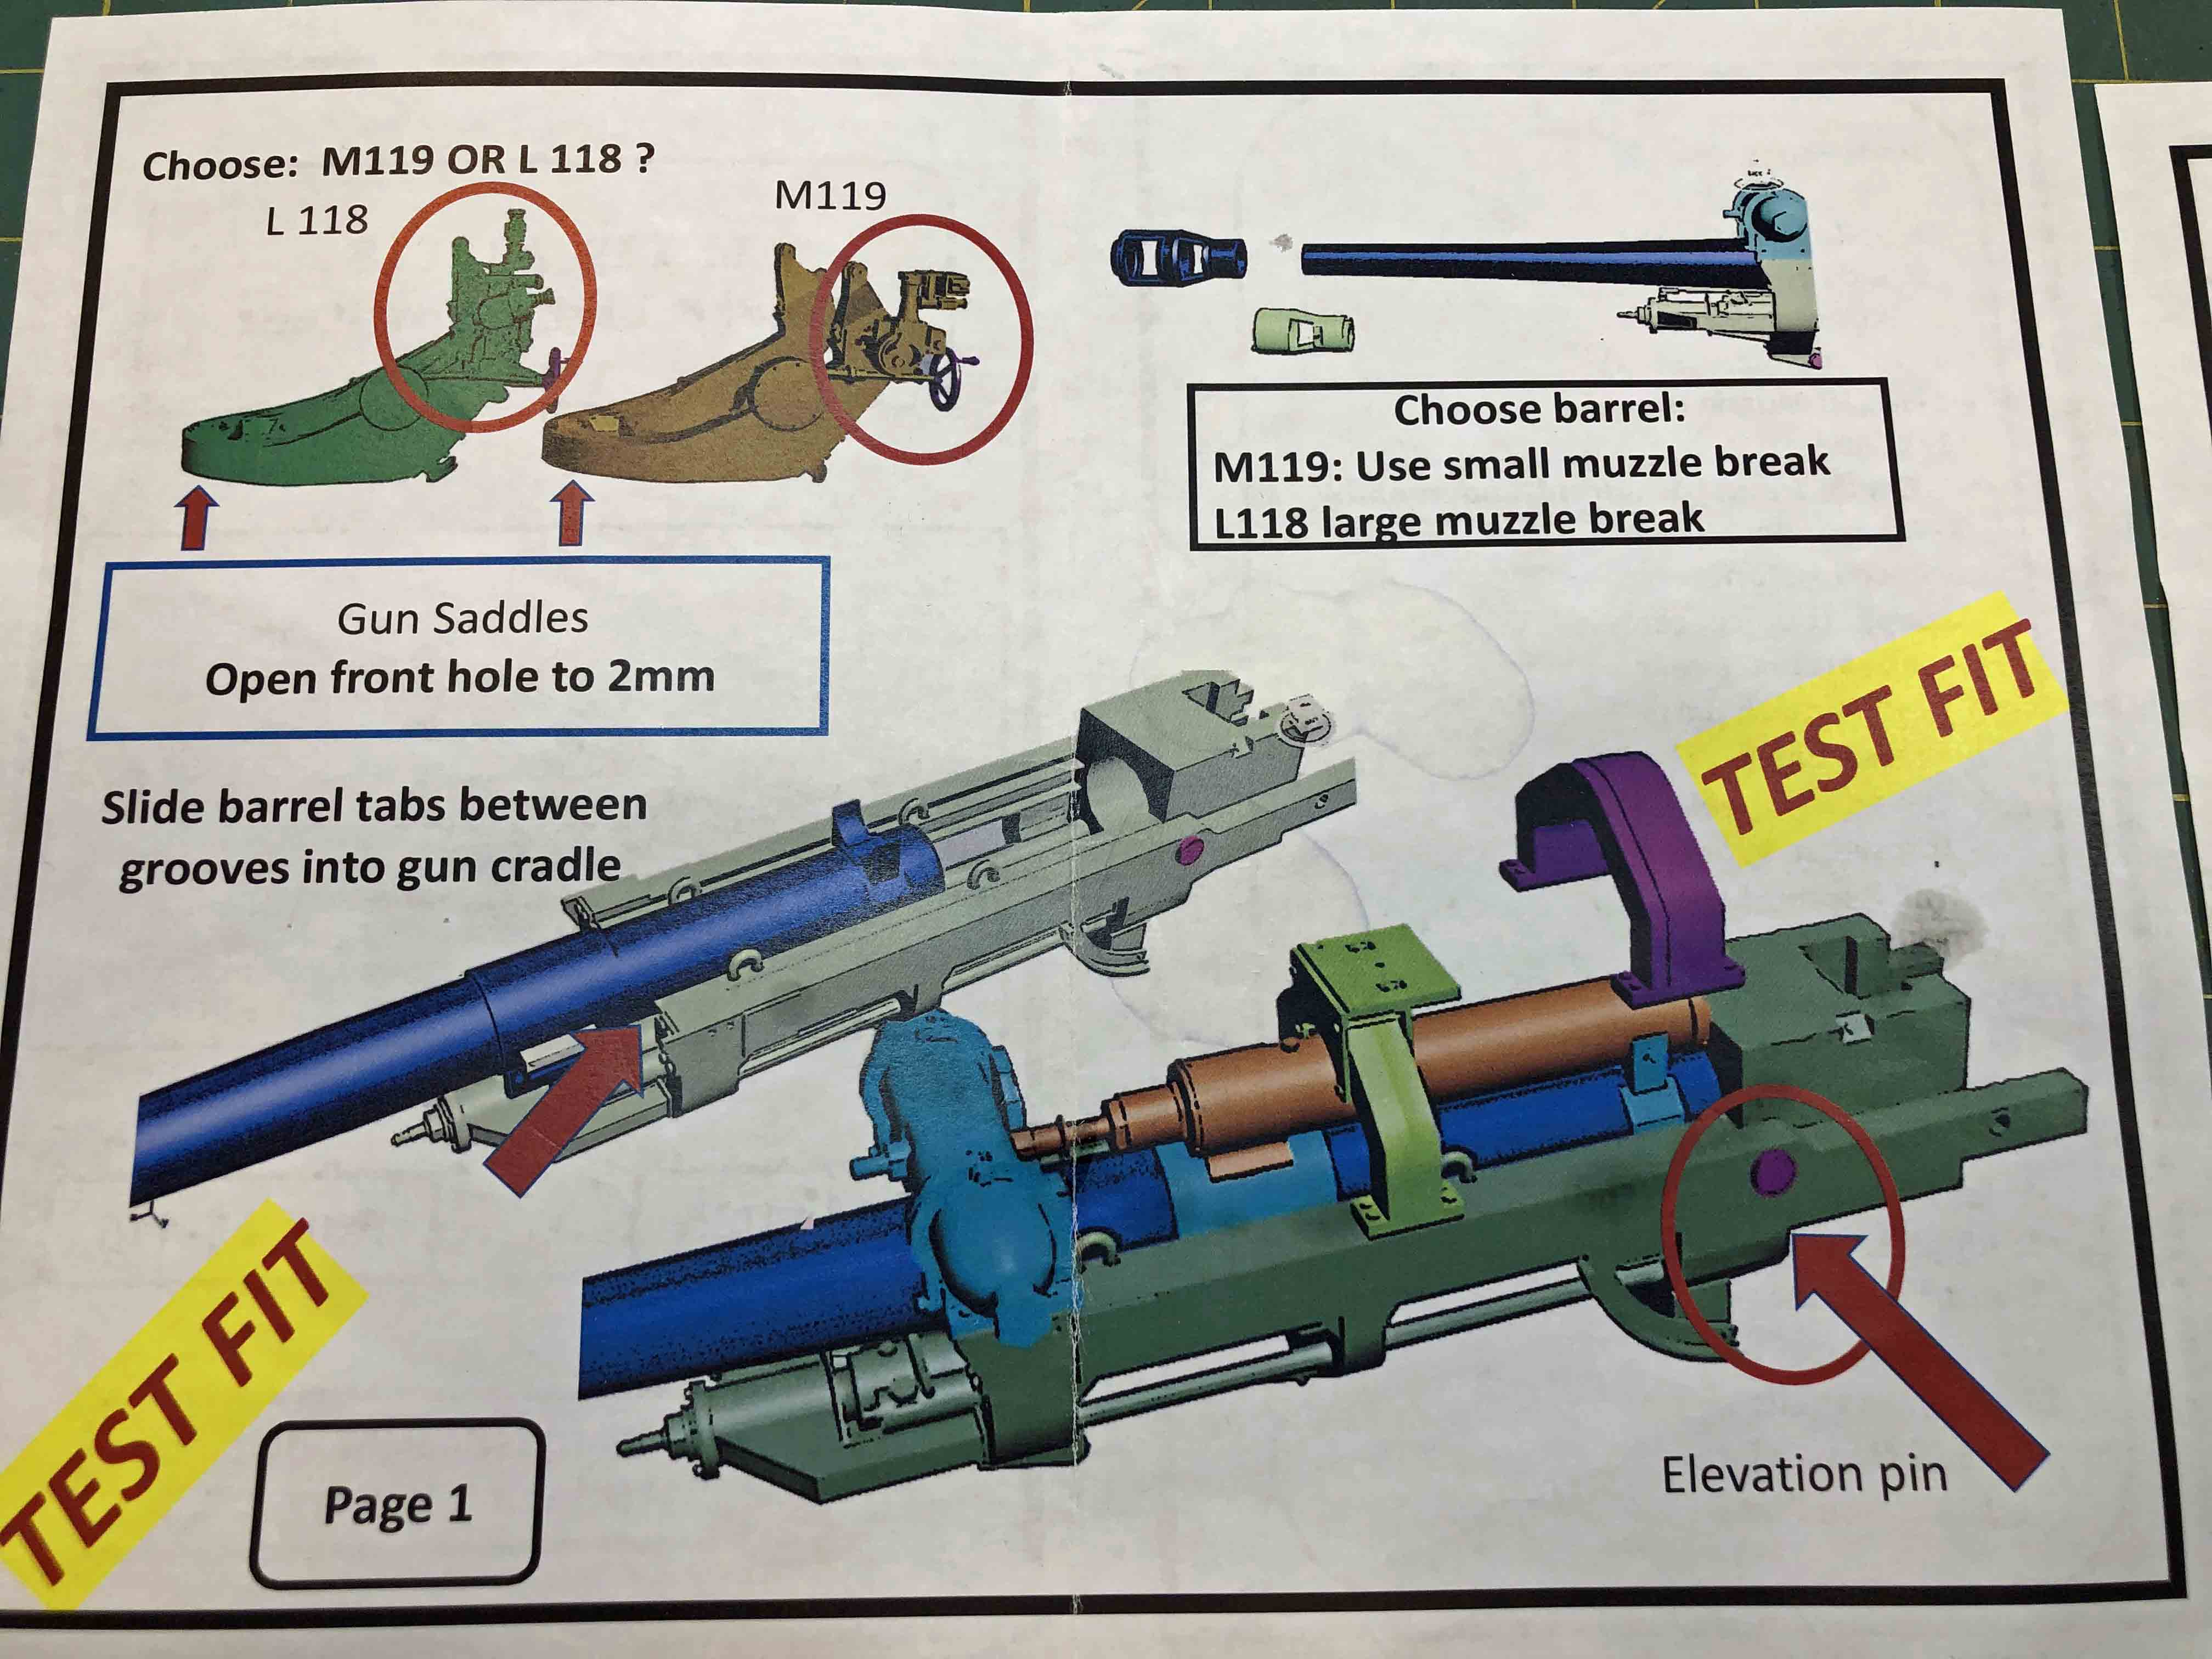
The Instructions
As with most limited run, resin kits, the instructions are brief and not always ‘enough’. Assembly requires test fitting and comparing what you have to drawings and images of the real thing, easily found on-line. In place of text, Vargas provides simple CAD images from the printing process itself for use as a rough go-by to start with. Fortunately, each piece is shown assembled and printed in a different color from the one adjoining it, which makes things a little easier to follow – but only a little. If you have built limited-run kits before, this one is typical – a lot of testing and adjusting surfaces to fit. Fortunately, the images are rendered from several angles so you are rarely forced to guess about how things go on ‘the other side’.
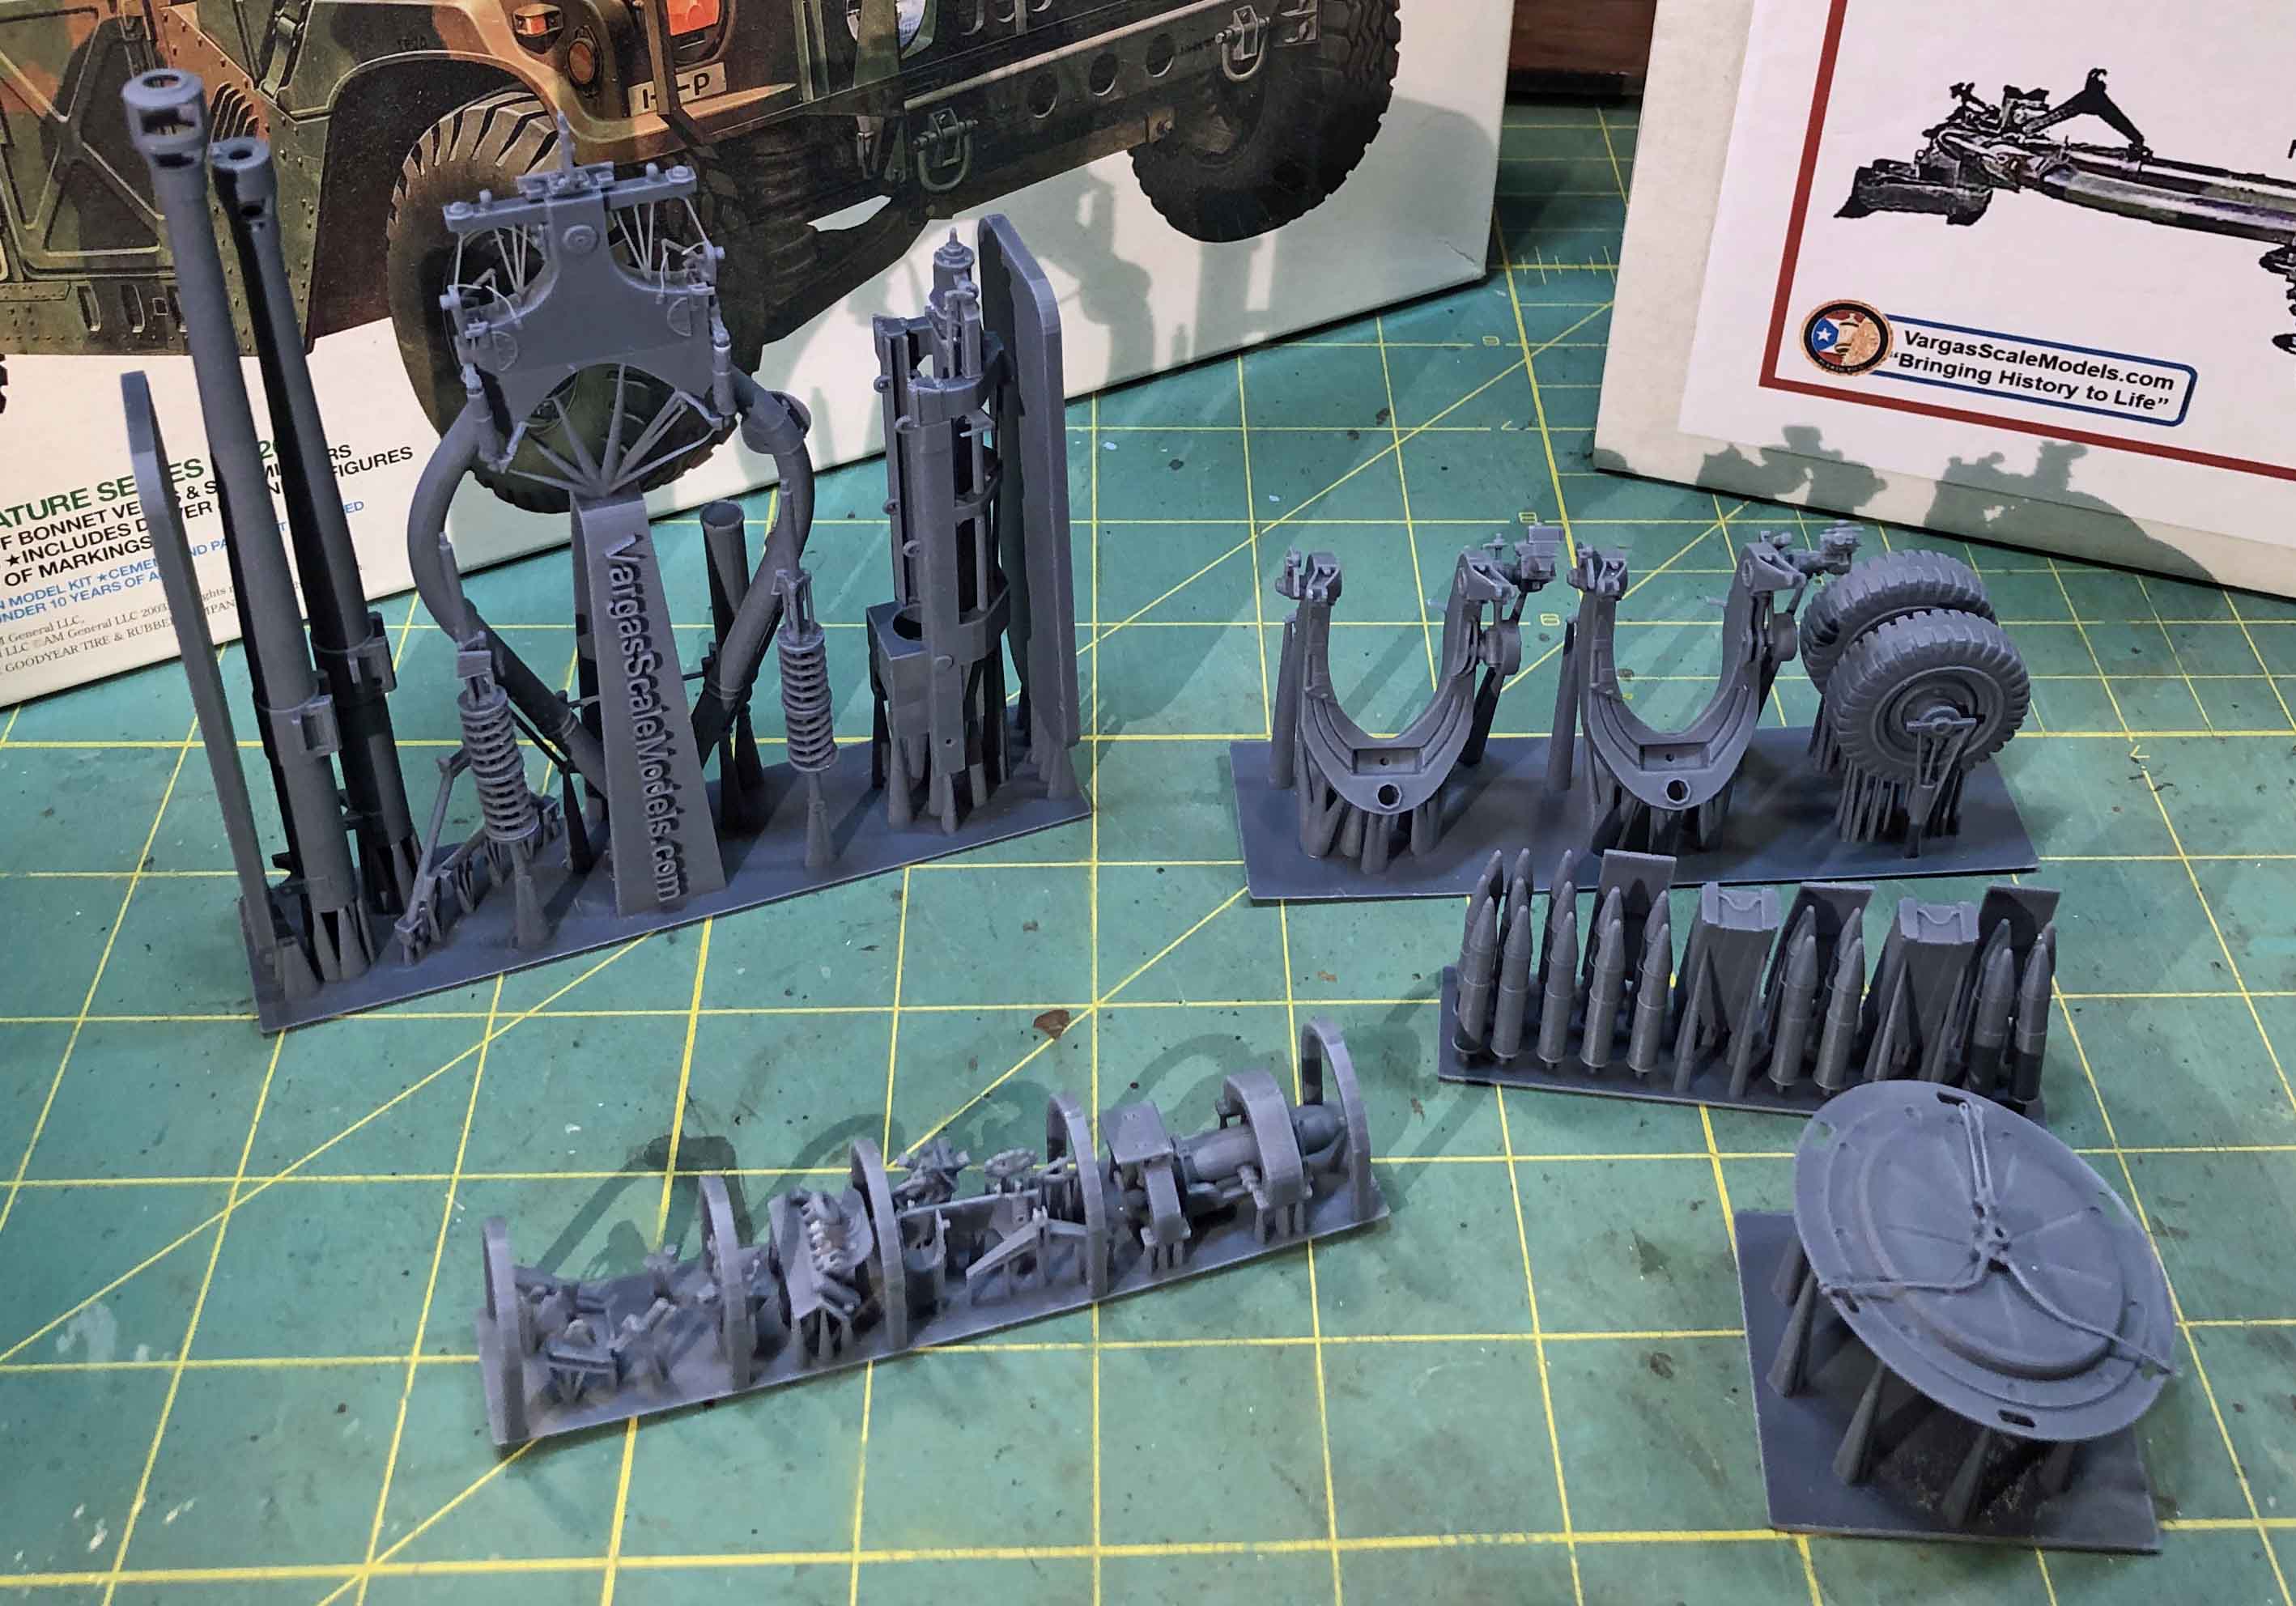
Clean Before You Start
Even though there are relatively few parts in this kit, a 3-D printed model requires a good amount of preparation before assembly. After removing all the parts from the sprues, I carefully shaved and sanded the surfaces of everything to remove any remaining vestiges of the thin resin posts that held the parts to the sprues. Once that was done, I went to work smoothing out some minor (but noticeable) grooves on the surfaces of the round parts. The resin is not soft, but it works away with a little effort, resulting in a smooth surface relatively quickly. Other areas that need attention are where flat surfaces mate together; on some parts the flat surface was actually slightly convex (rounded) from the production process, and need to be made perfectly flat to prevent gaps.
Once I thought I had everything pretty well cleaned up, I gave the parts a warm bath in soapy water, rinsing them in warm water. After drying I felt the surfaces with my fingers, and, if I found anything tacky, I repeated the wash, rinse and dry steps until all the tackiness was gone. With all the parts clean and free of defects, I was ready for assembly.
The Build
Assembly starts with a choice to make – whether you will build the American M119 or the British L118. I wanted to tow the gun behind a vehicle and so the longer barrel and larger muzzle brake of the British version appealed to me.
Discarding the three unneeded parts that made up the differences between the two versions, I went to work fitting the barrel to the gun cradle it sits in. There are three pieces that then fit over the barrel and seat on each side of the cradle. The round curve of the barrel is slightly different than the concave surface under the three parts due to what has been described to me as a limitation in the printing process. The fit is close, but not close enough to allow the three pieces to firmly seat on the cradle.
Donning my particulate mask, I went to work with several round files, sanding and fitting, until I had a good seal around the barrel and both ‘feet’ of the three parts seated. This process became standard for the rest of the build. The fit is close enough to need just a little tinkering before adding each piece.
As I said before, the instructions show each adjoining part in a different color. At first, the images appear confusing, but as you go along, with each part in hand, the ‘next’ step presents itself - not unlike a three-dimensional puzzle. Just keep in mind which of the two versions you are building, and how you are finishing the gun (travel or firing mode). I had to refer to several images on the internet for some of the parts since the instructions represent building the model in firing mode.
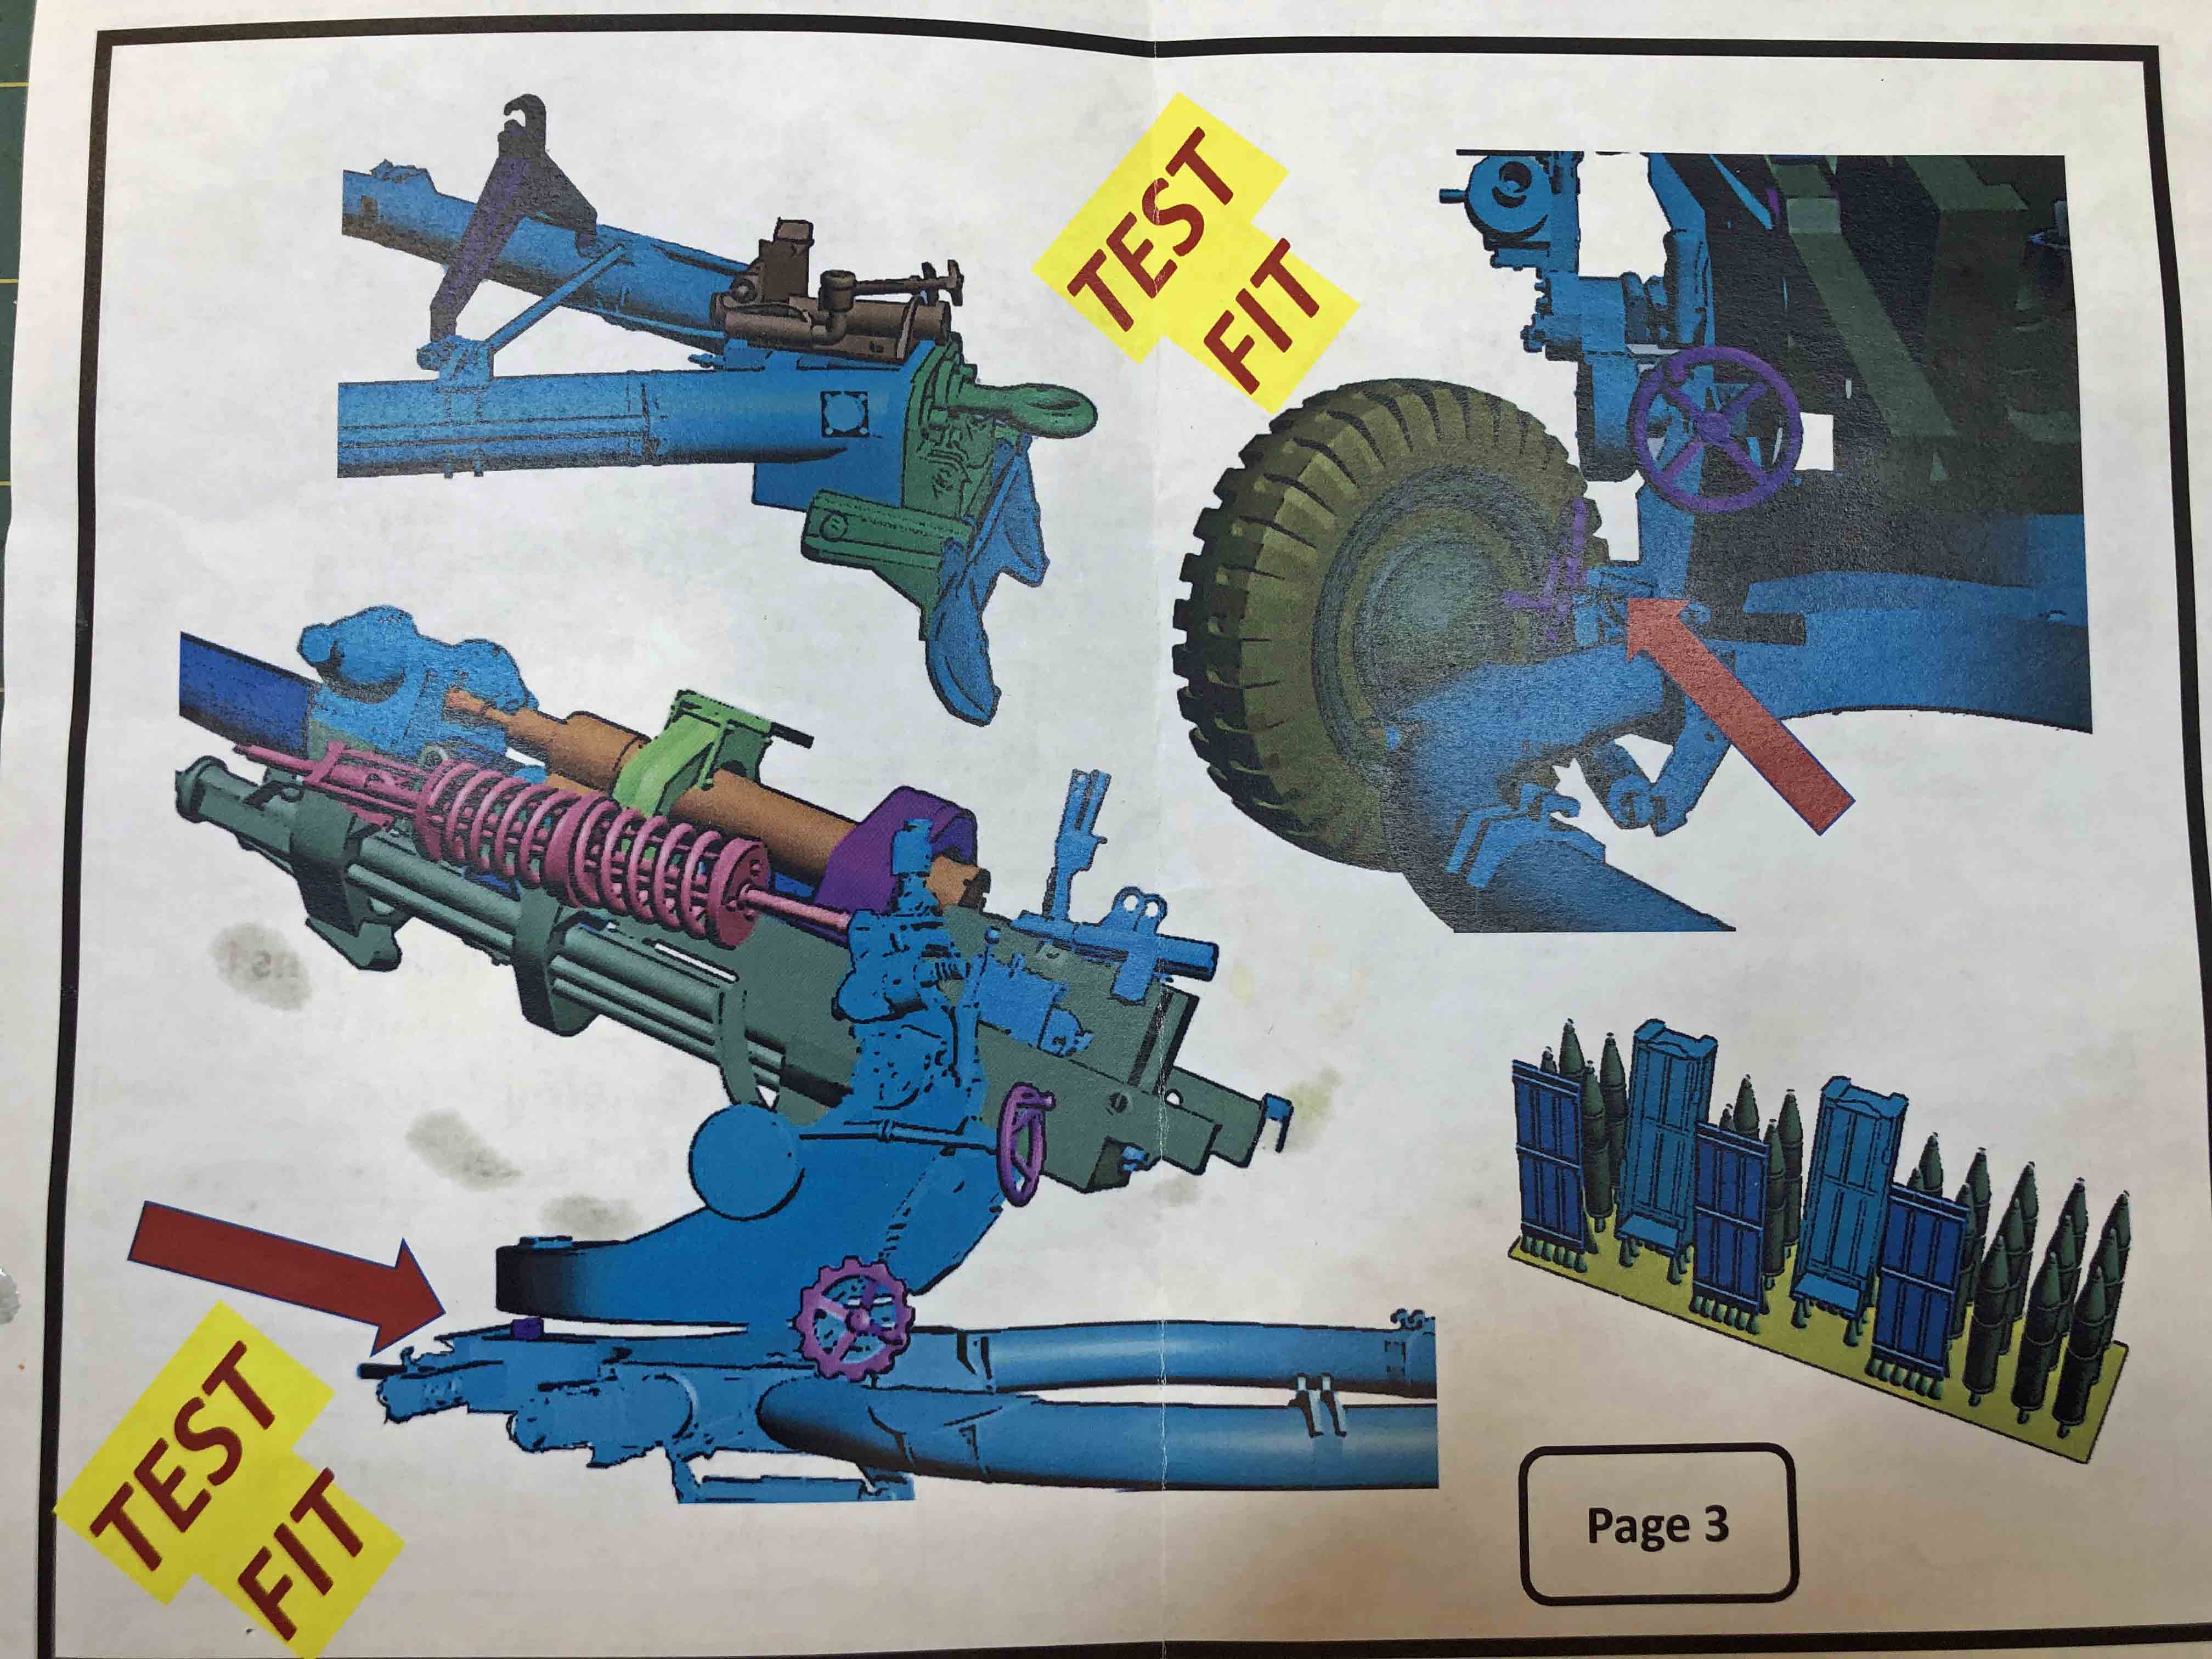
The connection point for the wheels is a little tight – I drilled out the female holes a little to allow room for thick super glue to set, which worked out well - even though I broke one wheel off later when I was applying pigments. Such is the life of a modeler!
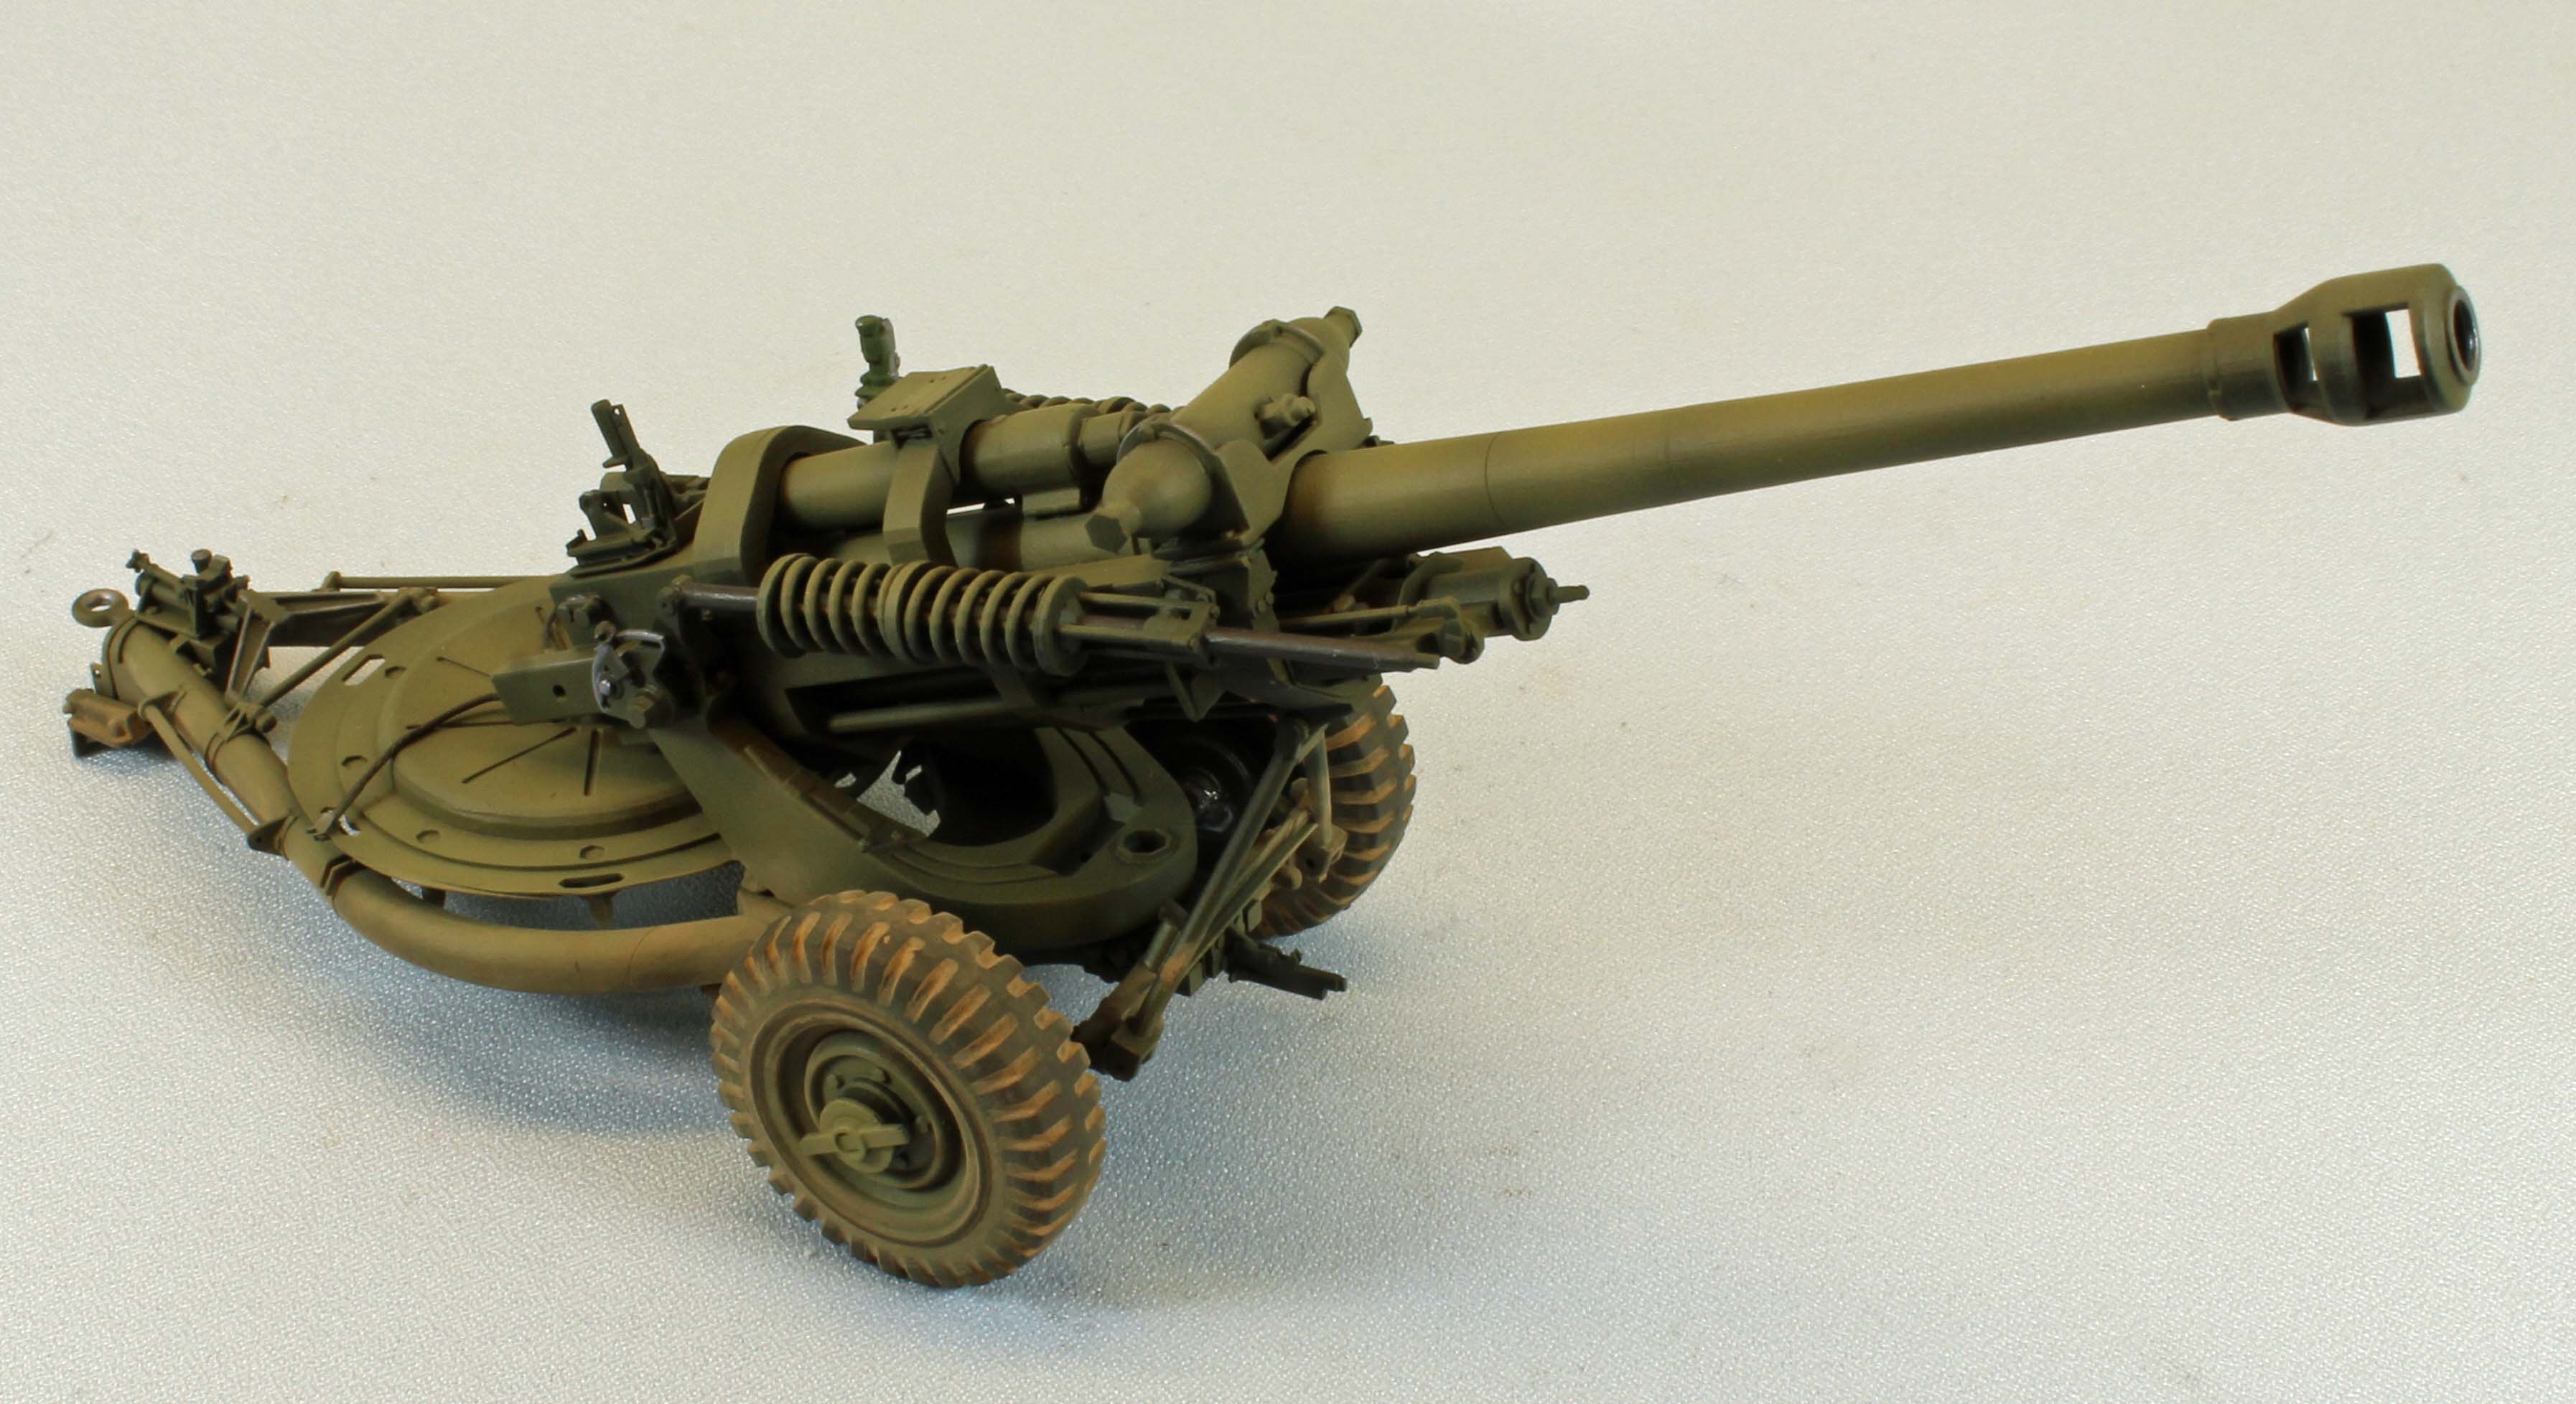
Painting and Finish
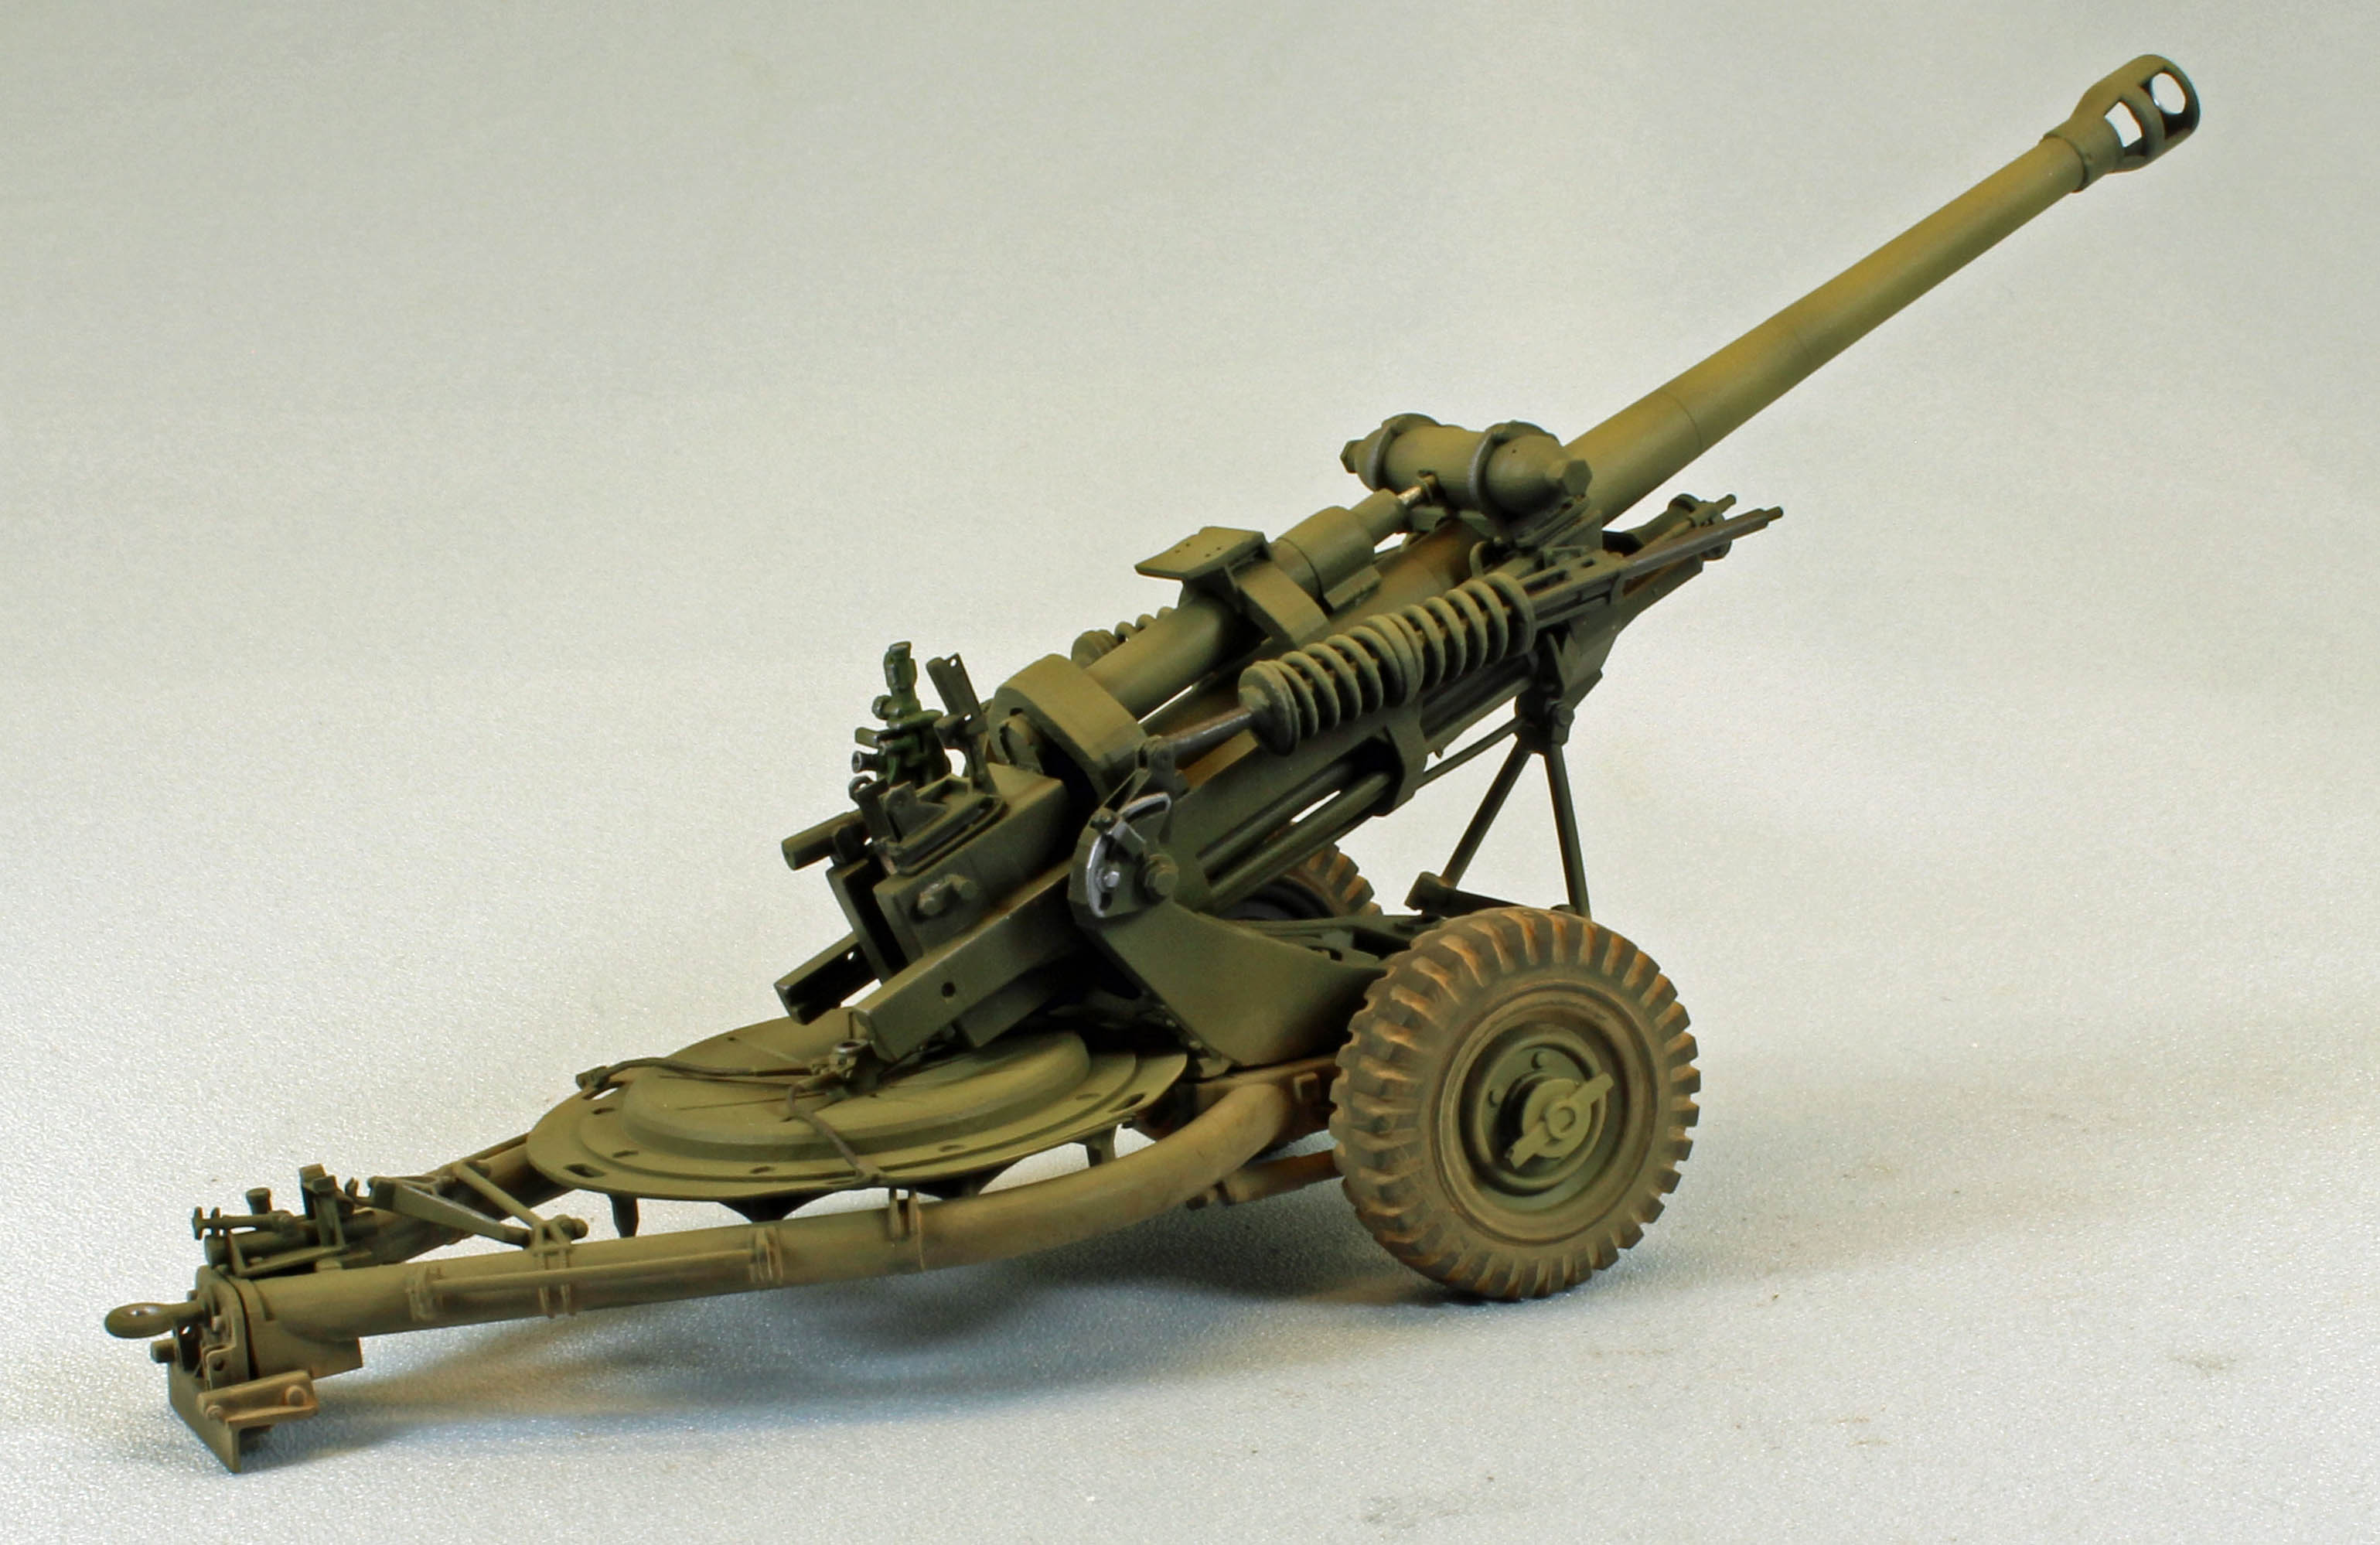
Painting modern artillery is pretty much a slam-dunk task since most weapons are finished in a single-tone scheme, and this was no exception. Most of the pictures I have of the British L118 show an overall dirty green/drab, although some are shown with a two-tone green and black camouflage scheme. I decided to go with the former and made quick work if it. Here is a breakdown of the colors and materials I used to finish the build:
- Primer: Mr. Hobby Mr. Surfacer 1500 Black
- Base Coat: AKI Real Colors RC023 Olive Drab
- Post-Shade Coat: AKI Real Colors RC024 Olive Drab Faded
- Post-Shade Highlight: Faded Olive drab mixed with Tamiya XF-88 German Yellow 2
- Detail: Tamiya XF-1 Flat Black (Handwheels), XF-85 Rubber Black (Eyepiece), XF-84 Dark Iron (Steel cabling and spring rods), XF-67 NATO Green (Sights), Molotow Liquid Chrome (Recuperator Shaft), and Mission Models MMP-040 Tire Black 1 (Tires)
- Weathering: MIG European Dust Pigment (Wheels and Undercarriage), Uschi Chrome Pigment (Bling).
Conclusion
This is my first 3D printed model and I have to admit that the build was actually fun. Nothing like the fear and trepidation I’ve had with some of the perfectly-fitting, injection-molded kits from the likes of Bronco and AFV Club. Luis Vargas did a solid job researching the subject, and the design and engineering that went into the kit is readily apparent. It makes me want to build more.
That said, this kit had its challenges, especially when compared to injection-molded models. I think the build was straightforward enough, however, for a modeler with just a little experience to finish. Having a solid working knowledge of alternative adhesives (CA Glue, epoxy, and/or ‘fortified’ white glues) would certainly be a plus.
I would like to heartedly thank Luis Vargas at Vargas Scale Models for providing this kit for review, and to IPMS USA for giving me the opportunity to build it.