Reviews
Aircraft
Hasegawa TBF/TBM Avenger Eggplane
by Eric Christianson
 Model: TBF/TBM Avenger Eggplane
Reviewed by: Eric Christianson, IPMS # 42218
Scale: N/A
Company: Hasegawa
Price: $32.99
Product/Stock #: 60138
Website: Hasegawa
Product Web Page: View
Product provided by: Hasegawa USA
Summary
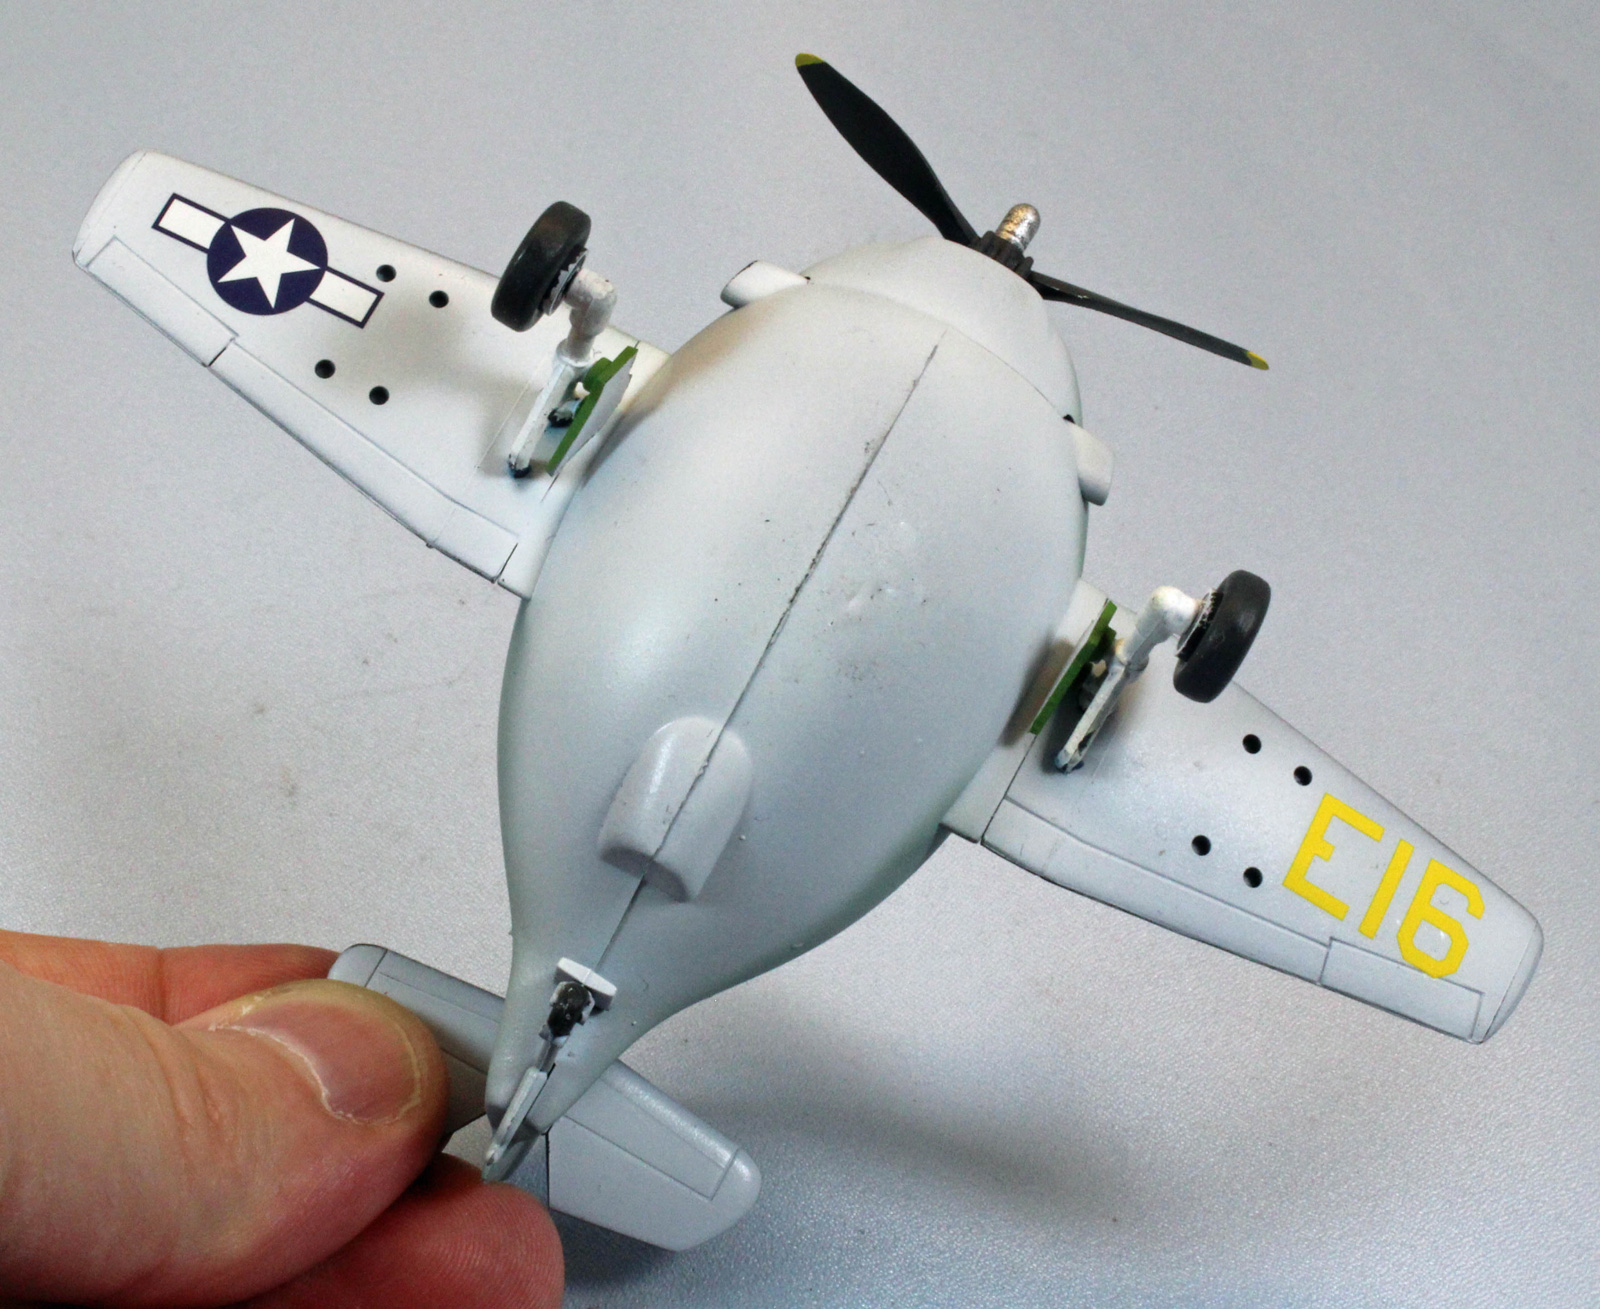
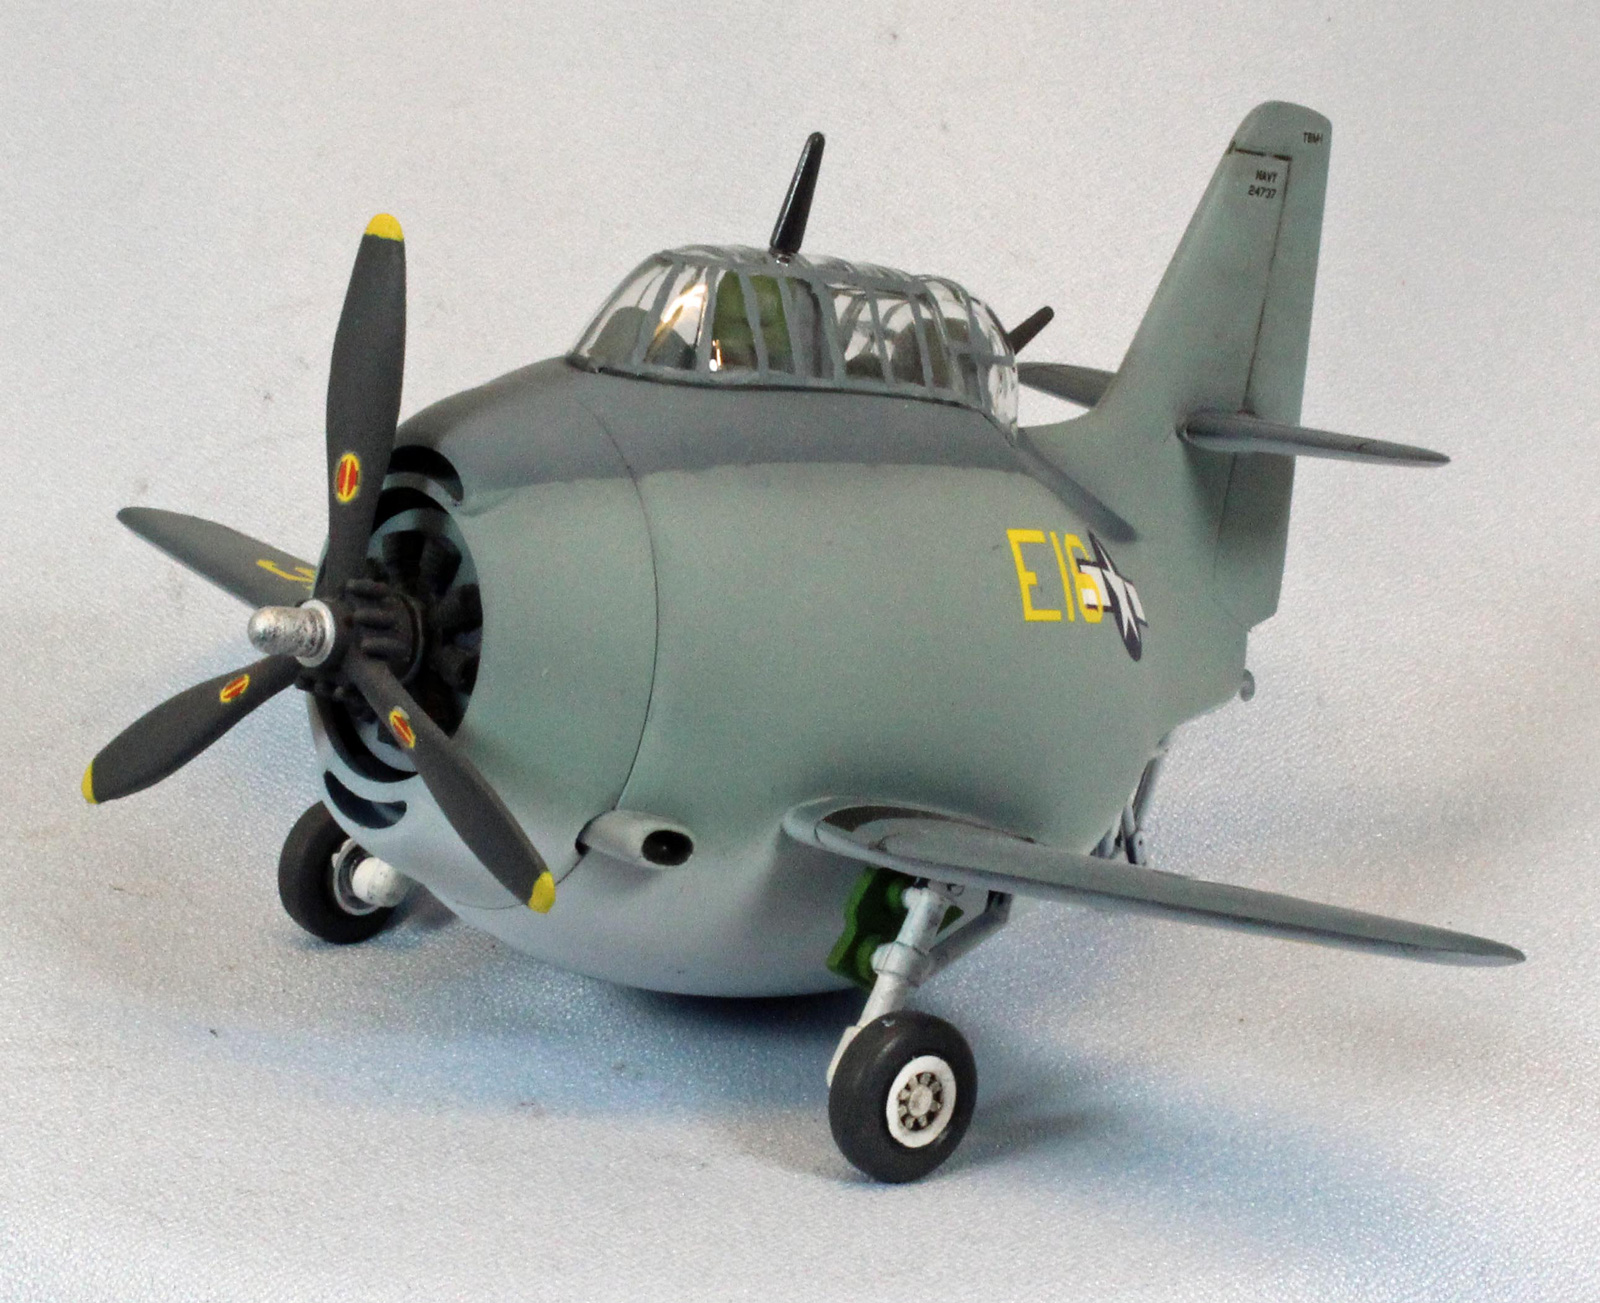
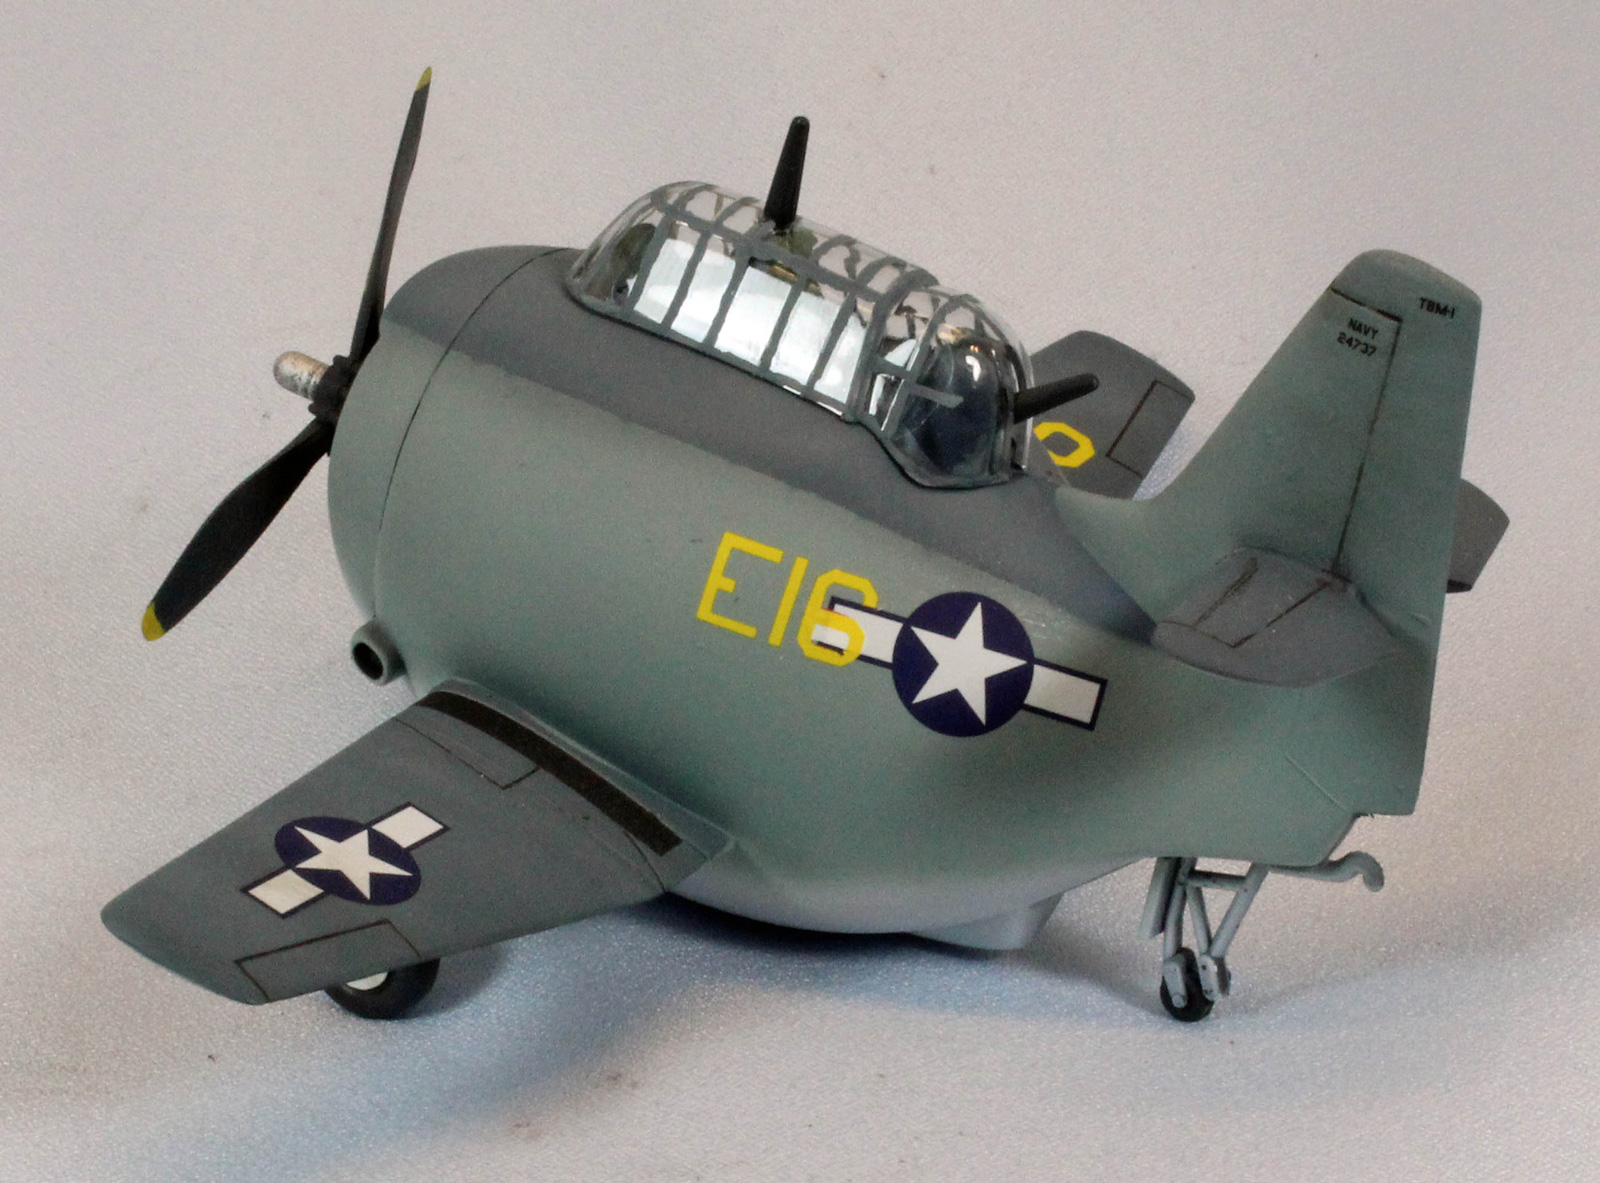
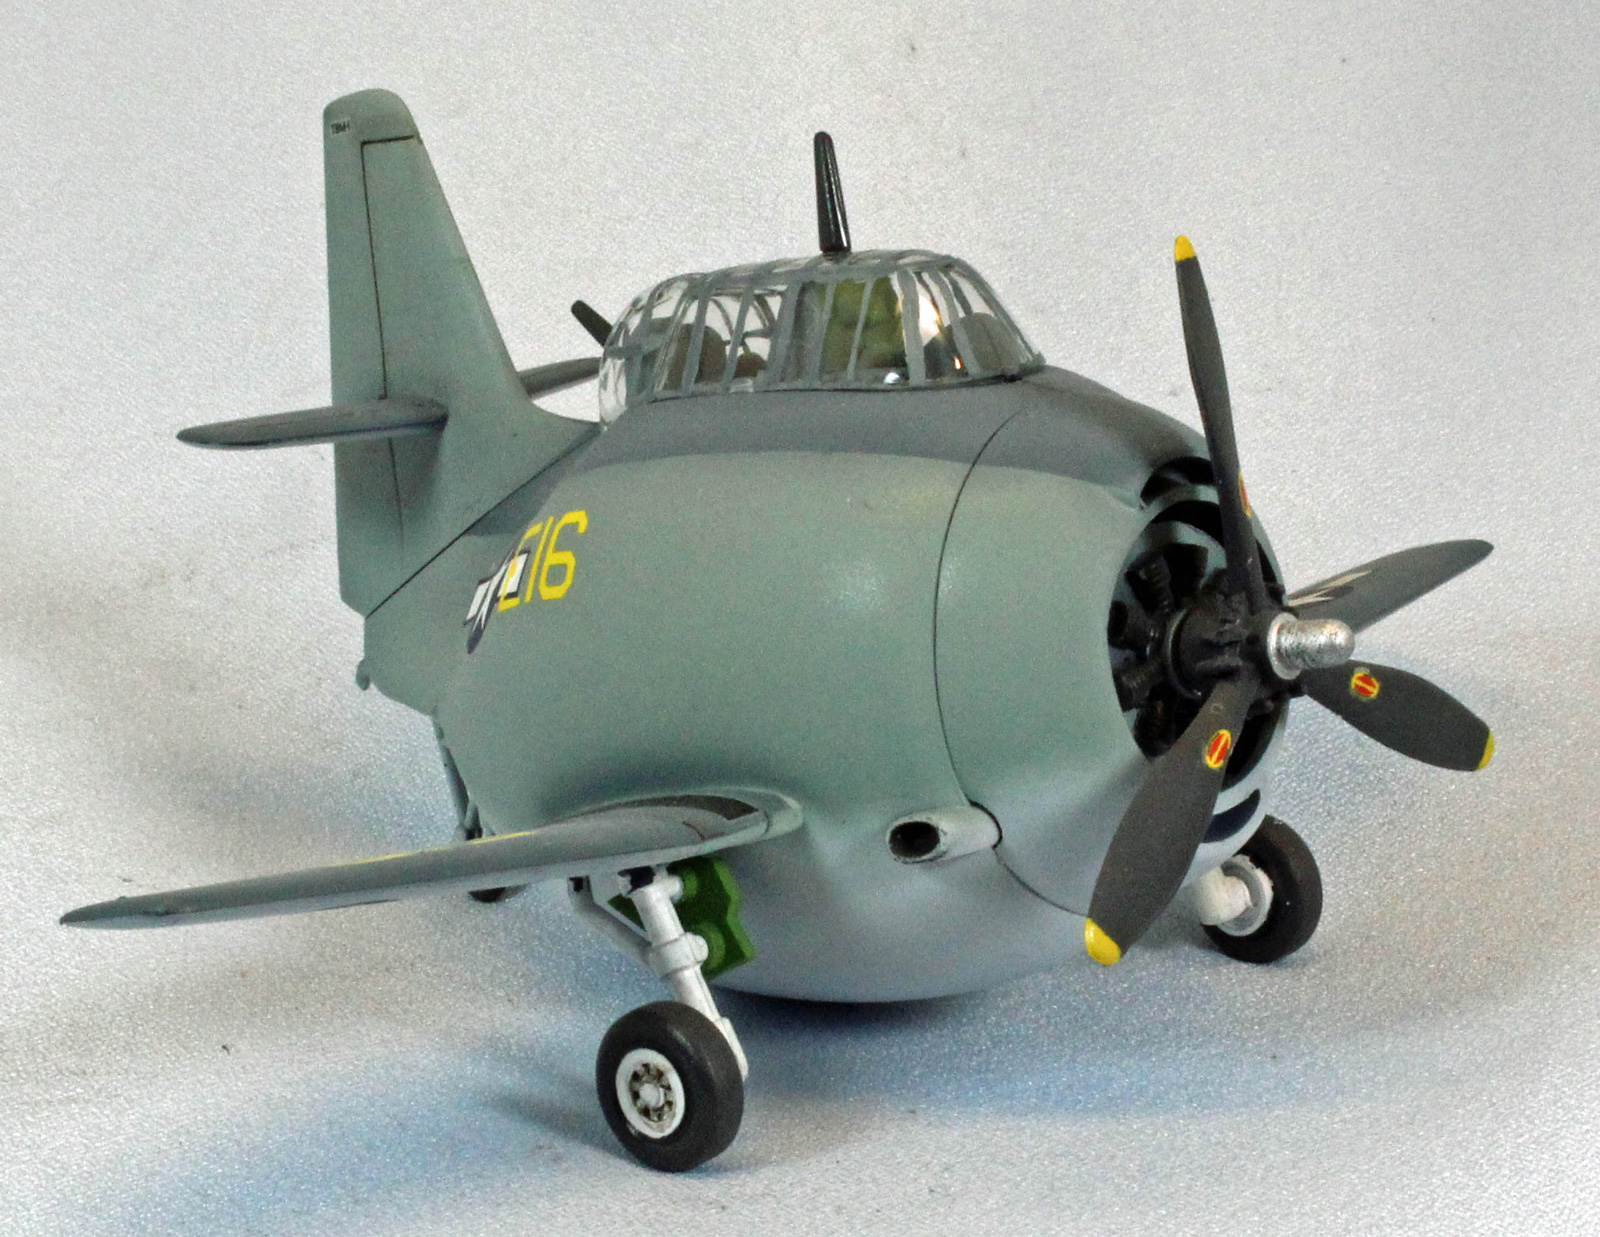
Hasagawa has re-released their previously out-of-production Tamago Plane Series Egg Plane caricature of the venerable TBF/TBM Avenger, this issue sporting two sets of new markings, including the popular set for USS Mission Bay (Code E16). The small, sturdy box contains two sprues of relatively hard, blue plastic, a clear plastic canopy packaged separately, one medium sheet of decals which are thin and in perfect register, and one instruction sheet totaling 6 pages with 2 steps, printed in black and white.
The markings in the kit cover two schemes: TBF-1C: U.S. Navy USS Mission Bay Code: E16 and TBM-1C: U.S. Navy VC-42 Code 21.
Construction
Assembly took just over 15 minutes, with most of that time involved with clipping and cleaning the 21 parts (25 if you attach the underwings rockets). This kit was meant to fun! I had no fit problems whatsoever, and quickly brought the fuselage, wings and tail together, leaving the propeller, gear, and canopy off for easier painting.
Even though the model is small, it seems to require all the same steps as a larger model! I decided to use the Mission Bay 3-color scheme since I own a 1/32nd scale Avenger already built in that livery.
(Note: I thin all Tamiya paints 50/50 with Gunze Leveling Thinner, and Model Master Enamel paints with their airbrush thinner. I mix the paint in a plastic disposable cup, swish that around until it is mixed, and then pour it into the color cup on my Pasche-H Single-Action airbrush, Number #3 tip, set at 20 lbs. pressure.)
I first sprayed the entire assembled model and separate parts with Alclad Black Primer, straight from the bottle. I followed this with a coat of Model Master 1745 Insignia White enamel on the lower surfaces and Tamiya XF-23 Light Blue on the upper surfaces. Once the paint was dry, I masked off all the areas that might catch some overspray, and laid down a careful camouflage coat of Model Master Intermediate Blue on the upper spine, wings and tail surfaces.
I hand-painted the interior parts and wheel wells Model Master Green Zinc Chromate, and the struts Tamiya X-11 Chrome Silver.
With painting finished, I air-brushed everything with a coat of Future floor polish to give the decals a smooth surface to slide on. Once the Future was dry, I used the Red and Blue MicroSol/MicroSet products to apply the decals. The decals were sturdy and came off the backing paper well, but had problems sticking – especially the smaller ones. I had to use a solution of water and white glue fix these in place. Hasagawa provides small yellow propeller tip decals but they were more of a nuisance than anything else. I replaced these with a quick dab of Gunze RLM04 Yellow Paint on each side of the blades – problem solved. Once the decals were dry, I gave the entire model a good coat of Future to seal the decals and prepare the surfaces for a wash.washes and streaking.
After attaching the propeller, gear and wheels, I added just a little wash of Mig Dark Wash (straight from the bottle) to the flaps and ailerons. I finished with an even coat of Vallejo Matt Varnish to knock down the shine, attached the canopy, and stuck a fork in this egg. Over - Easy!
Conclusion
This was a fun little aside from my normal oh-so-serious builds – something I highly recommend for all modelers to do once in a while. Cleanse the artistic palate so to speak. This kit was easy to assemble, fun to paint, and an all-around enjoyable experience. I highly recommend this kit for all modelers.
I would like to thank Hasagawa for providing this little Avenger for review, and to IPMS USA for giving me the opportunity to build it.
Photos